Cloud for Capella User guide
1. Obeo SSO Account usage.
This section explains the process of onboarding on the Obeo SSO portal to access the Dedicated Appstream Application.
This process is only used when the service authentication is not delegated to the Client SSO.
1.1. Email invitation
The first step of the onboarding process is the reception of an invitation email from Obeo AWS SSO.
The email subject is: Invitation to join AWS IAM Identity Center (successor to AWS Single Sign-On)

The email content suggests accepting the invitation to set the initial password for the created account.
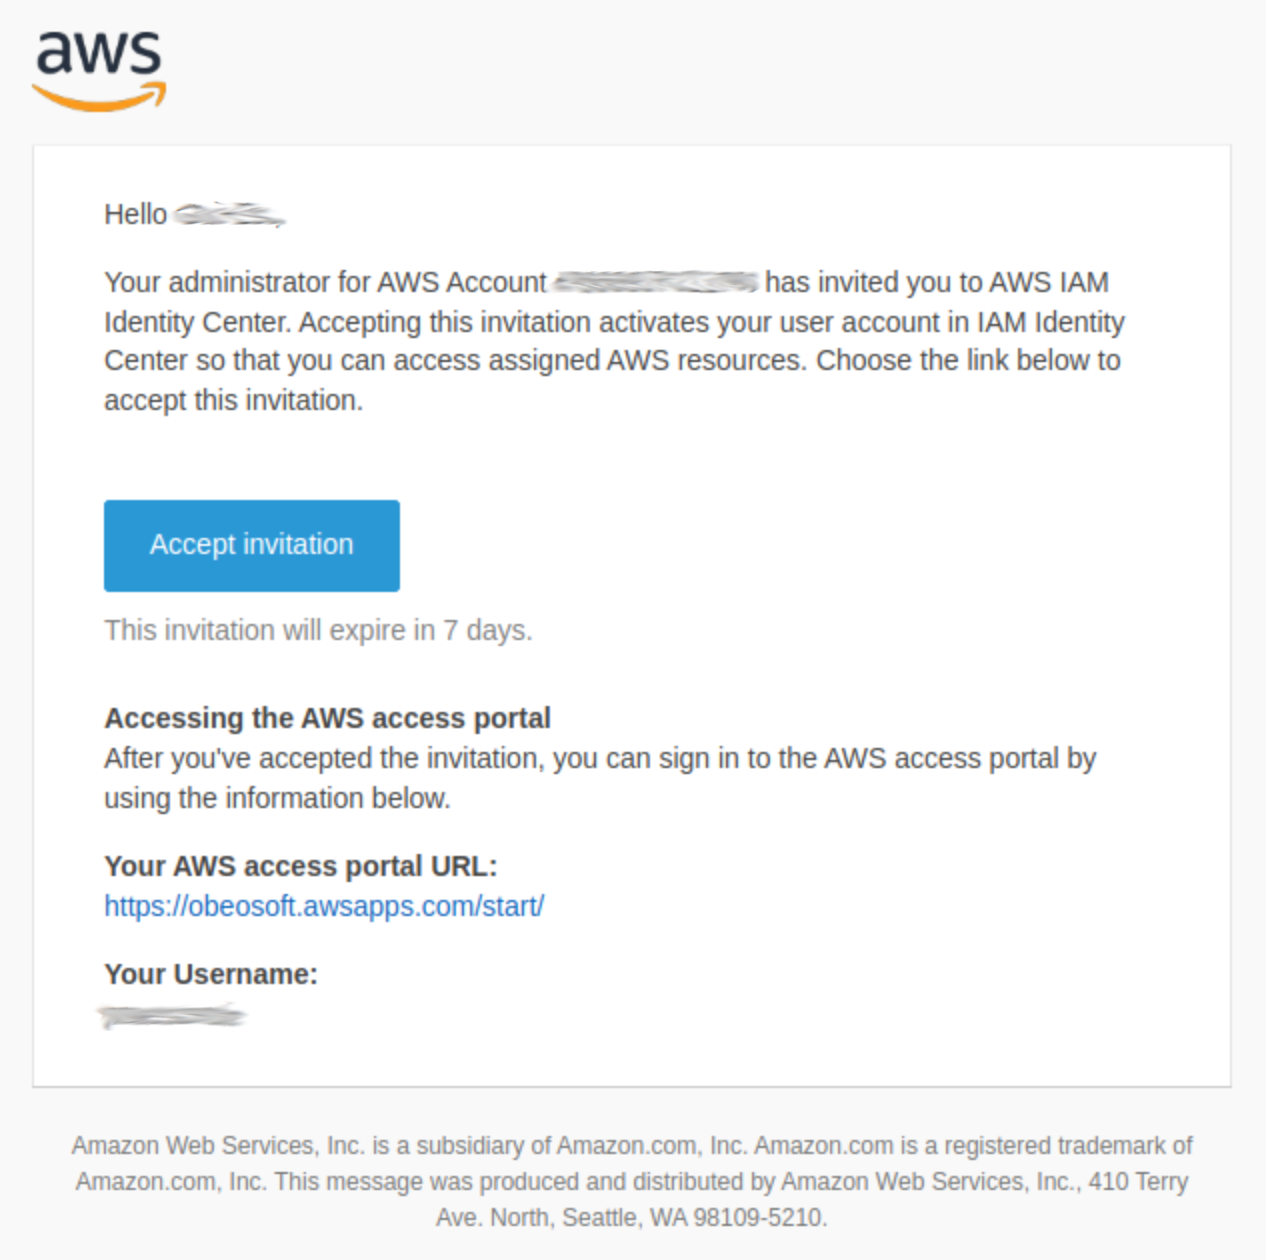
Click on the "Accept Invitation" button.
1.2. Password setup
Utilize the AWS interface to establish the initial password while adhering to the password policy constraints.
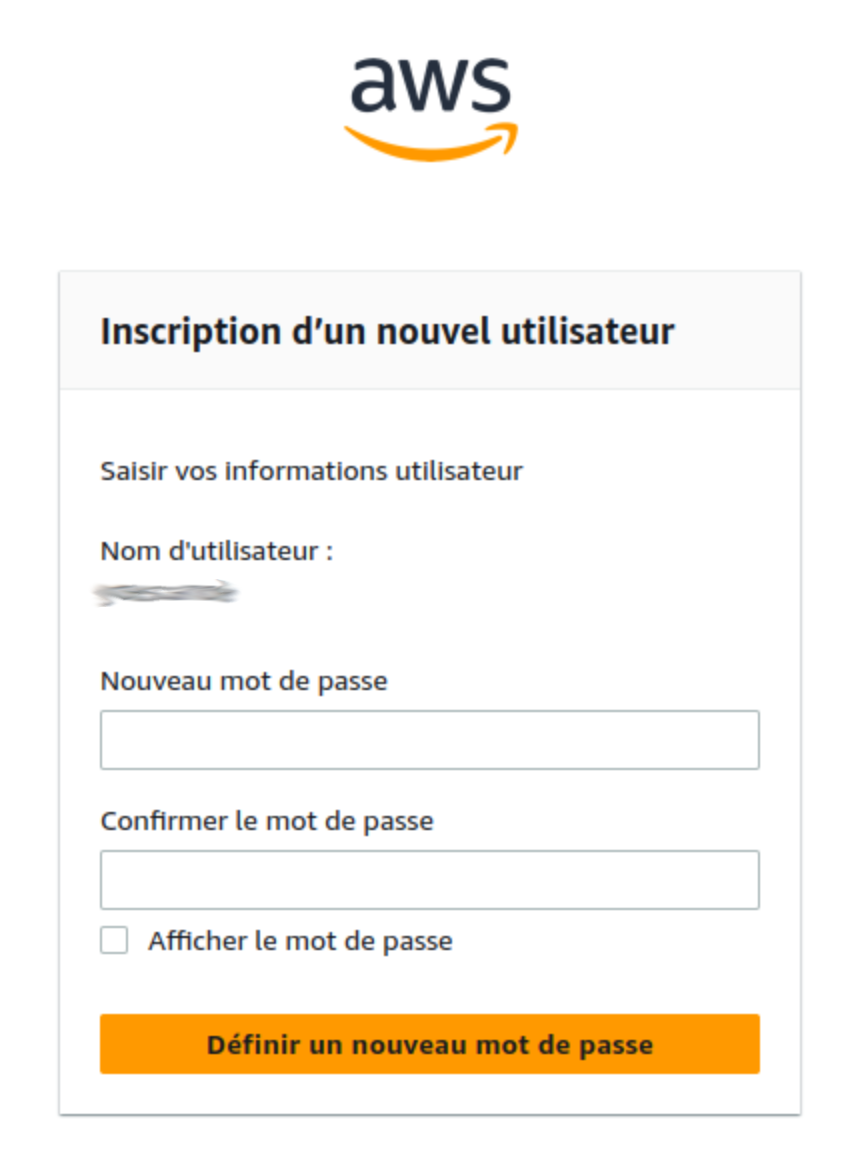
This password is adjustable at any point through the AWS SSO portal.
Given that the Obeo SSO is configured to employ multifactor authentication or authentication validation via temporal codes sent through email, this password will not have an expiration date.
1.3. Classic Authentication
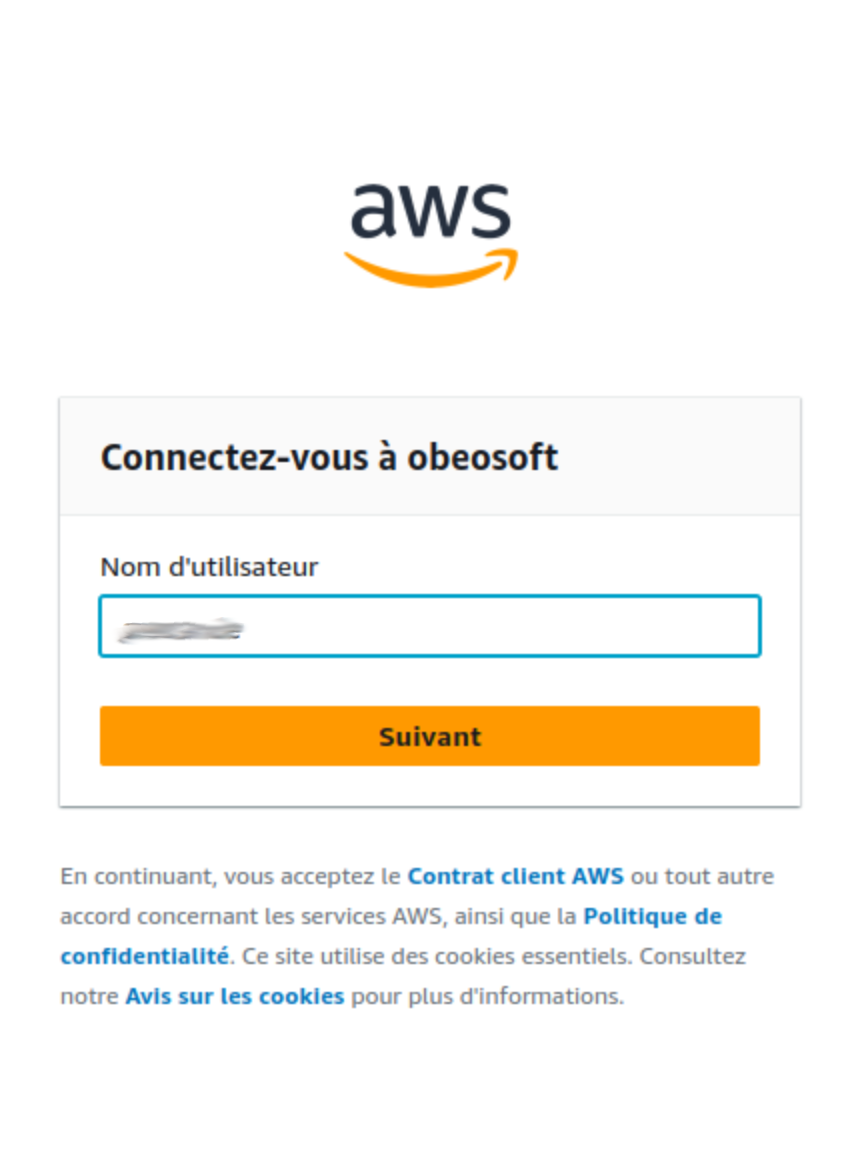
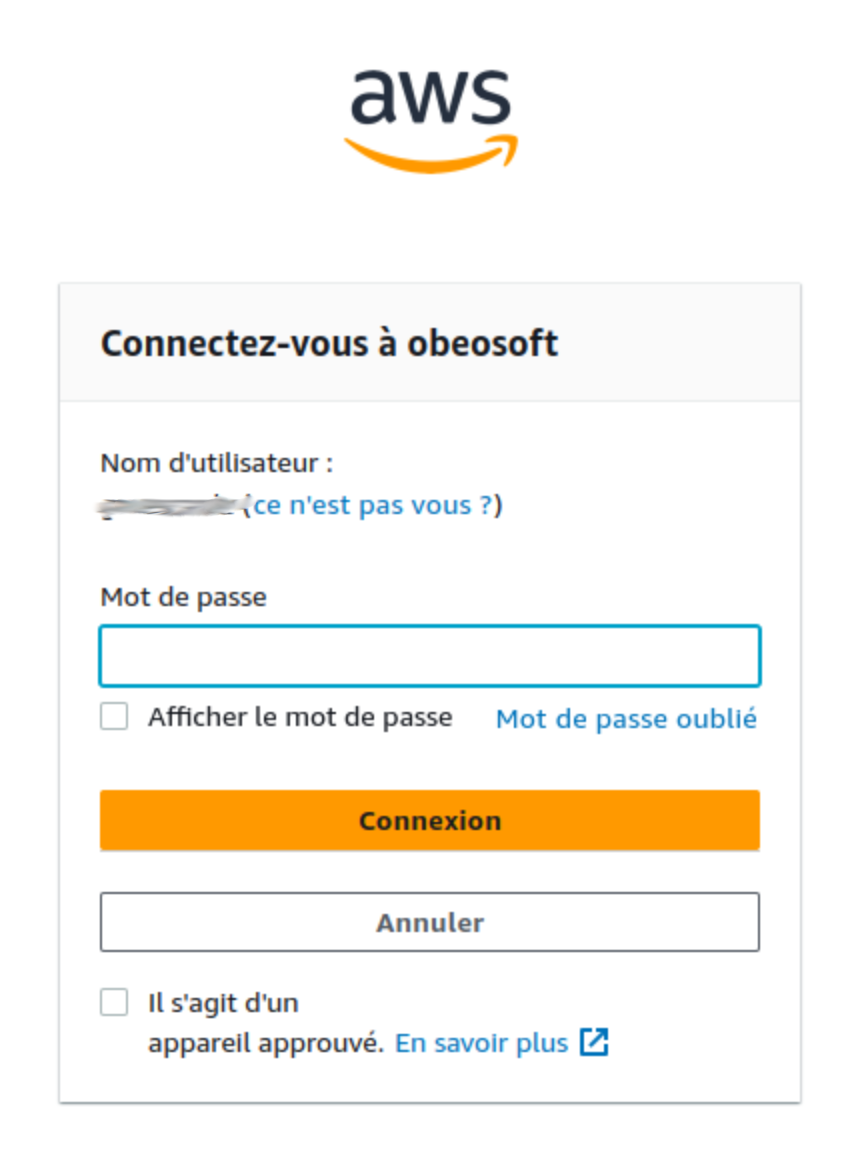
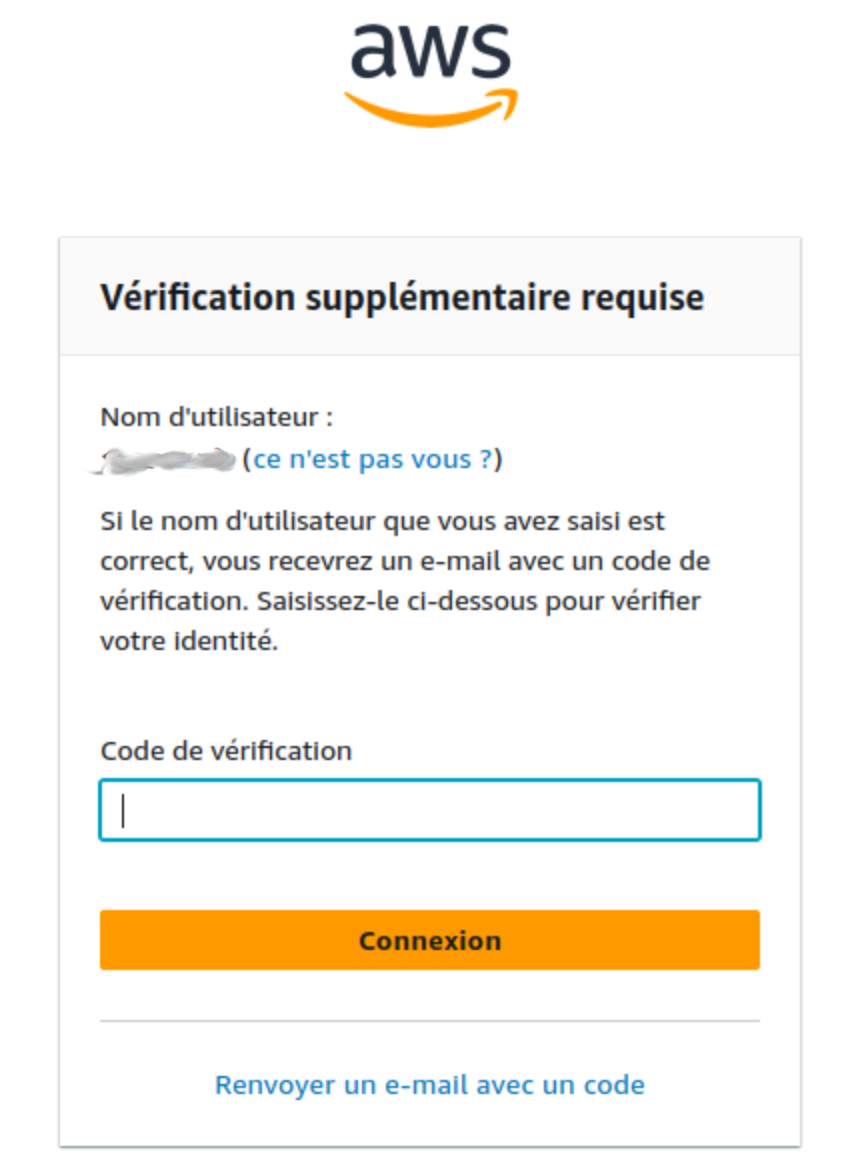
The classic authentication process consists of three steps:
-
Provide the username.
-
Provide the password.
-
Validate the ephemeral code sent by email.
The received email containing the ephemeral code subject is:
Verify your identity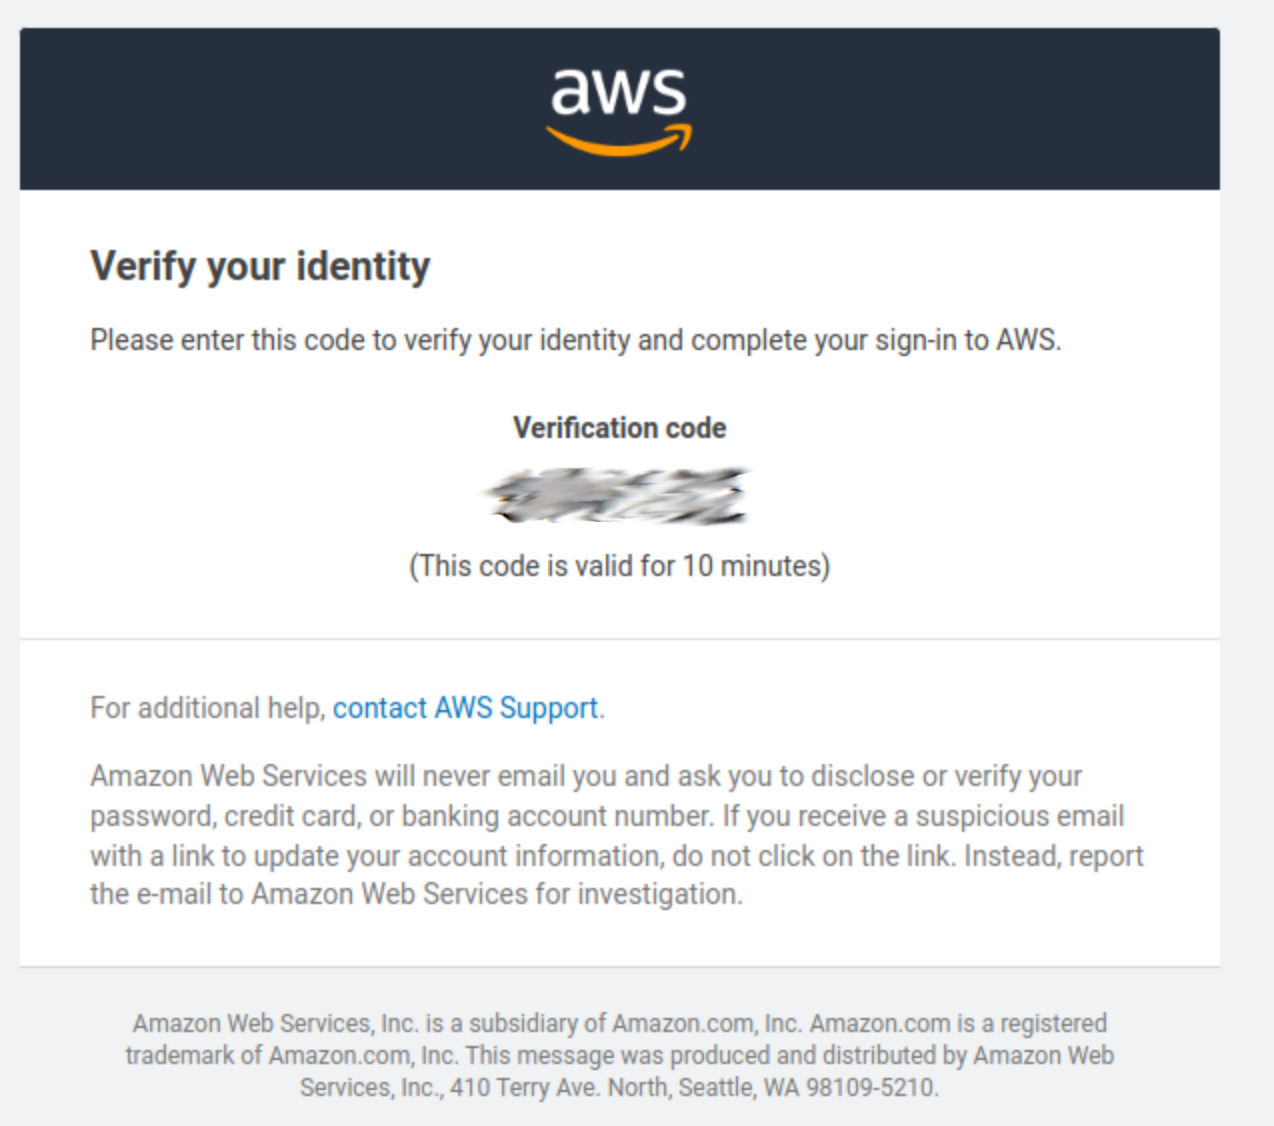
After completing the authentication process, the SSO application page is displayed. This page contains all the Obeo applications assigned to your user profile. By default, only one AppStream access is provided.

2. Appstream Usage
2.1. Appstream usage.
This section explain basic usage of the AWs Appstream 2.0 Portal
|
New Portal
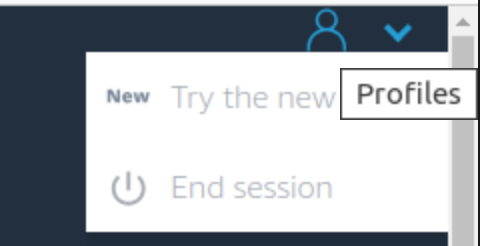
This documentaiton explain the usage of the New version portal of AWS Appstream 2.0. In case your are usng the old portal version, the new portal can be activated using The profile menu :
|
2.1.1. Application catalog
Regarding your user profile, some catalog are vaillable. Basically, only one Catalog is availlable.

Applications can be launched with a simple click on their respective icons.

Once an application is launched, if the session is not already active, it may take a few seconds to prepare the host and the user session before the application becomes ready to use.

Once the session is loaded and the application is started, it is possible to experience some loading time for certain applications.
Once the application is launched and ready, the web browser can be used as a remote screen. The application catalog is directly accessible from the AppStream 2.0 toolbar.
2.1.2. Appstream Portal
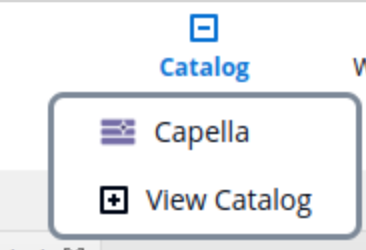
The AppStream portal give access to a toolbar with some functionality :
-
 : Open the application Catalog to open a new one.
 -
 : Open a view with all applications to easily switch between each.
 -
 : Open the folder manager (see Storage usage).
 -
 : Allow to copy / paste text from client host to AppStream applications (Ctrl+C Ctrl+V is also allowed).
 -
 : Give access to some settings linked to the audio and webcam (not useful in the C4C context).
 -
 : Switch the AppStream View on Fullscreen mode.
 -
 : Open a new Windows of your browser to give a secondary screen linked to your AppStream Session.
2.1.3. Storage usage
The AppStream instances provide some storage spaces to the final user.
-
Exchange path (Temporary Files)
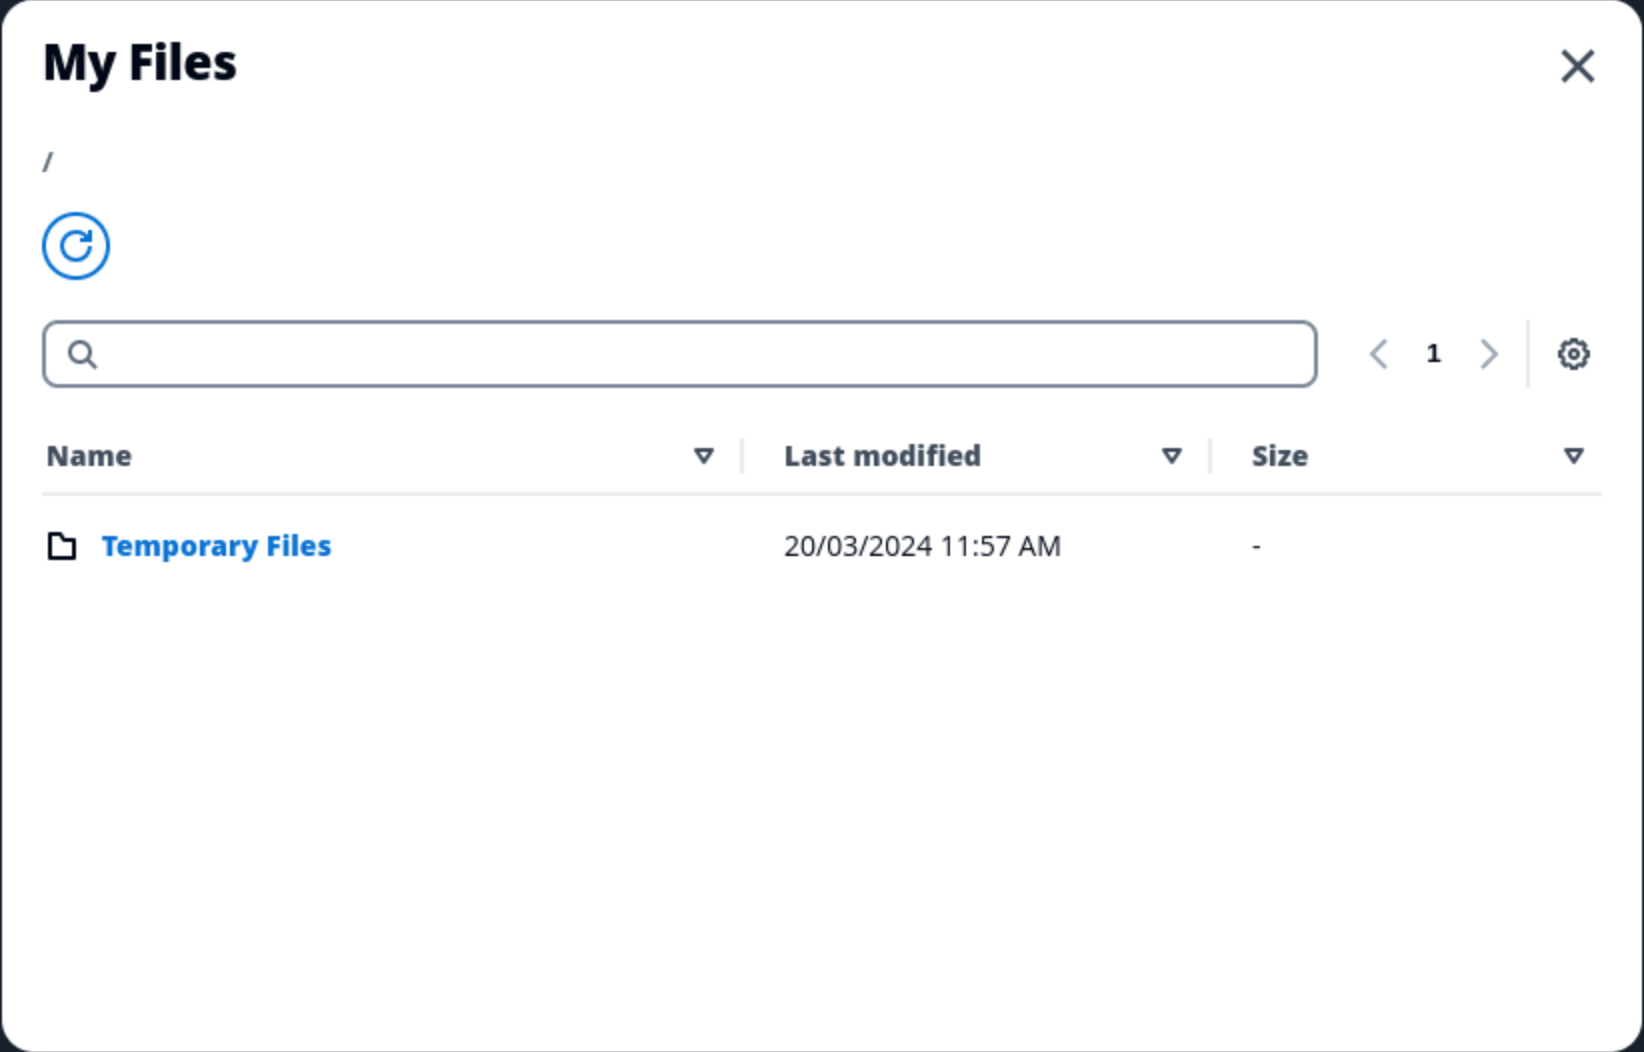
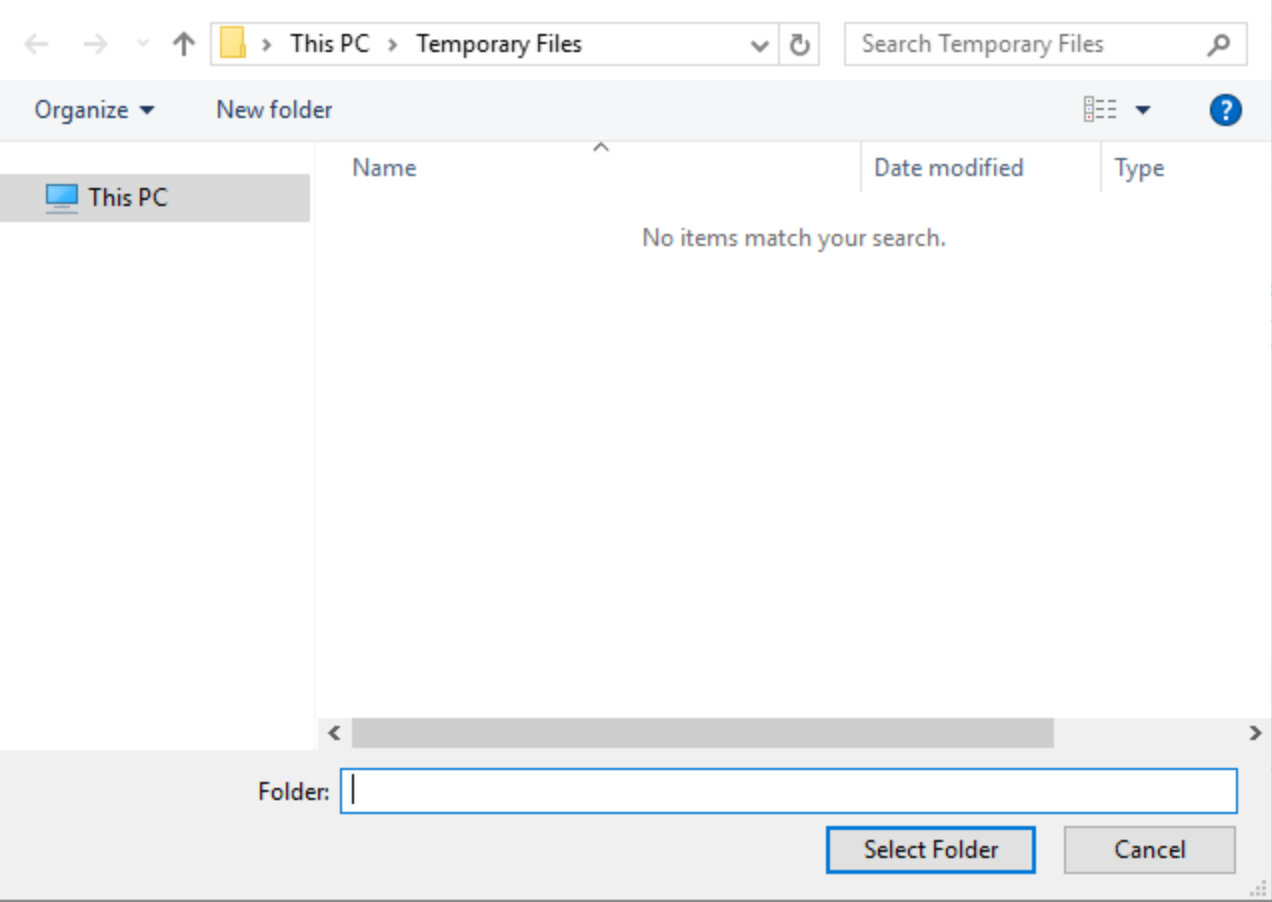
The Temporary Folder is utilized for storing and sharing files between the AppStream host and the user’s host. However, it is important to note that this space is not persistent and is deleted each time the user session is closed.
-
Persisted workspace
The applicative workspace is stored on the Appstream host on a hidden space on the path
D:\PhotonUser\workspace -
Unpersisted Local Working space
Additional folders such as
C:\C:\
2.1.4. Leaving the platform
To leave the platform and free the allowed ressources, you should :
-
Cleanly close the application by using the
X -
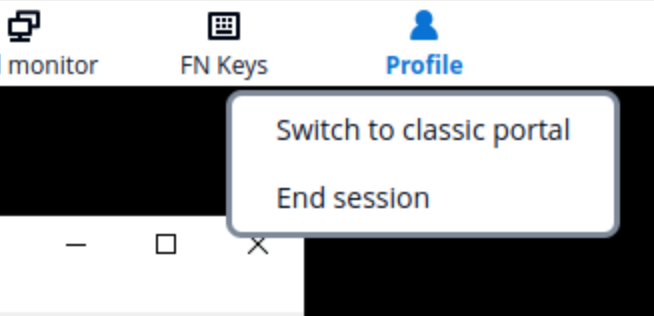
Logout of the Appstream environment using the Profile menu available at the top right of the web page.
2.1.5. Session duration
The Appstream instance is configured to have some session constraints :
-
In case of inactivity, the user is disconnected from his session after 4 hours. The graphical / user session is still alive, but the web page requests a new authentication with credentials to give access.
-
In case of disconnected sessions, the user session is destroyed after 30 minutes. This means that the graphical / user session is killed. If applications was running in this step with unsaved modification, this modifications will be lost
-
A user session cannot exceed 960 minutes. If a user is connected more than this time without disconnection, the session will be automatically killed. If applications was running in this step with unsaved modification, this modifications will be lost
2.1.6. Common Appstream errors
Blank page
When trying to connect to the Cloud for Capella service, you may end-up with the following empty page:

This may happen if you close your session and then try to reconnect too fast (before AWS can clean up properly your previous session). In that case, close your tab, wait for 30 seconds, and open a new tab for reconnecting to the service
3. Quick start
3.1. First connection
Once the Capelle application is selected on the Appstream Catalog, it is possible to experience some loading time after the Appstream instance sarted.
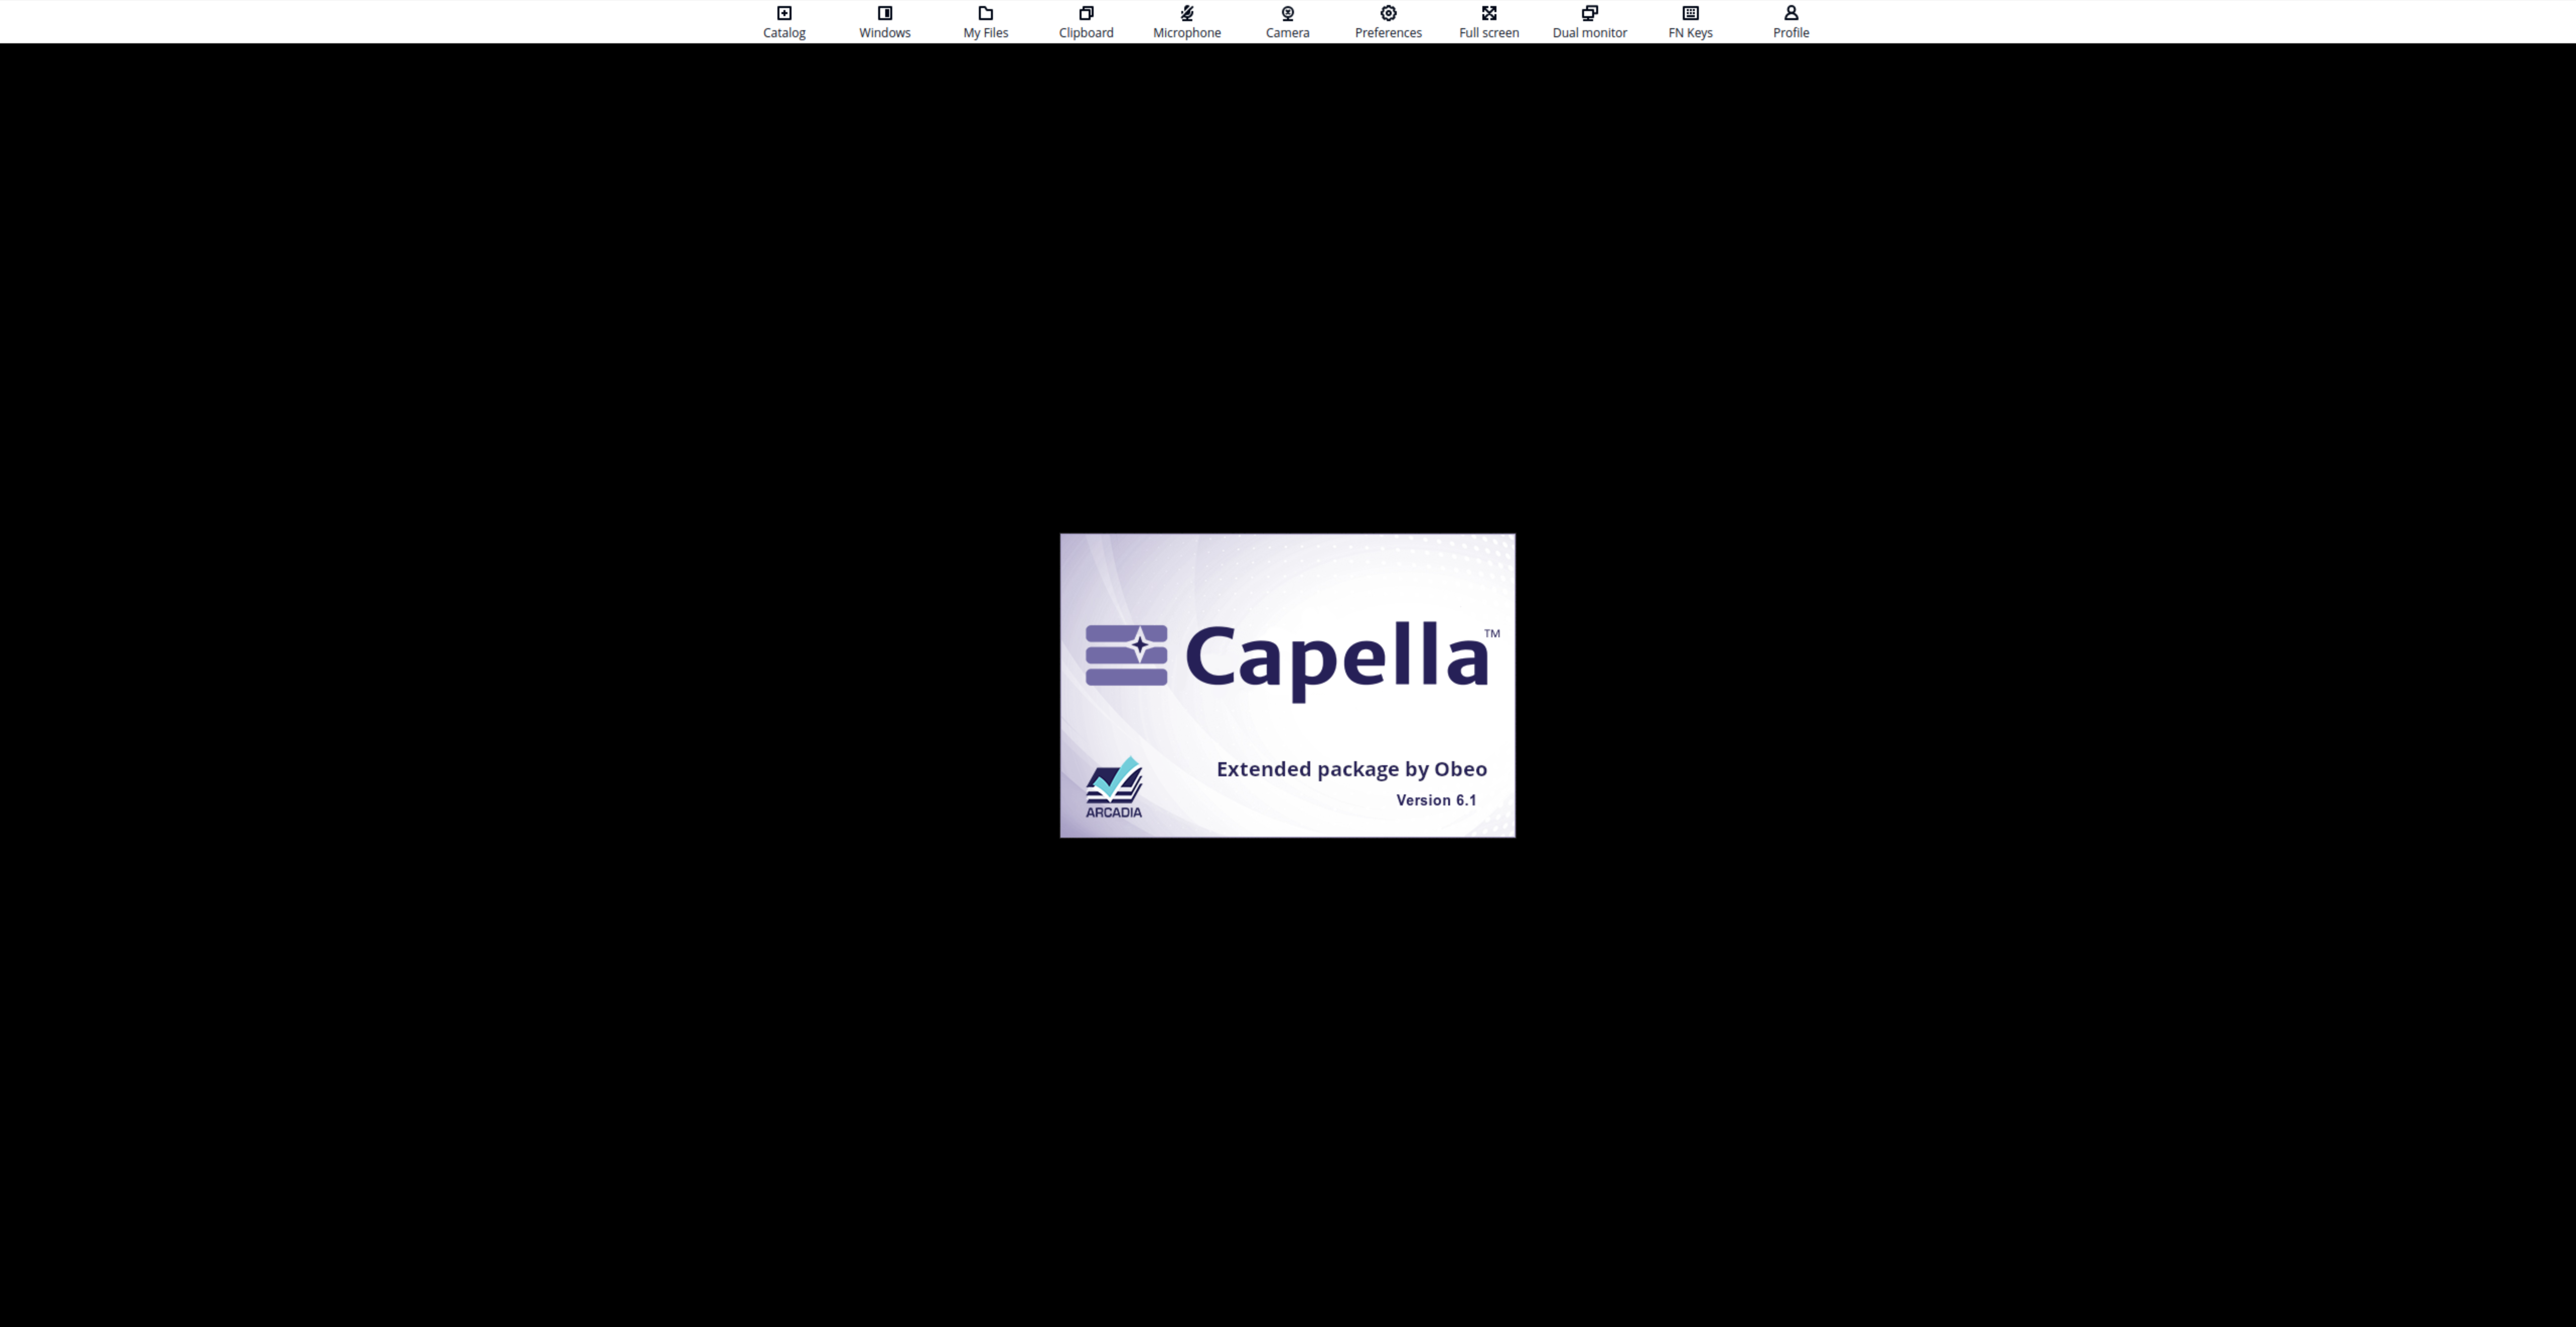
The Capella project on which you will work as been shared on the Team for Capella server hosted inside the service.
For the moment there is one main repository with one project. This will maybe change in the future following the need of your team.
To work on a shared project, please follow those steps:
-
Launch the Capella Application
-
Close the Welcome Page
-
Right click the background of the
Project Explorer view > New > Capella Connected Projet -
Select the Default repository and click on the Test Connection button
-
Enter your repository credentials - For the moment its configured as identification : your password is your login
-
On the next page, the shared project is already selected, the local name is prefill with the
.team -
Click on Finish
A "connected" project has been created in your workspace.
-
It contains a specific
.aird -
Once opened and connected, the Capella model is visible, the share diagrams too and you can work on it as you would work with a local, file-based Capella model
-
Main difference : when a model element or a diagram is modified, a lock is automatically taken to prevent conflicts
-
green padlocks indicate that you have a lock
-
other users will see red padlock with the lockowner in a tooltip when the mouse hovers it.
-
when you click on save : locks are released and changes are propagated to other connected user
-
-
There a specific "Save with description" action which allows you to put a description for each save (commit)
-
It is possible to force this from preferences.
-
-
You can also manually take lock with the Lock actions available on model elements and diagrams, these locks will have to unlocked manually.
-
You can also see all the commits done on the repository from the Commit History view
(Windows > Show View > Others… > Sirius Team Collaboration > Commit History)
3.2. Next connections
When you will come back to the service, you will just need to :
-
Launch Capella
-
Open the project
-
Double click the .aird or right click > Open Session
-
Enter your credentials and validate
-
if you click on remember me, it will directly open the session for the next openings
-
4. Download a project from Capella Appstream
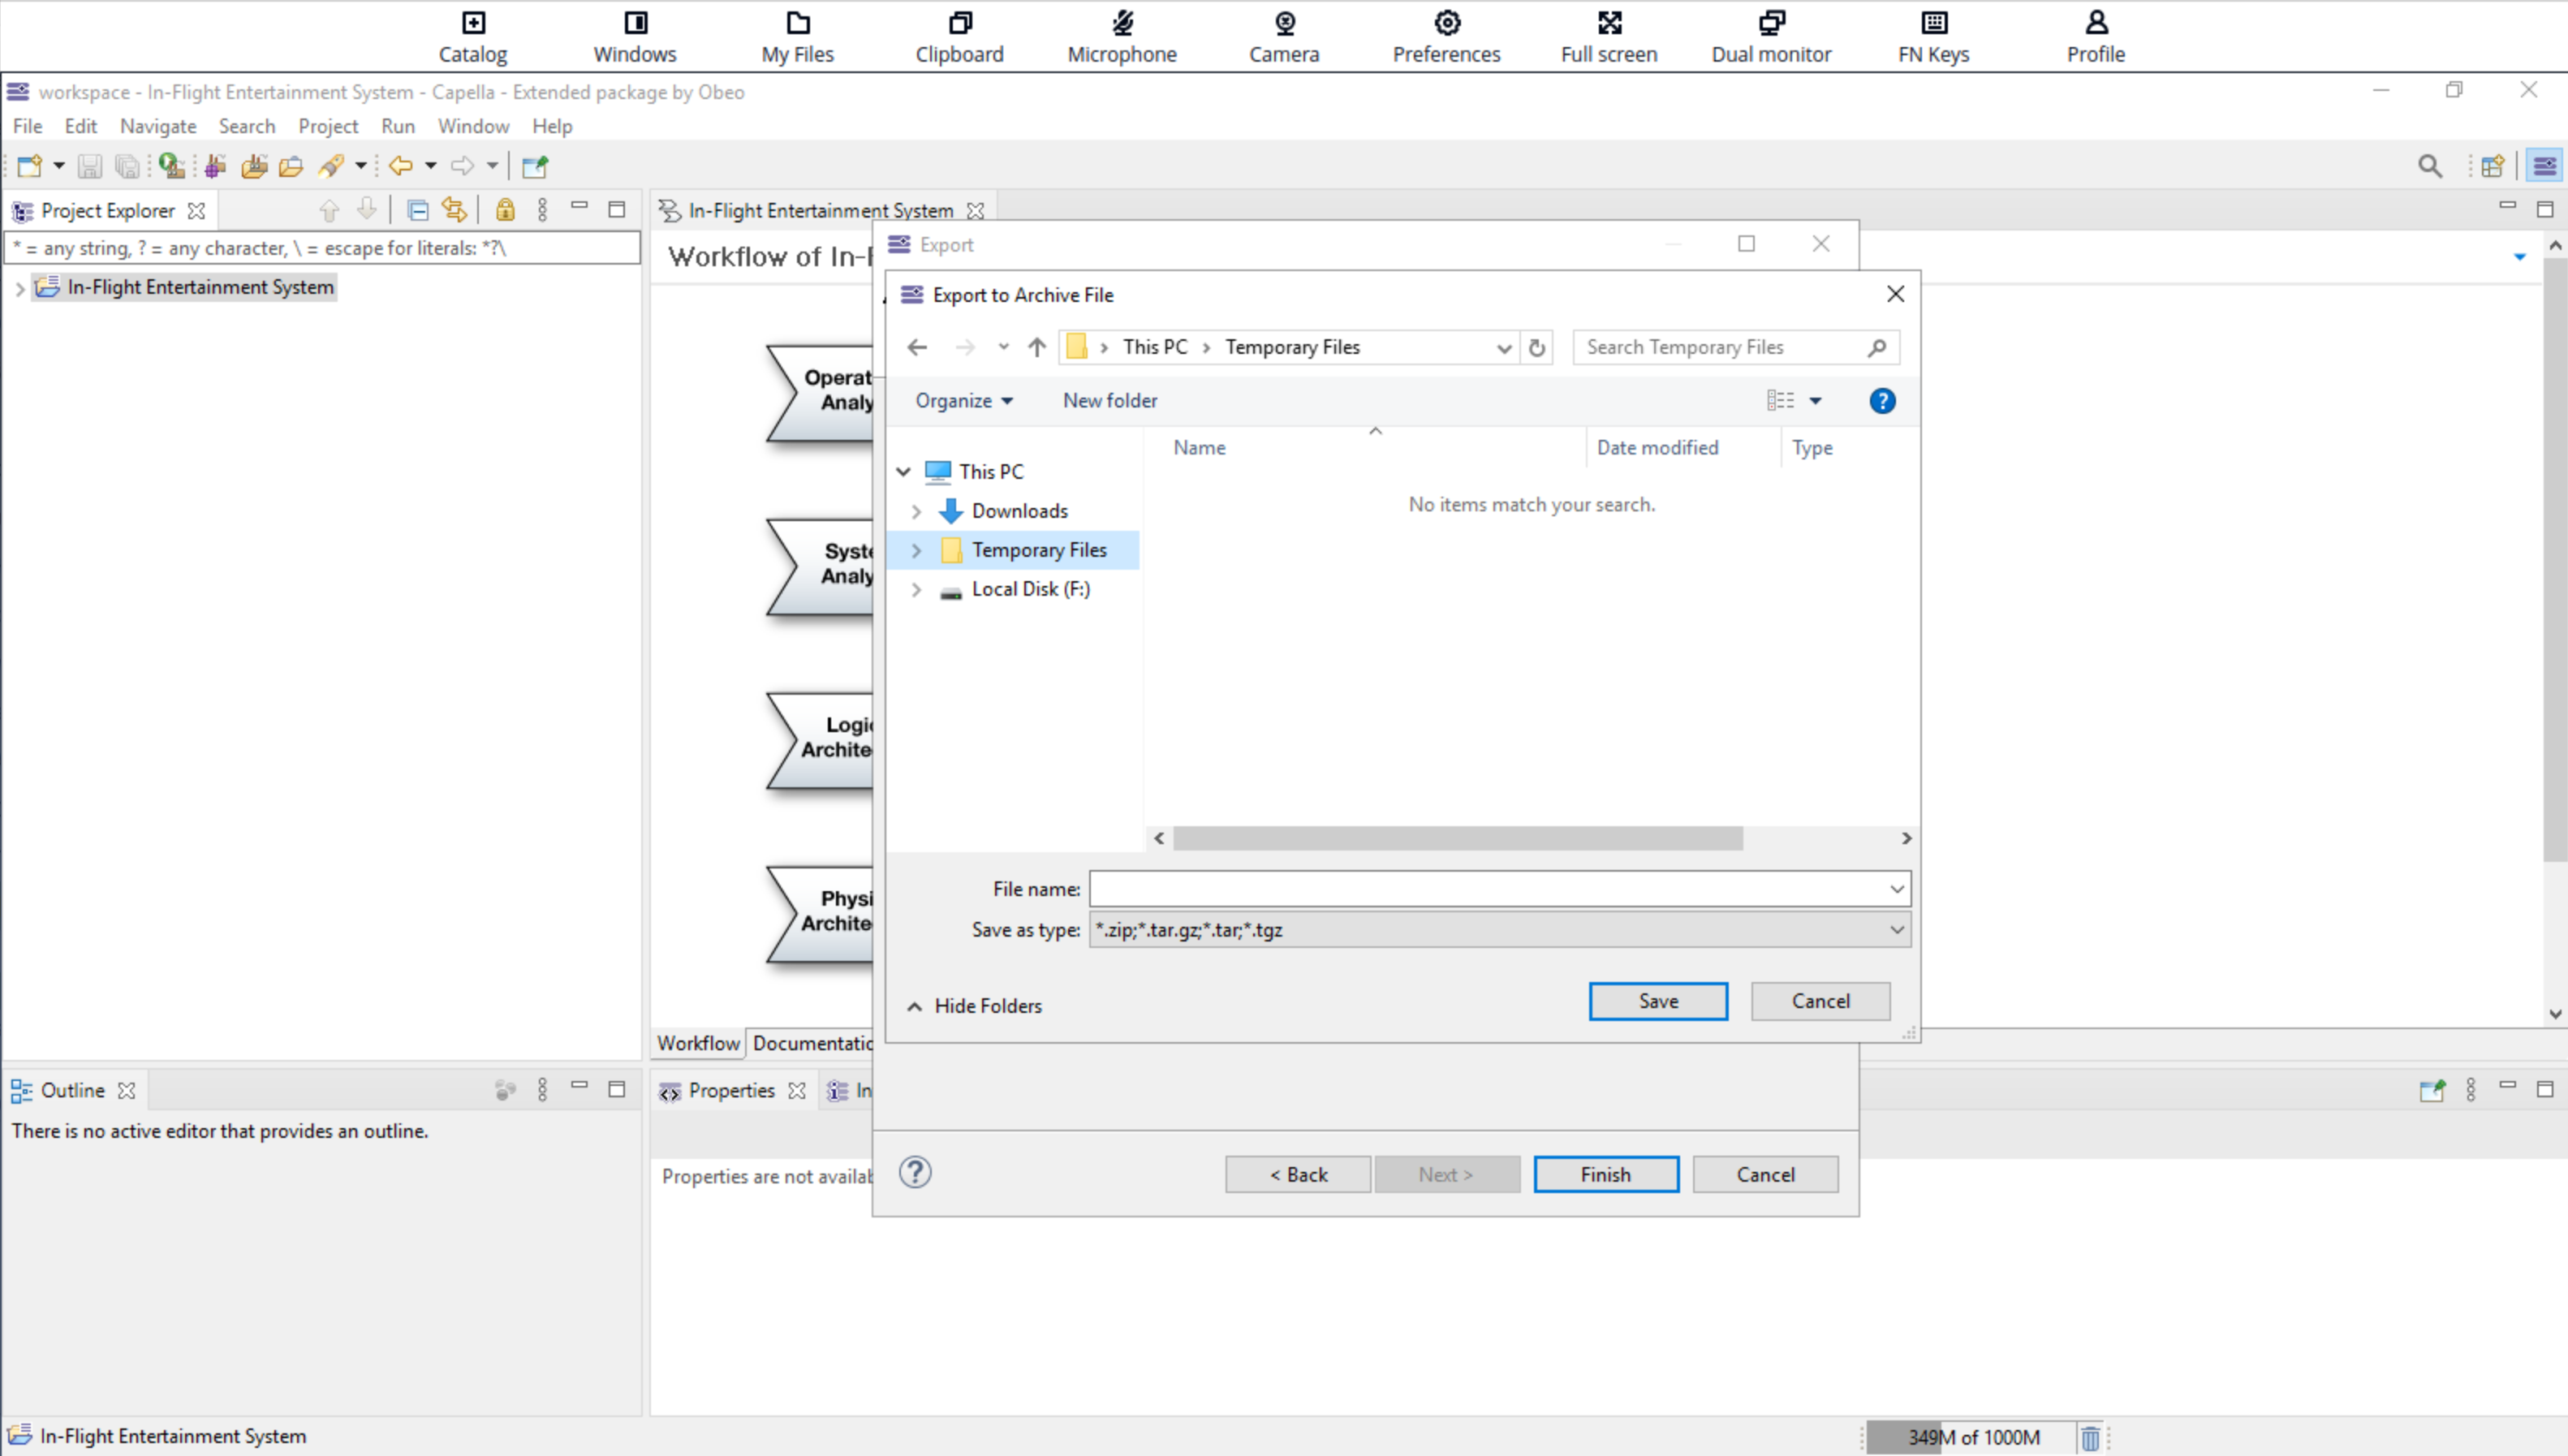
To export a project from the Capella Appstream instance the Temporary Files
-
Export the Capella project as a zip:
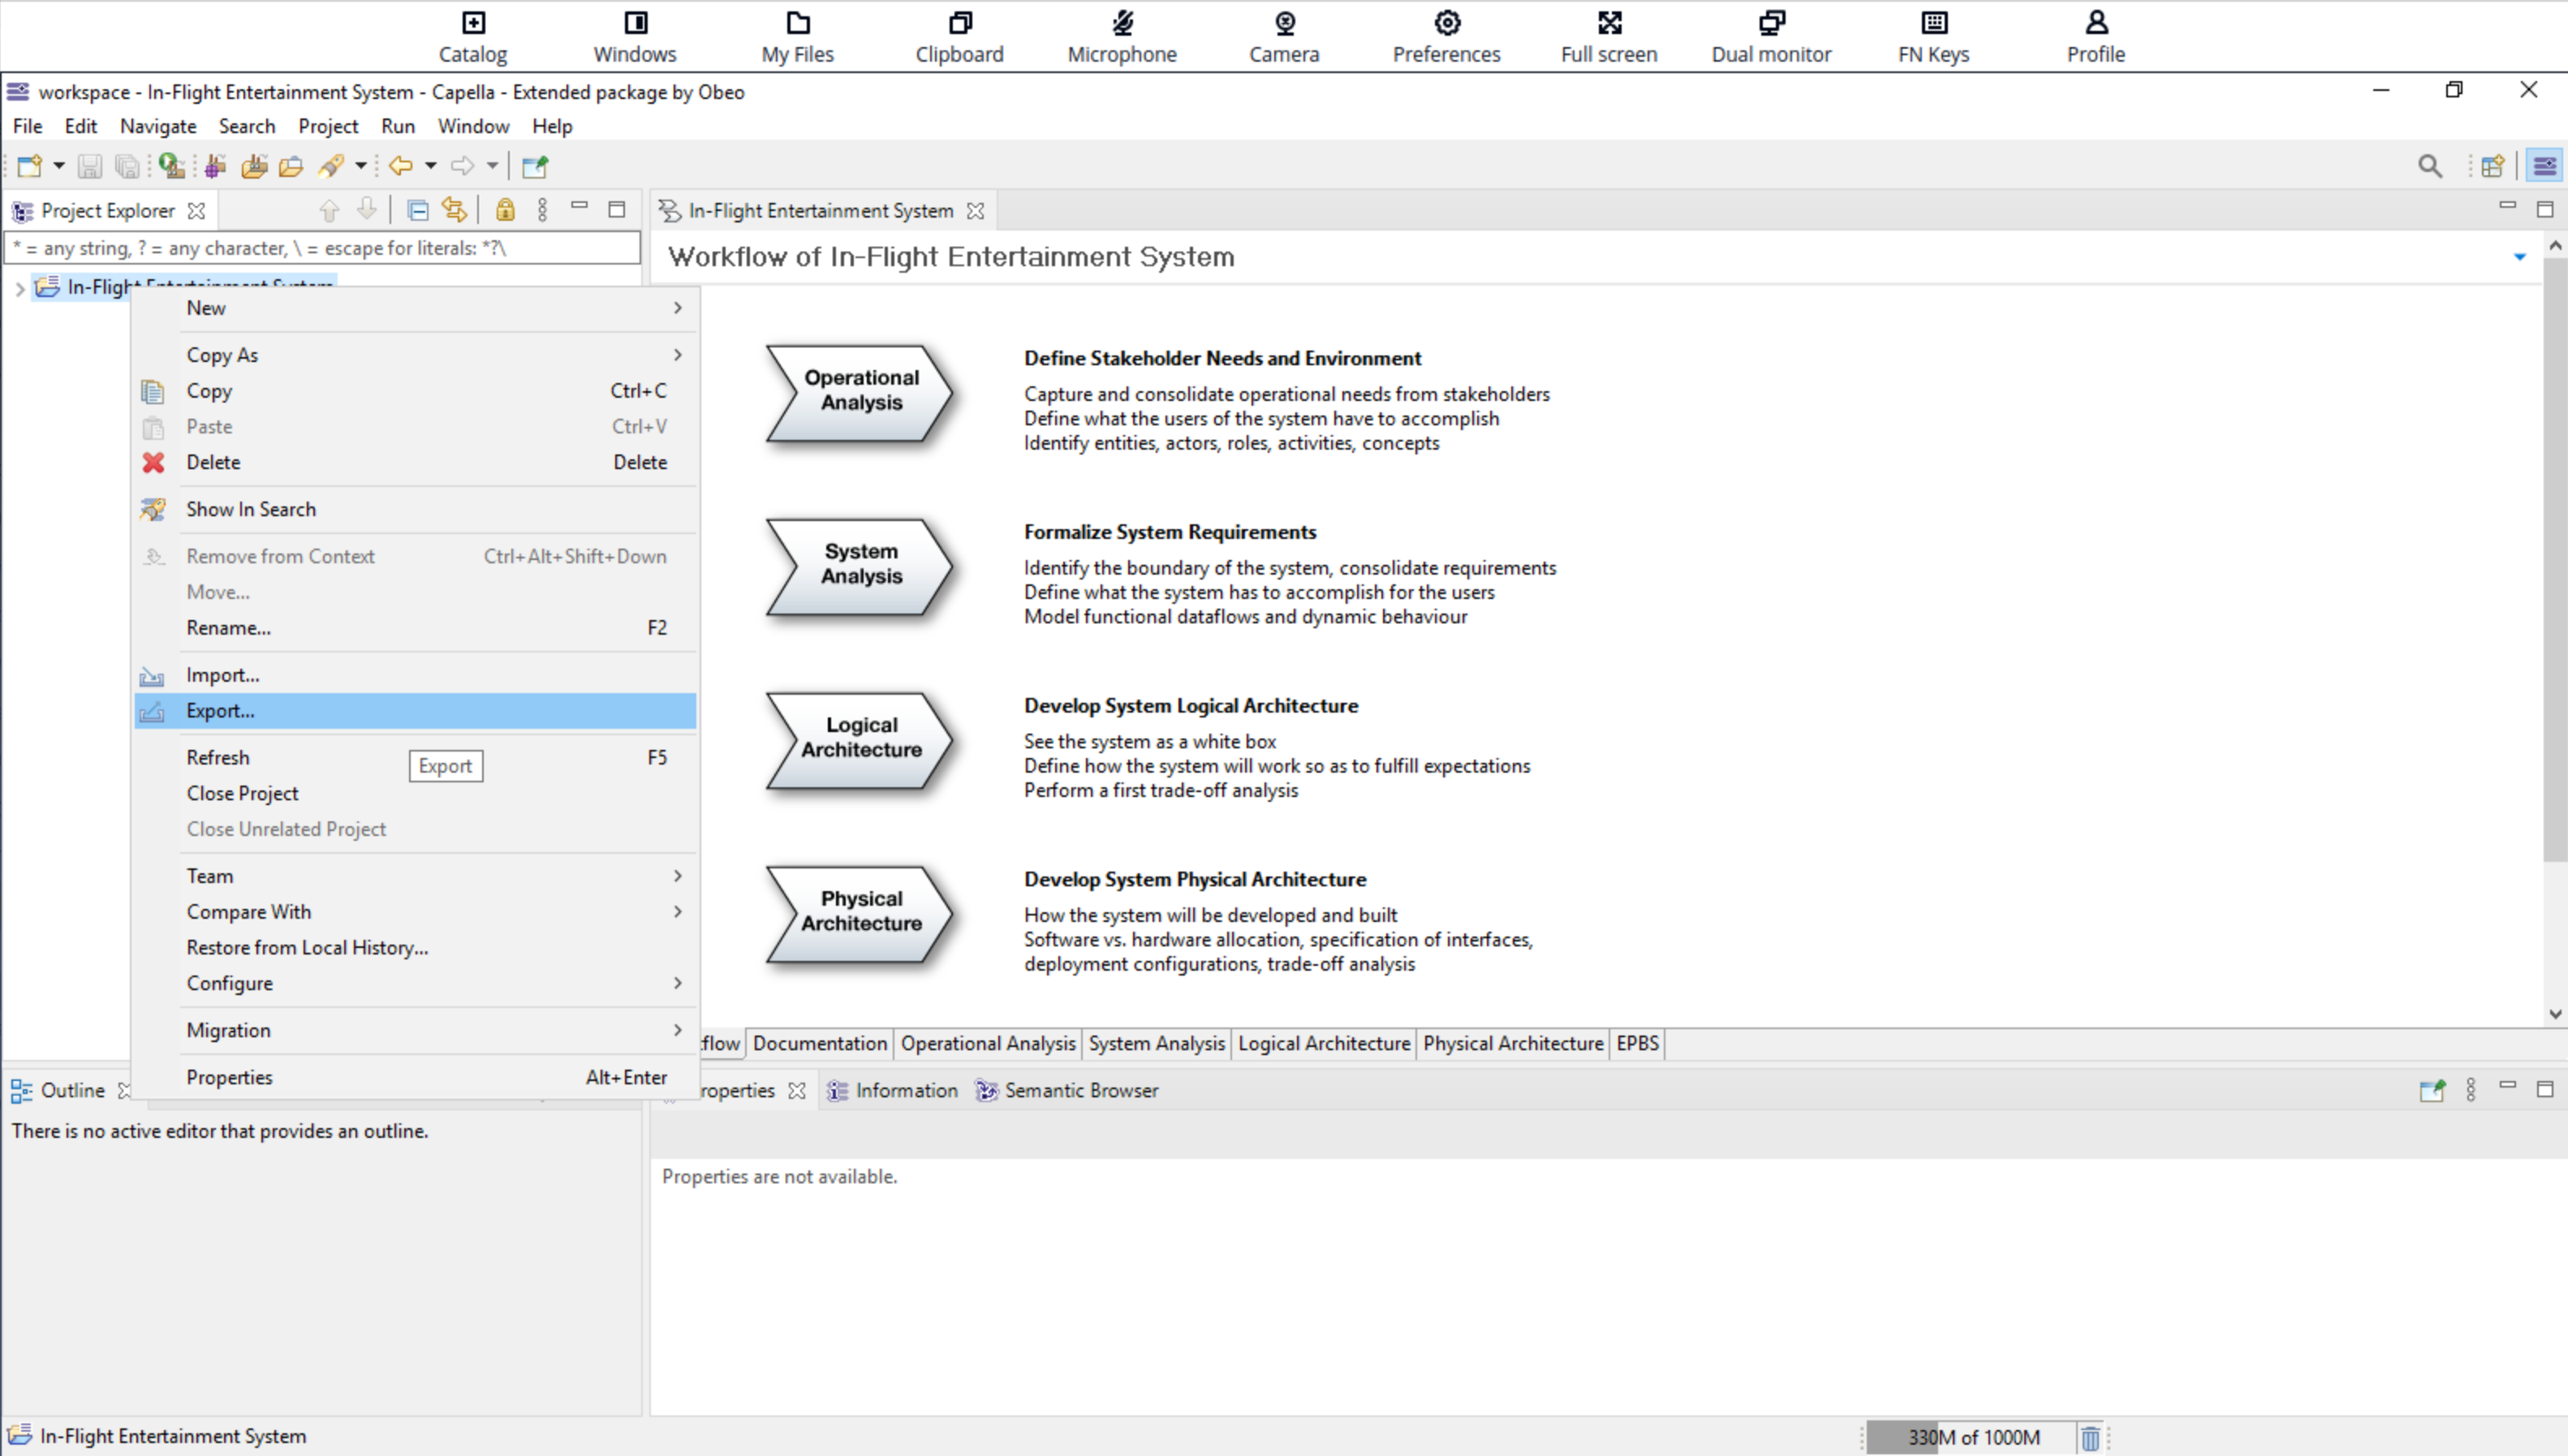
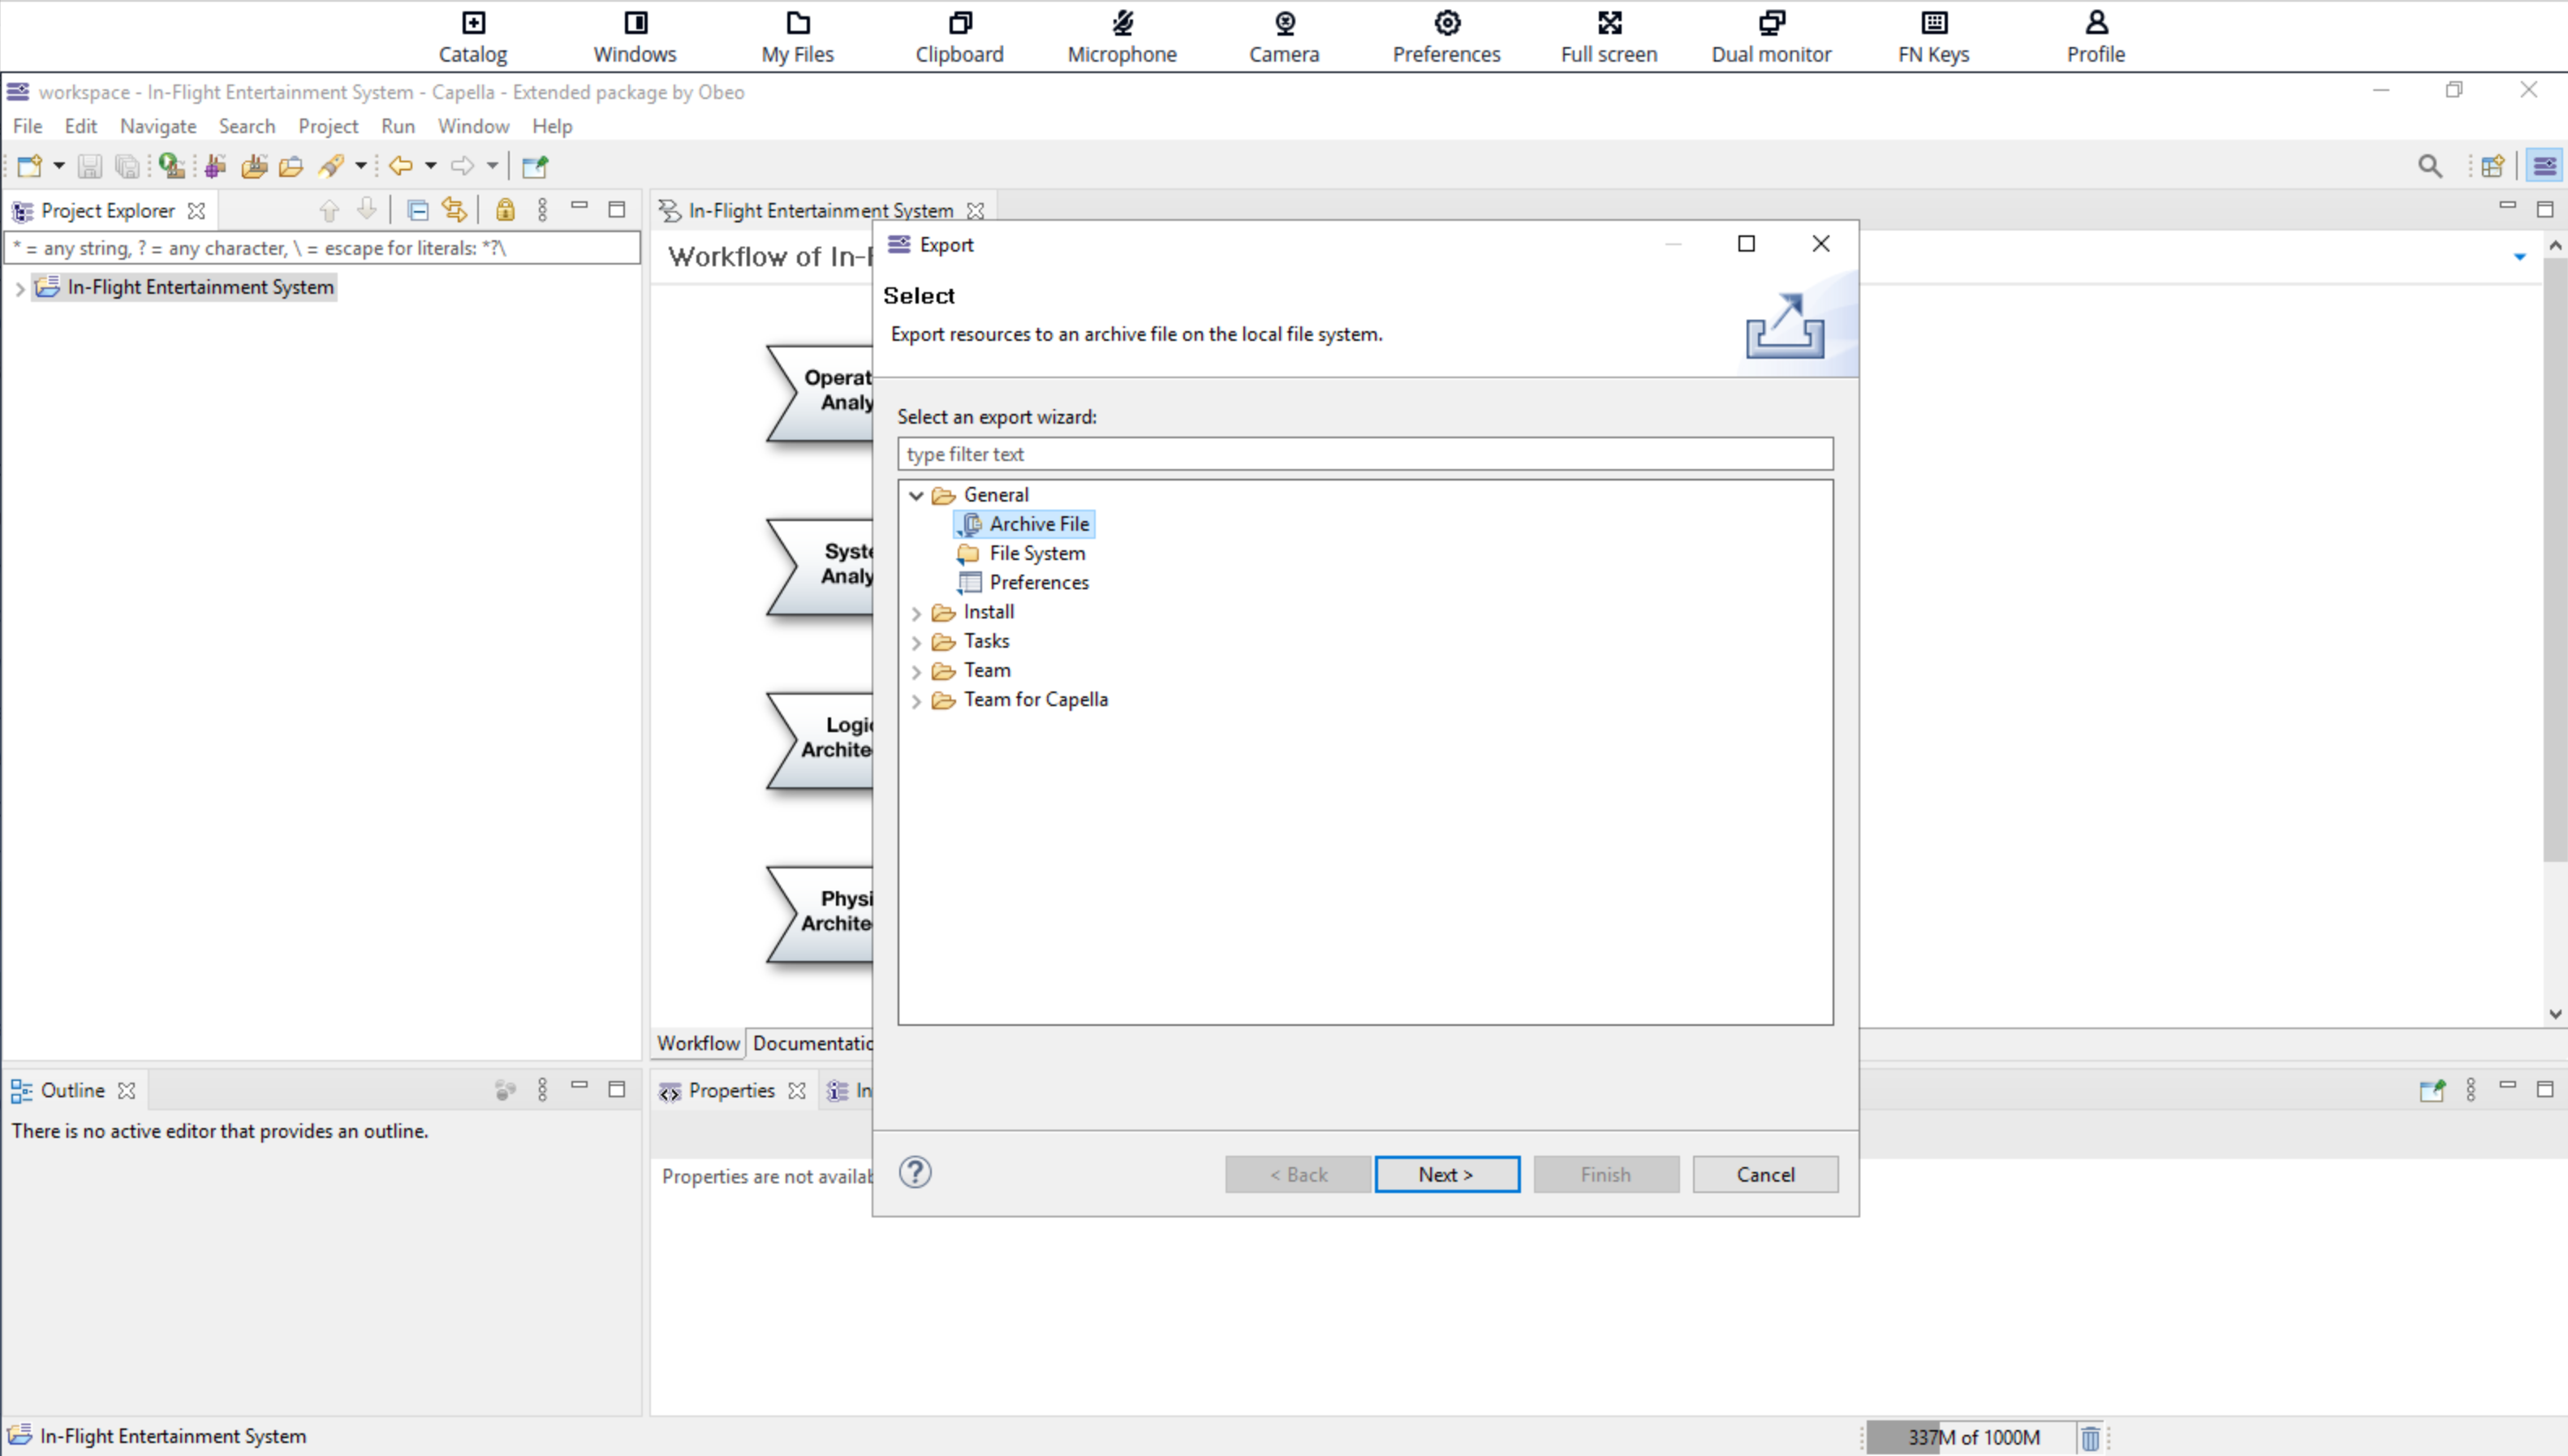
-
Select the Temporary Files path
D:\PhotonUser\My Files\Temporary Files\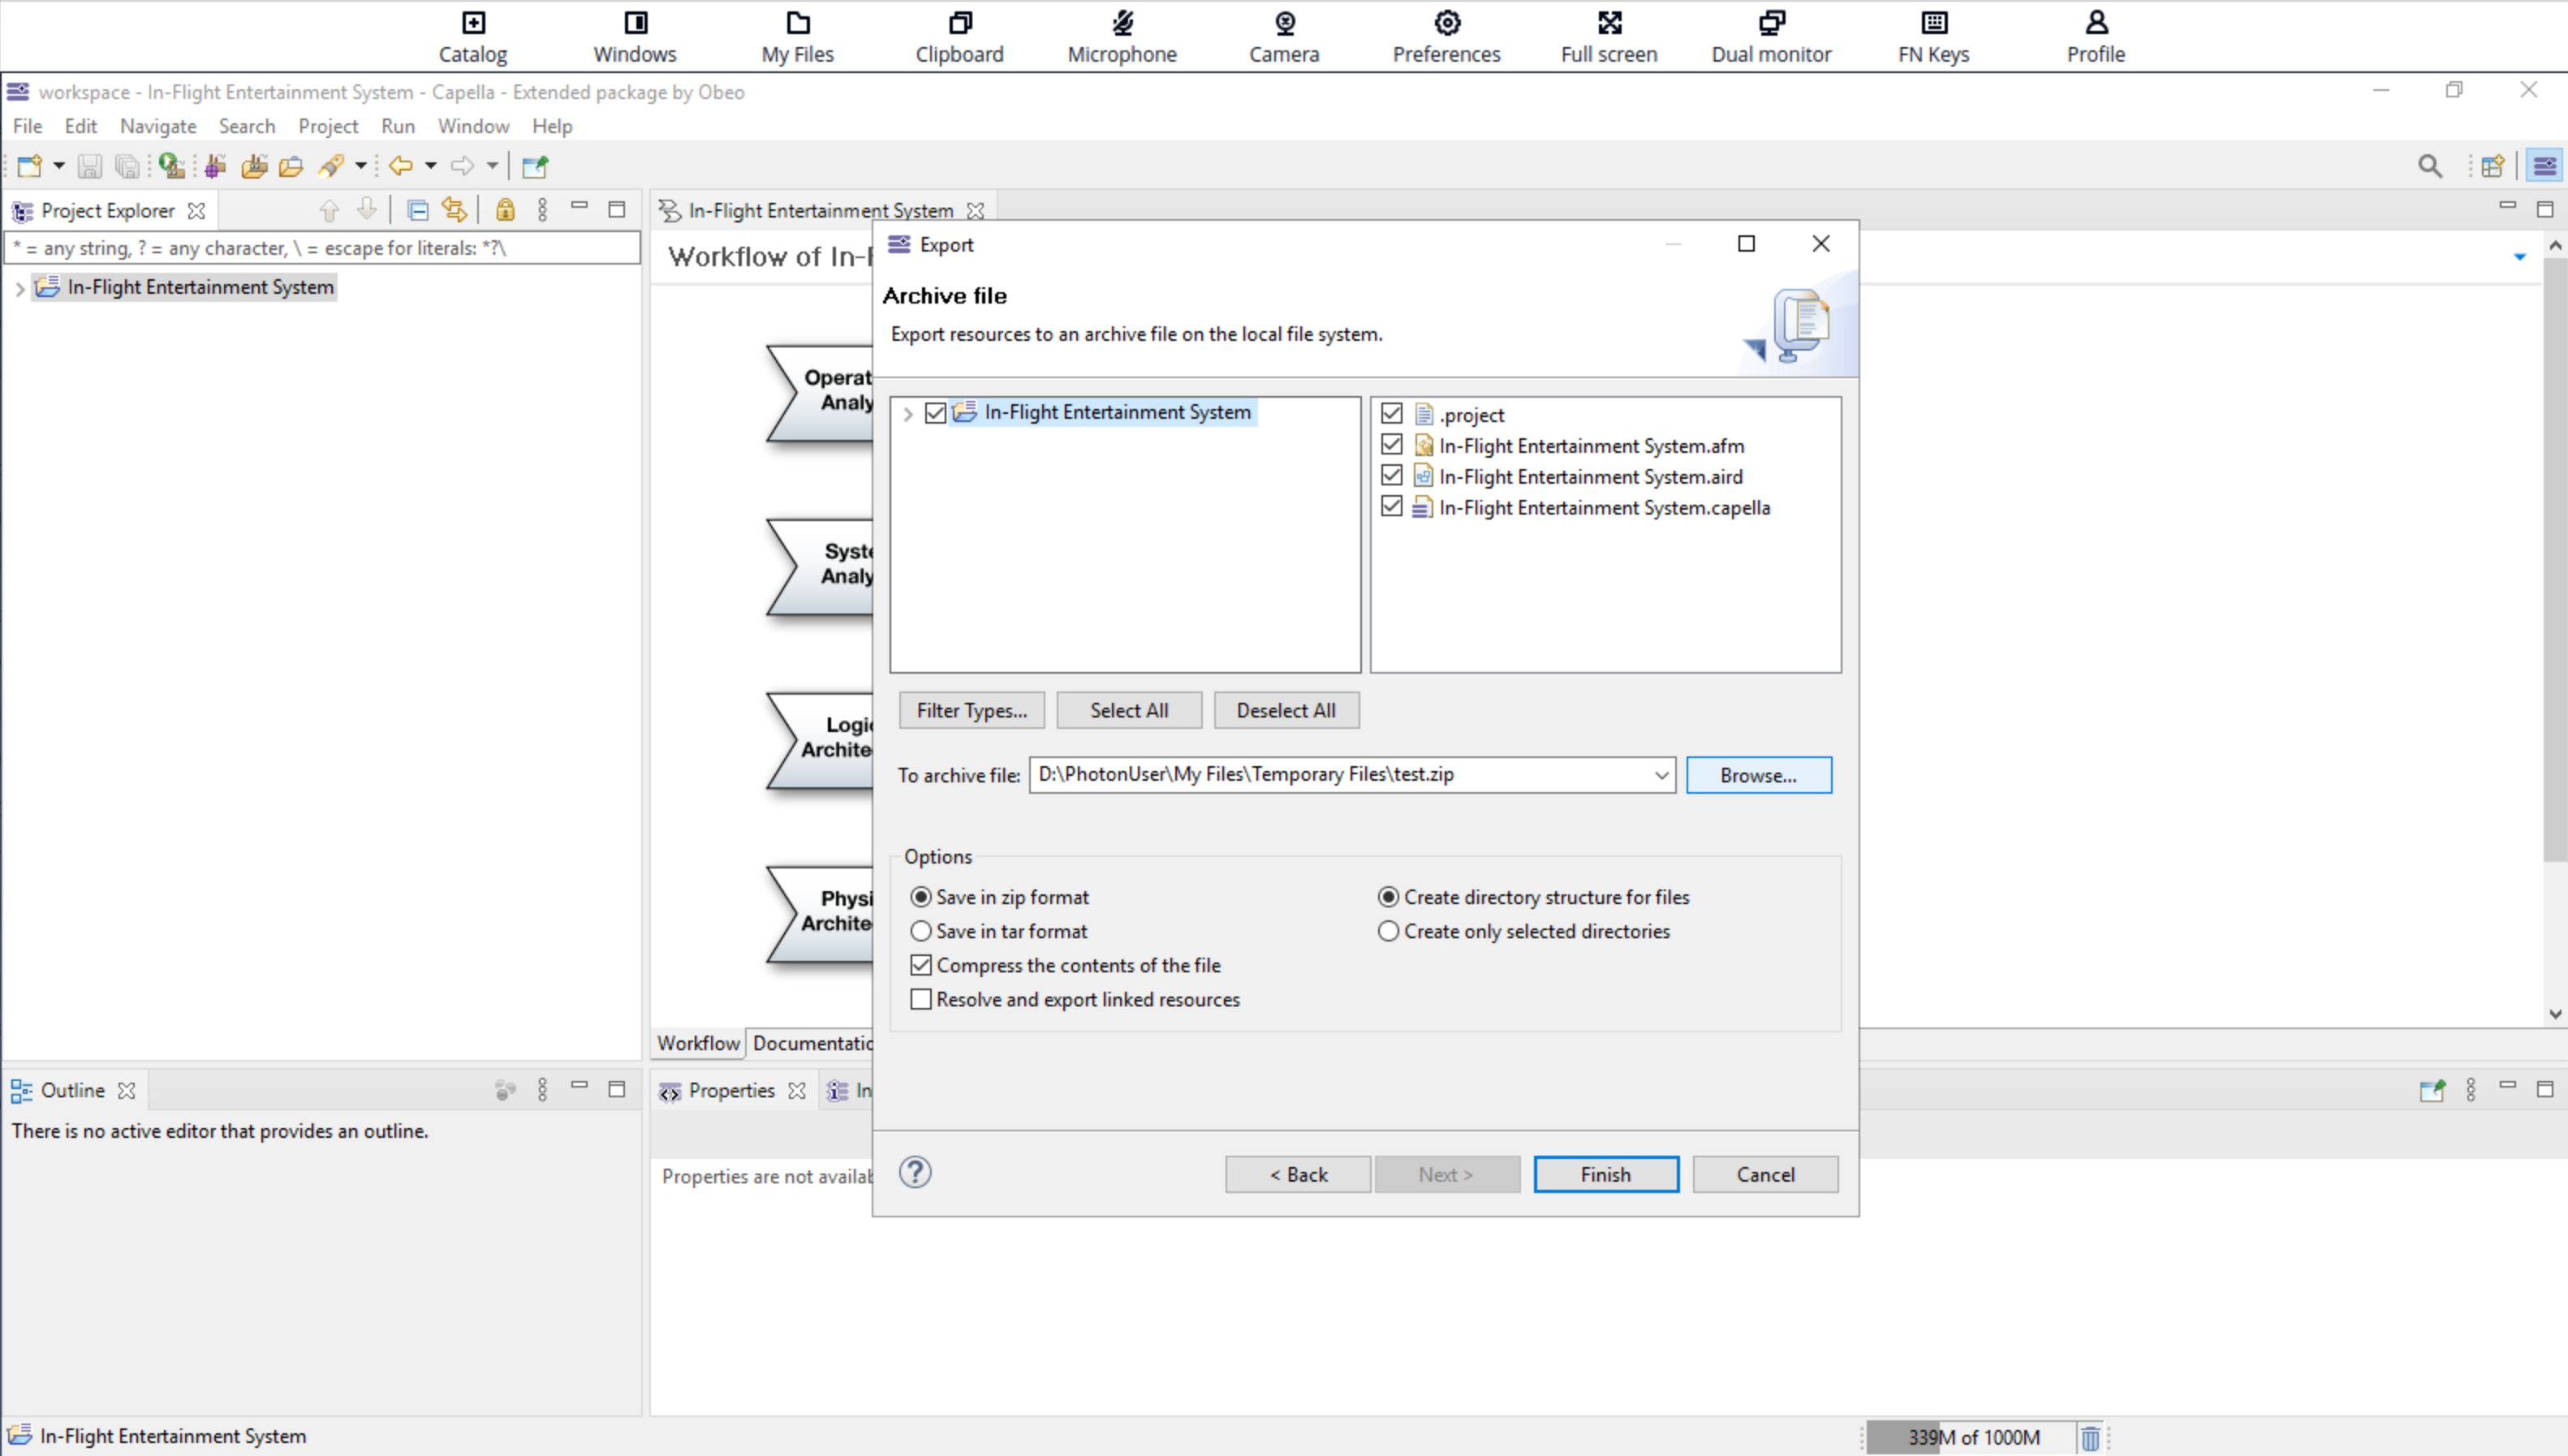
-
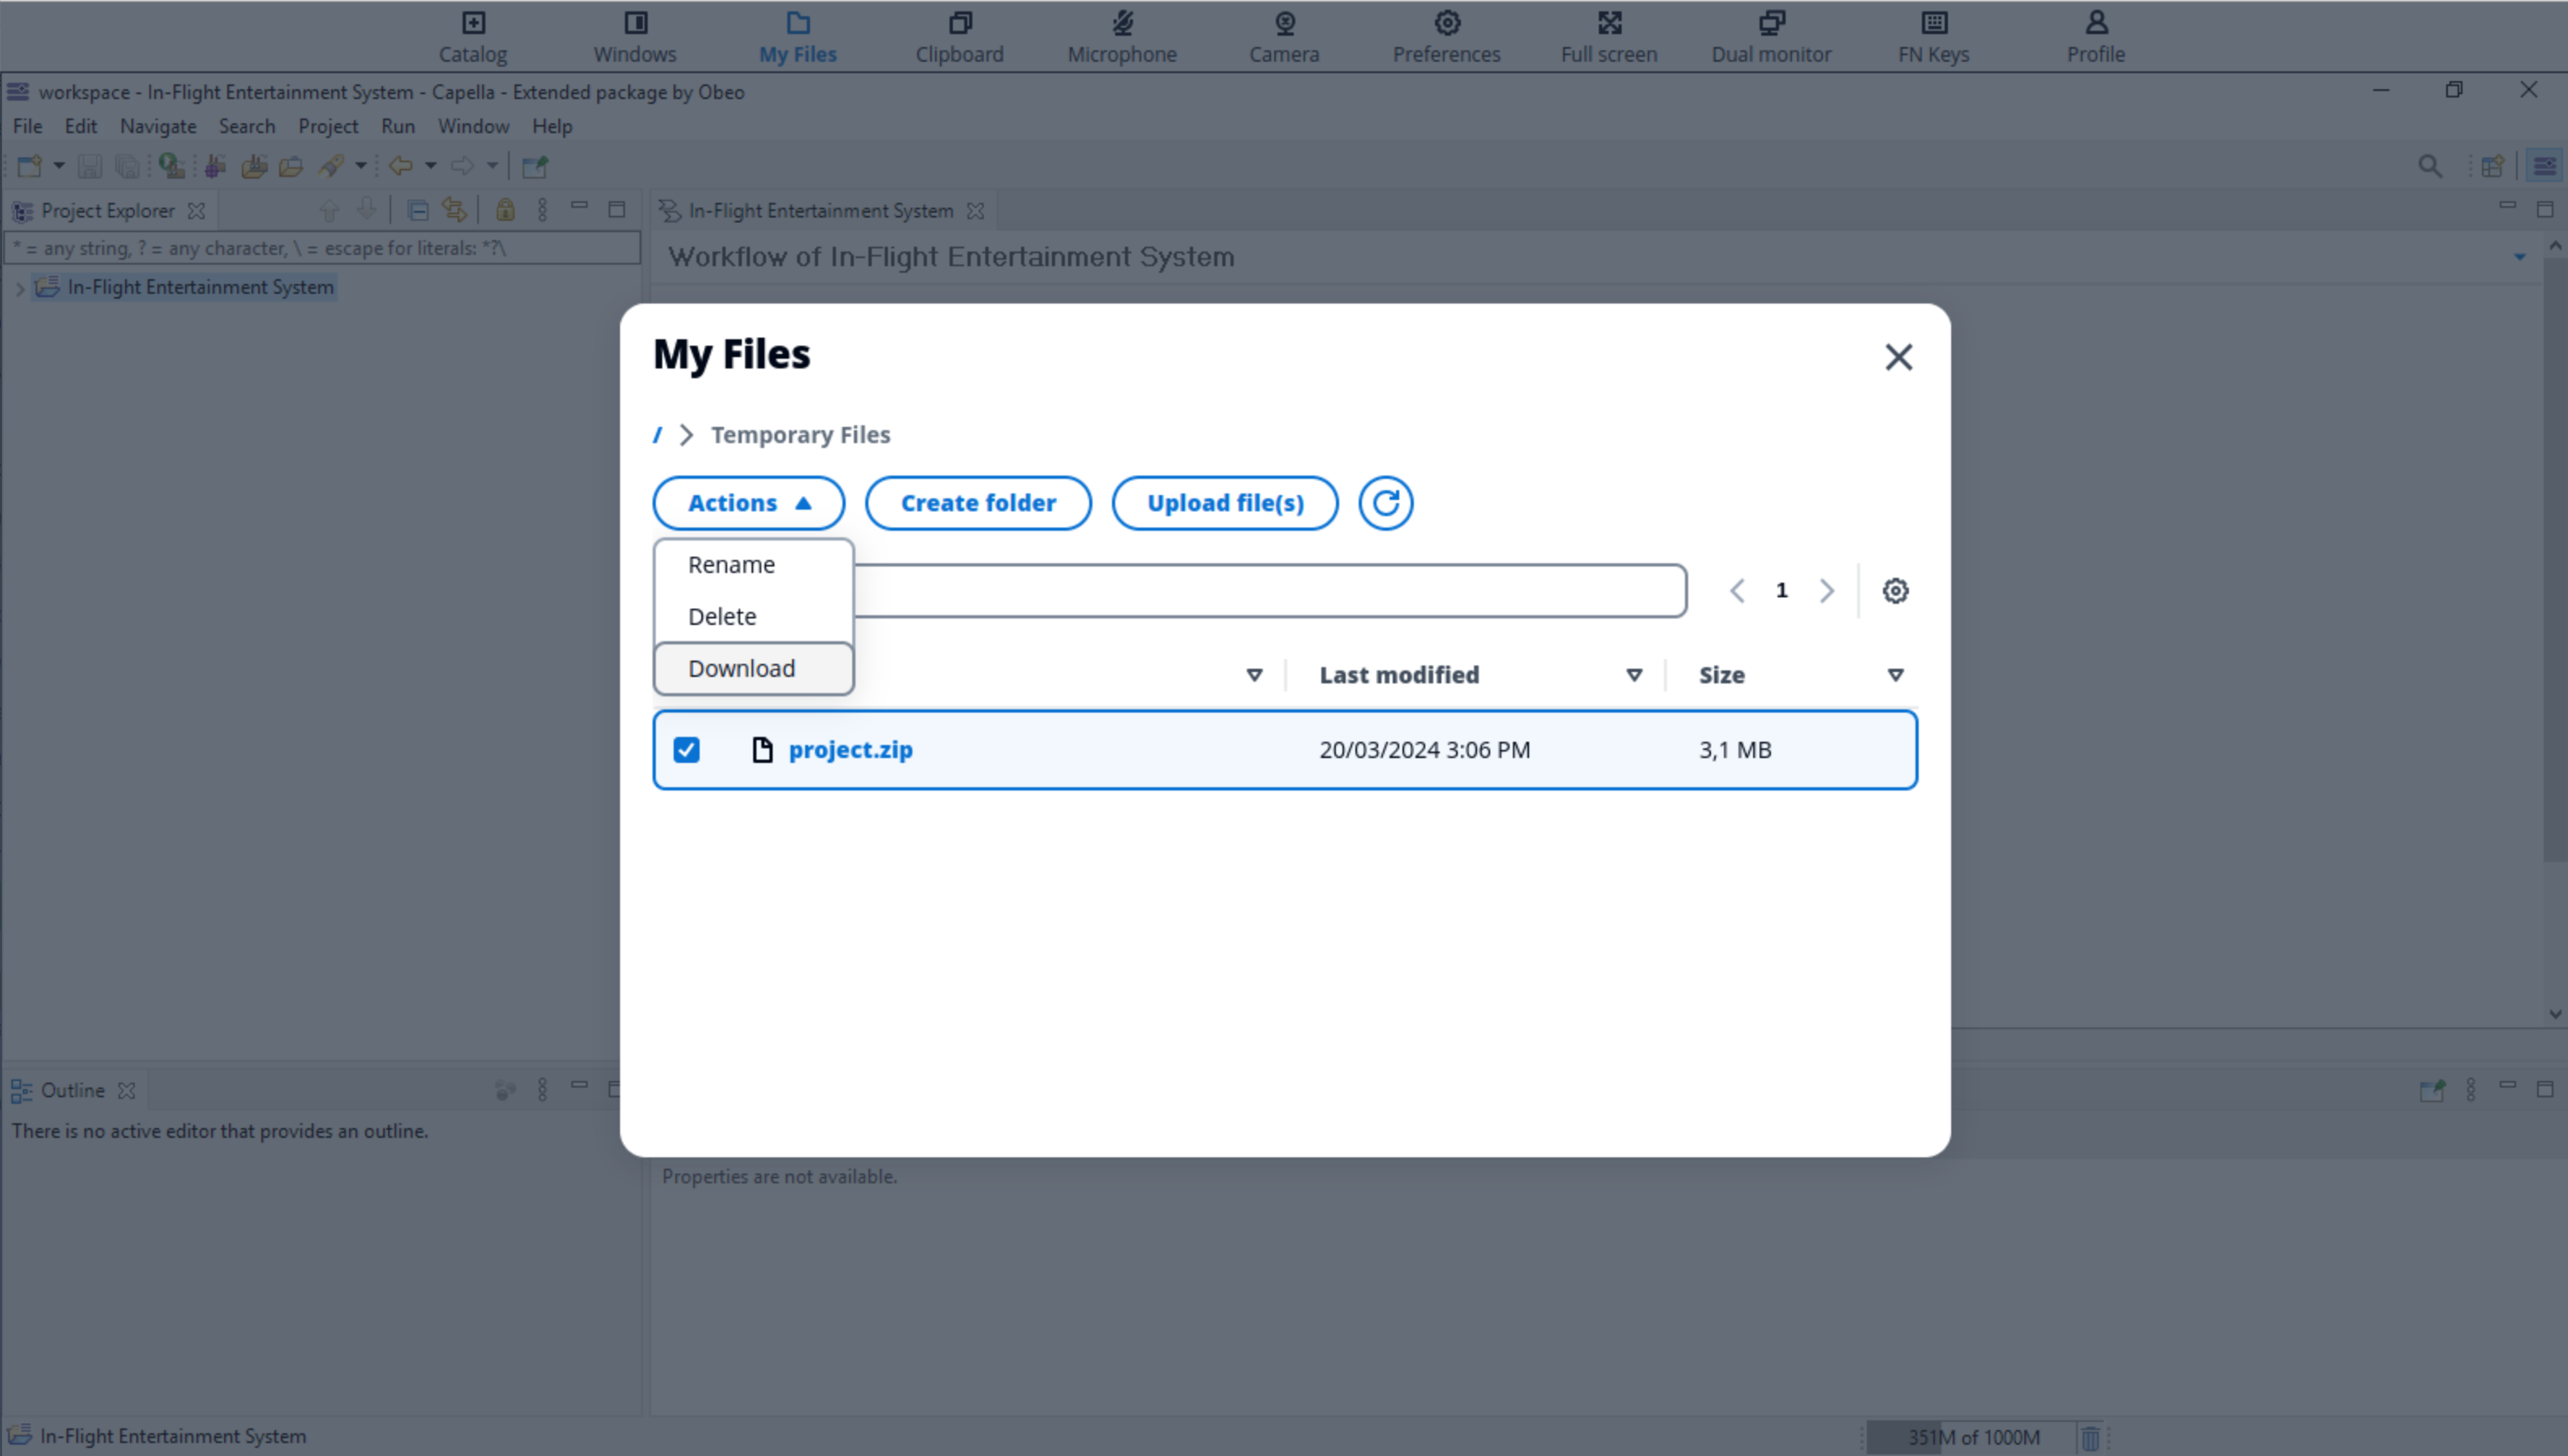
Once saved, use the appstream Folder icon to open the File transfert tool :
5. Upload a zipped project to Capella AppStream
|
Pay attention to upload only zipped projects. A Capella project contains several hidden files or folders which will not be uploaded if you attempt to upload an unzipped Capella project (ie. a folder):
There are other Import wizards in Capella than the one listed in this section, regarding the wizard and options used if you target a folder, you might end up with a Capella project referenced in your workspace but still located in the |
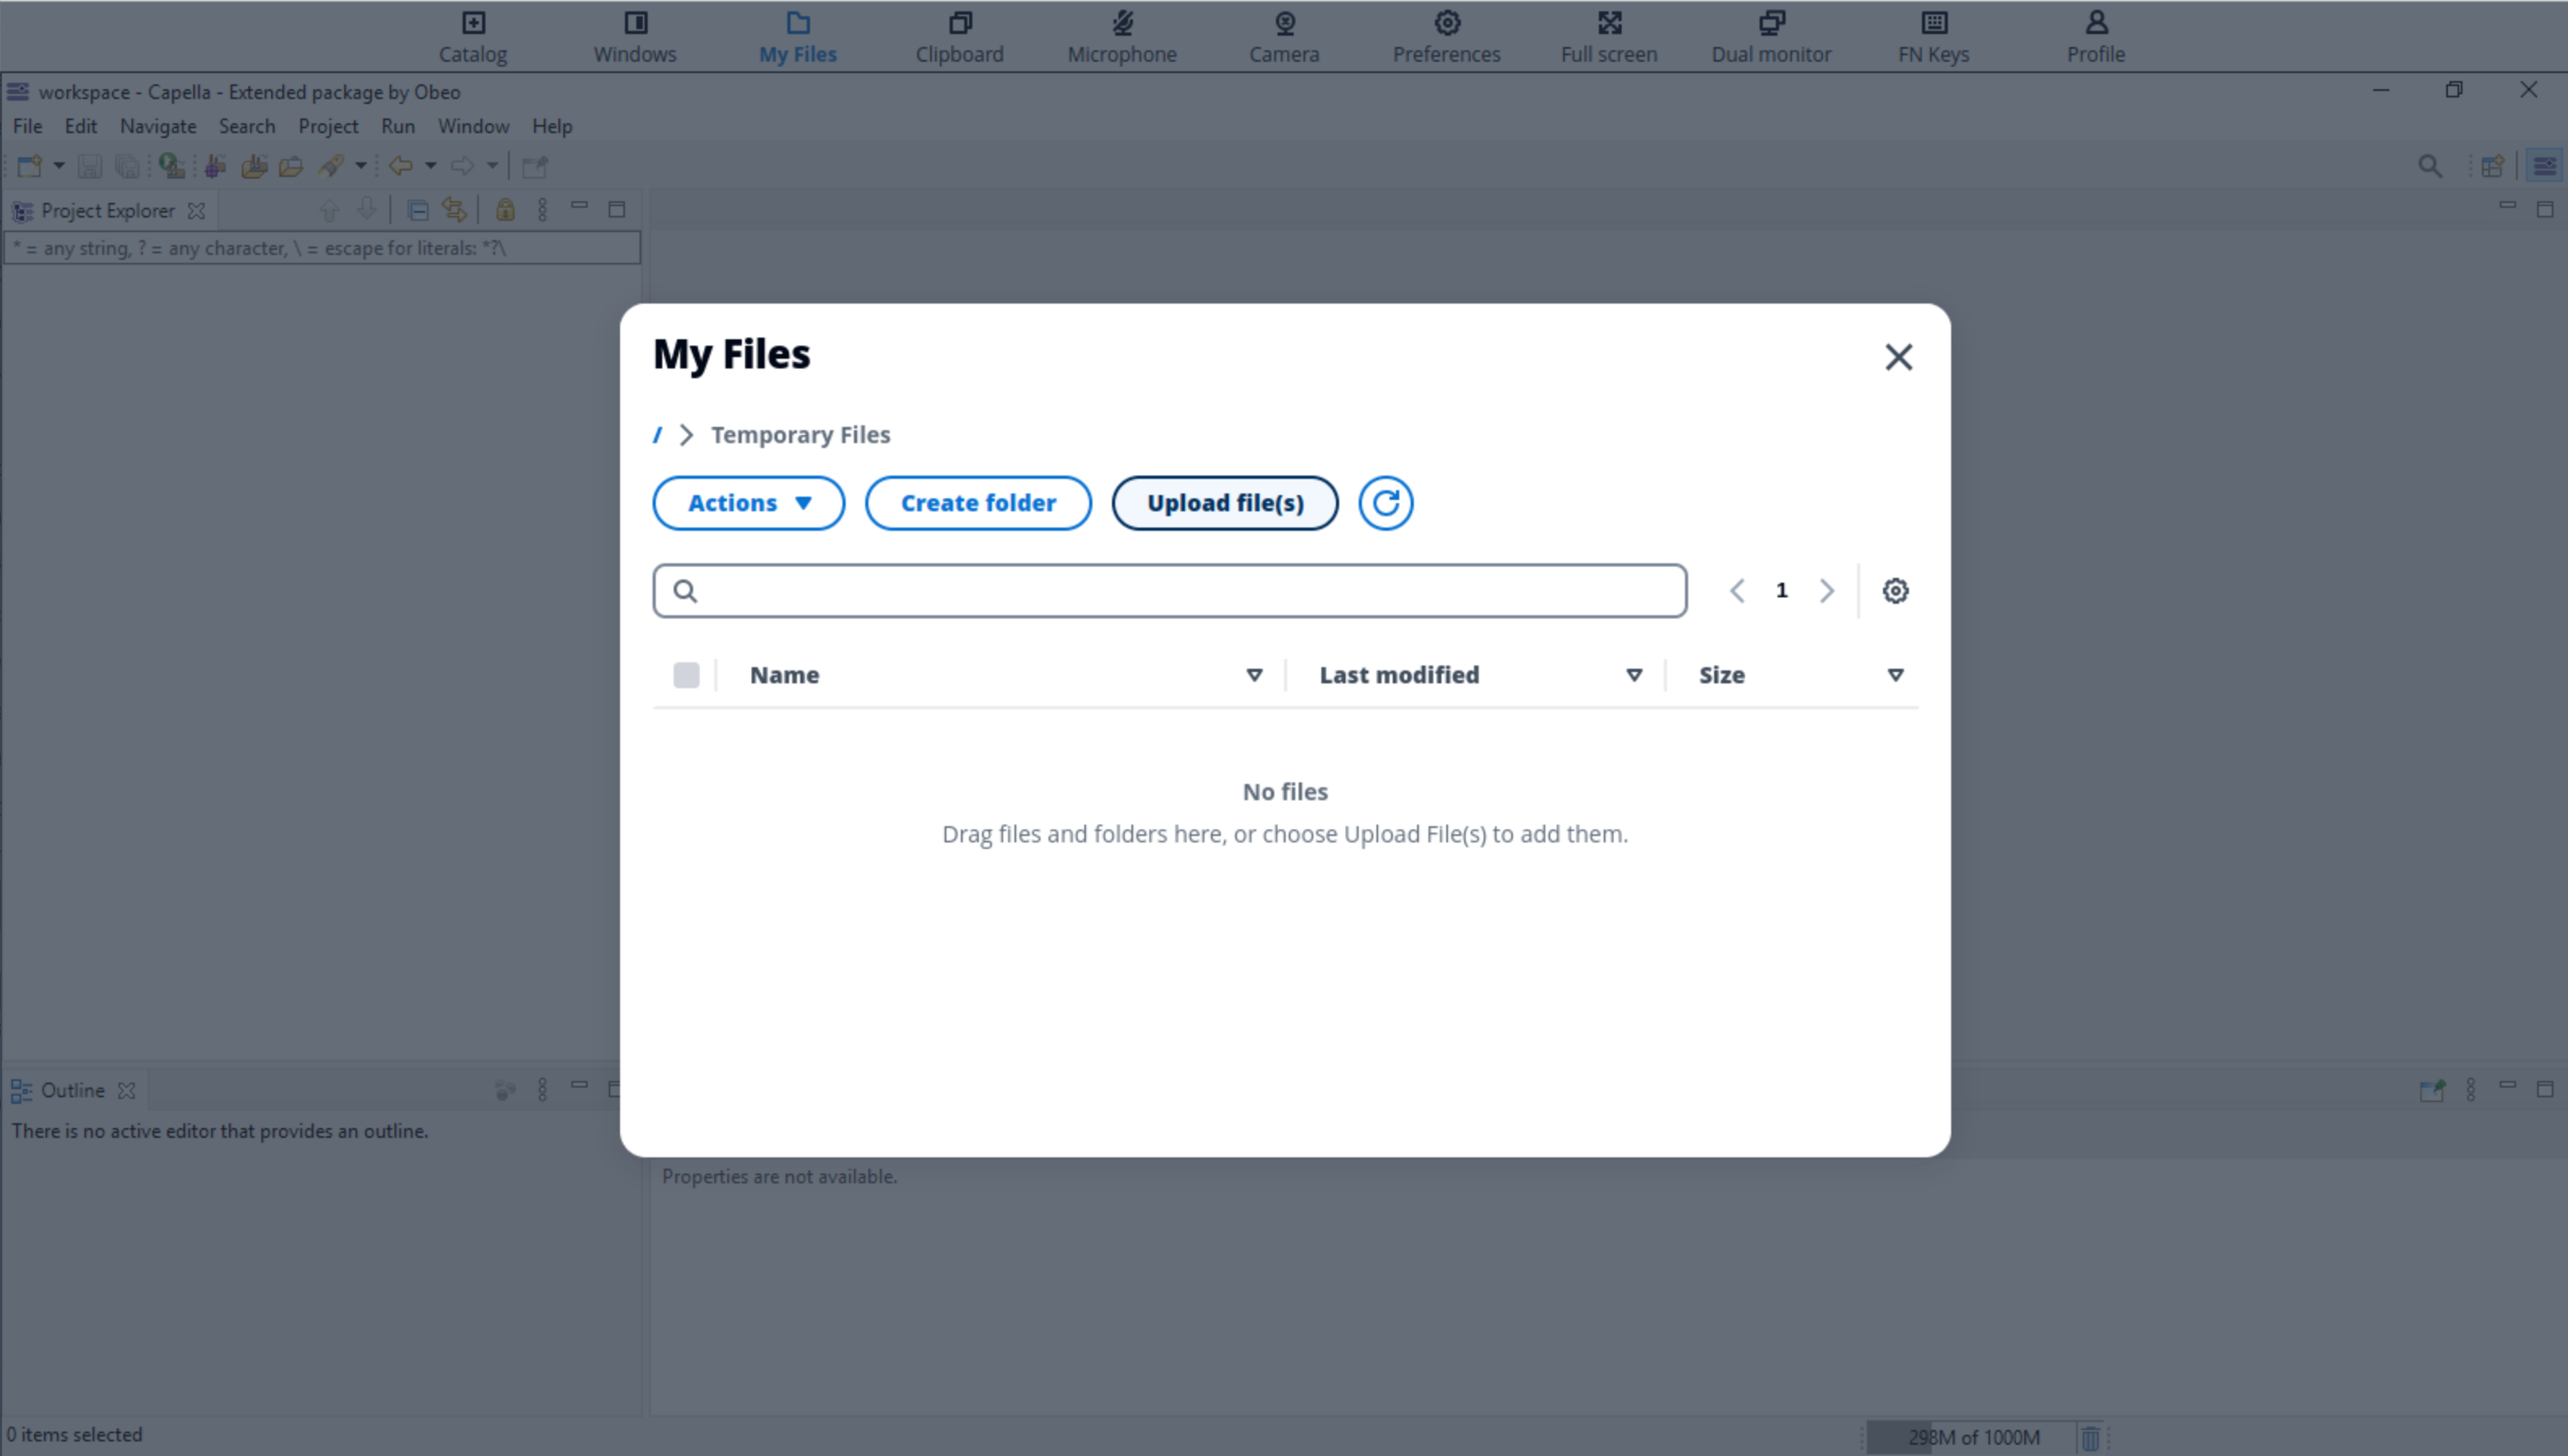
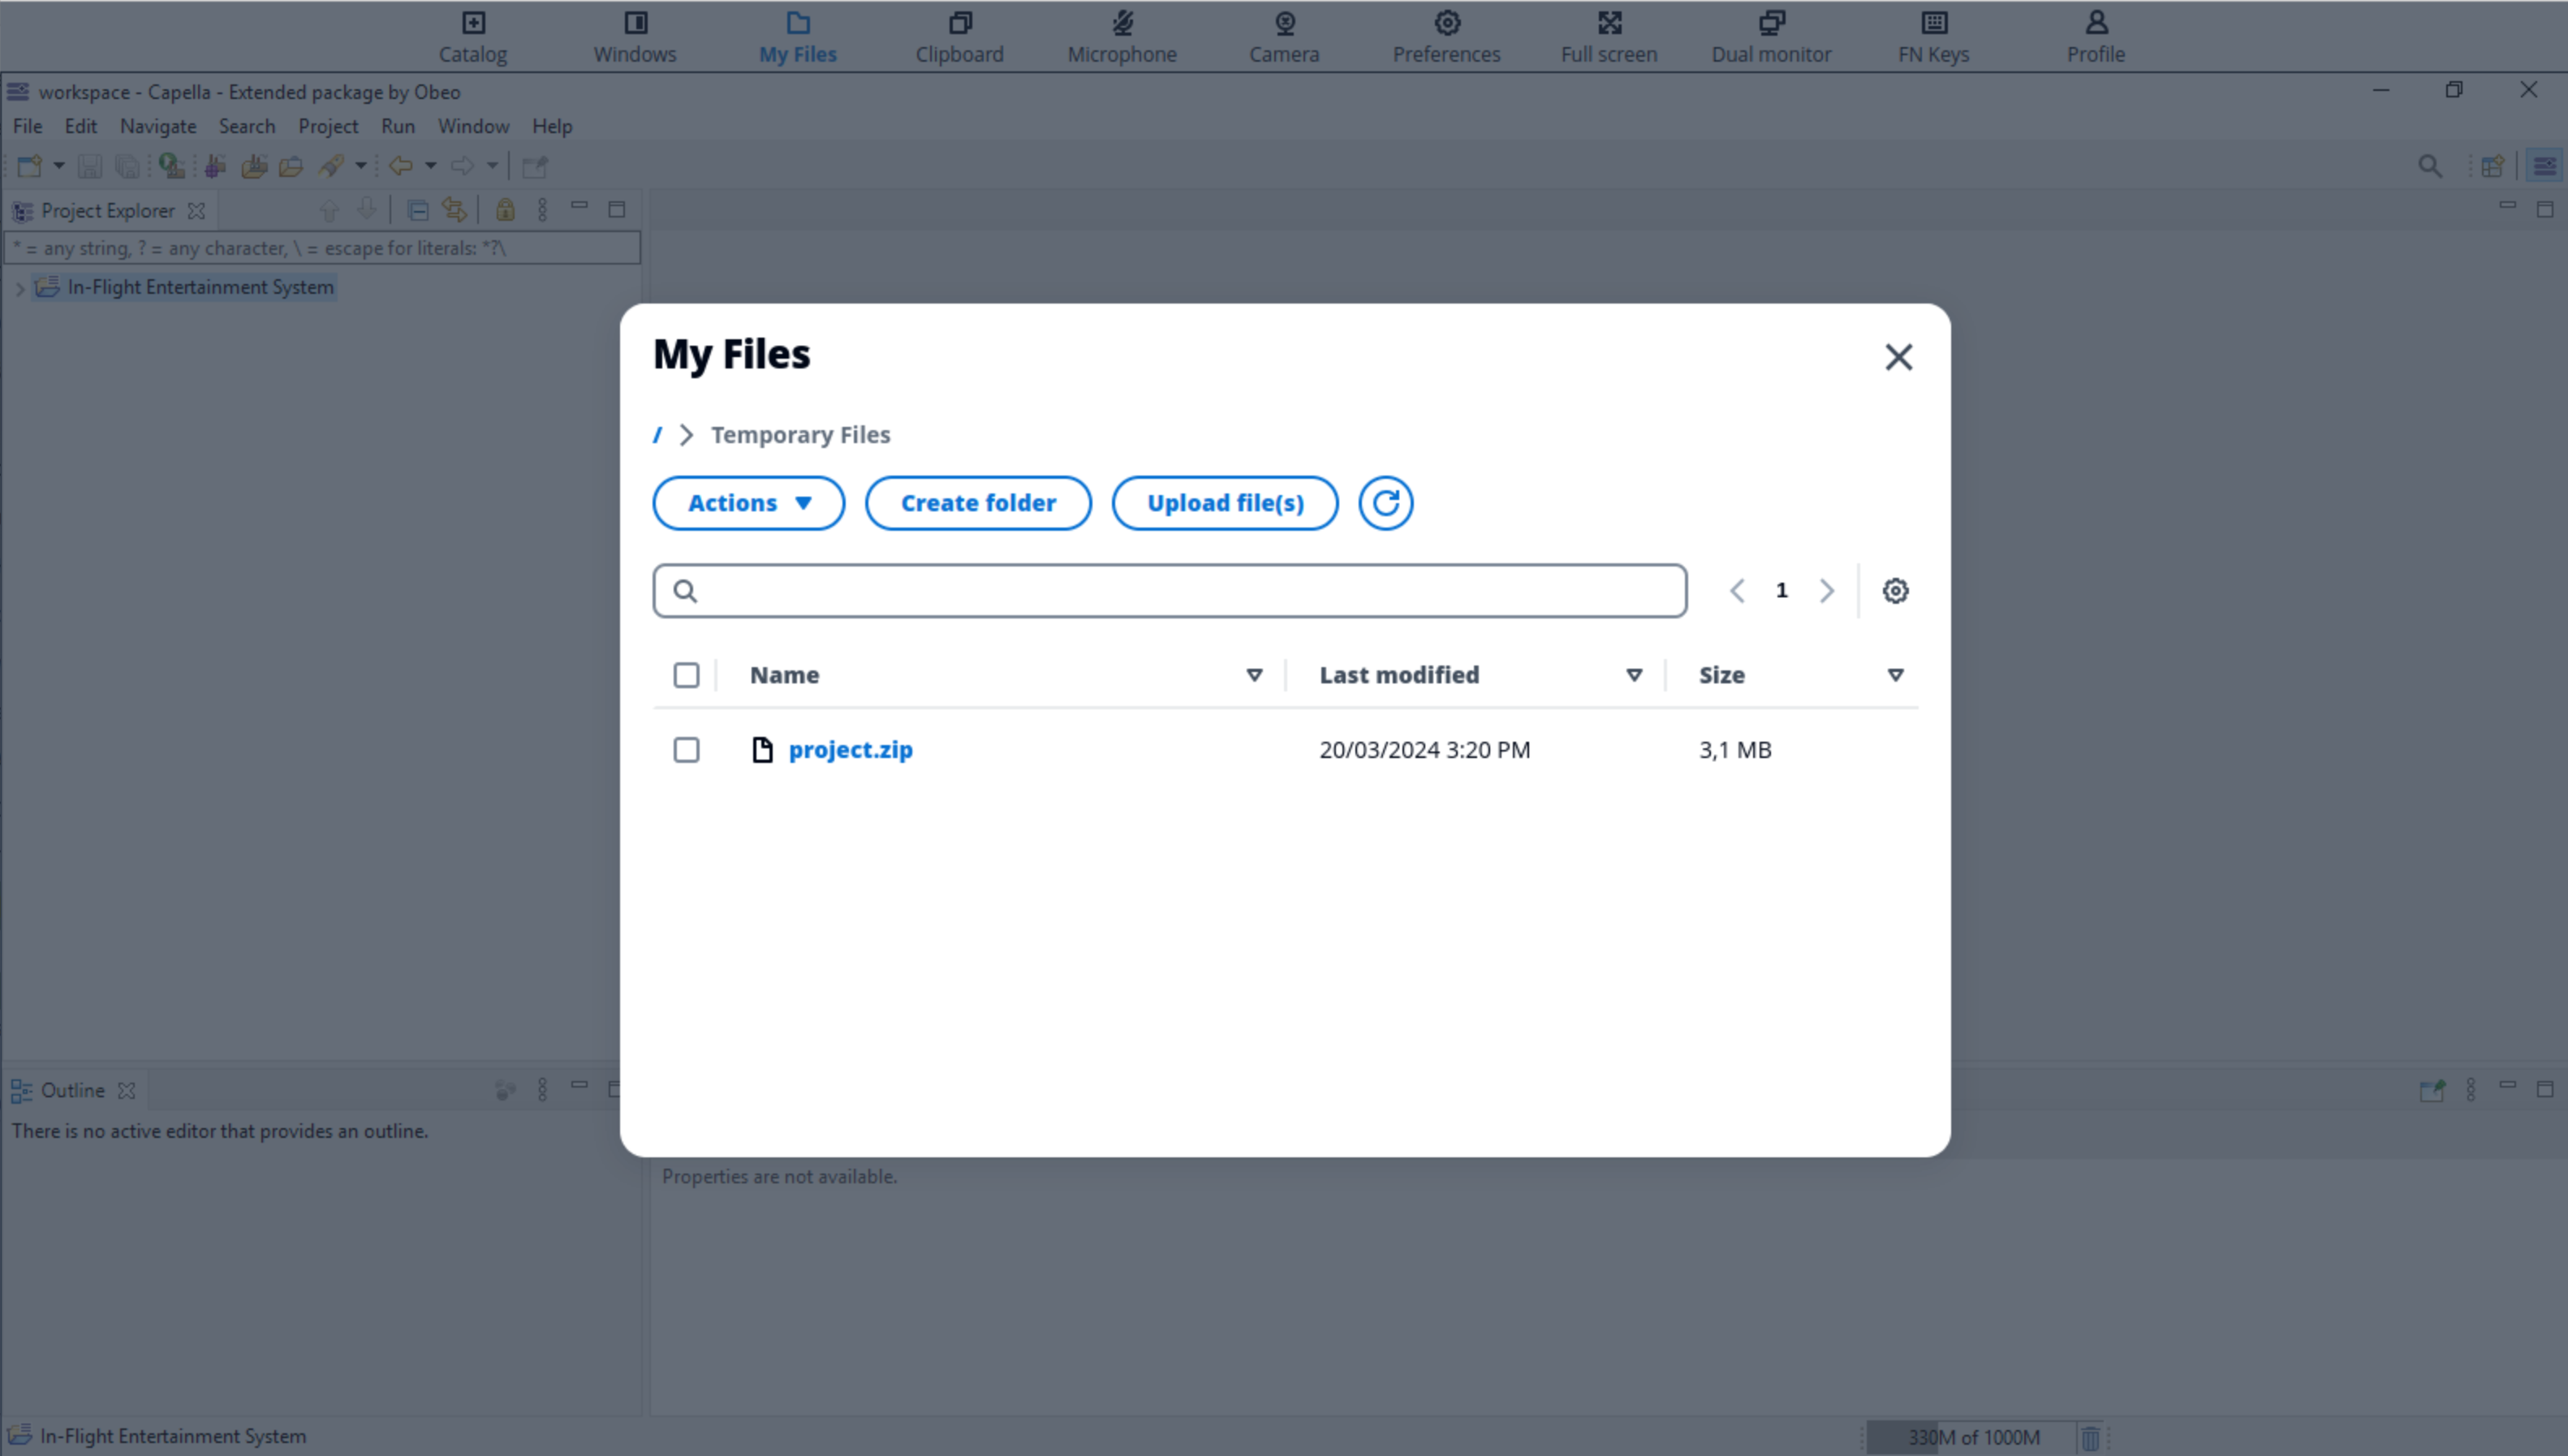
To import a project from your local workstation to the Appstream Capella, the Temporary Files
-
Use the Appstream Folder icon to open the File transfer tool to upload your archived project to import :
-
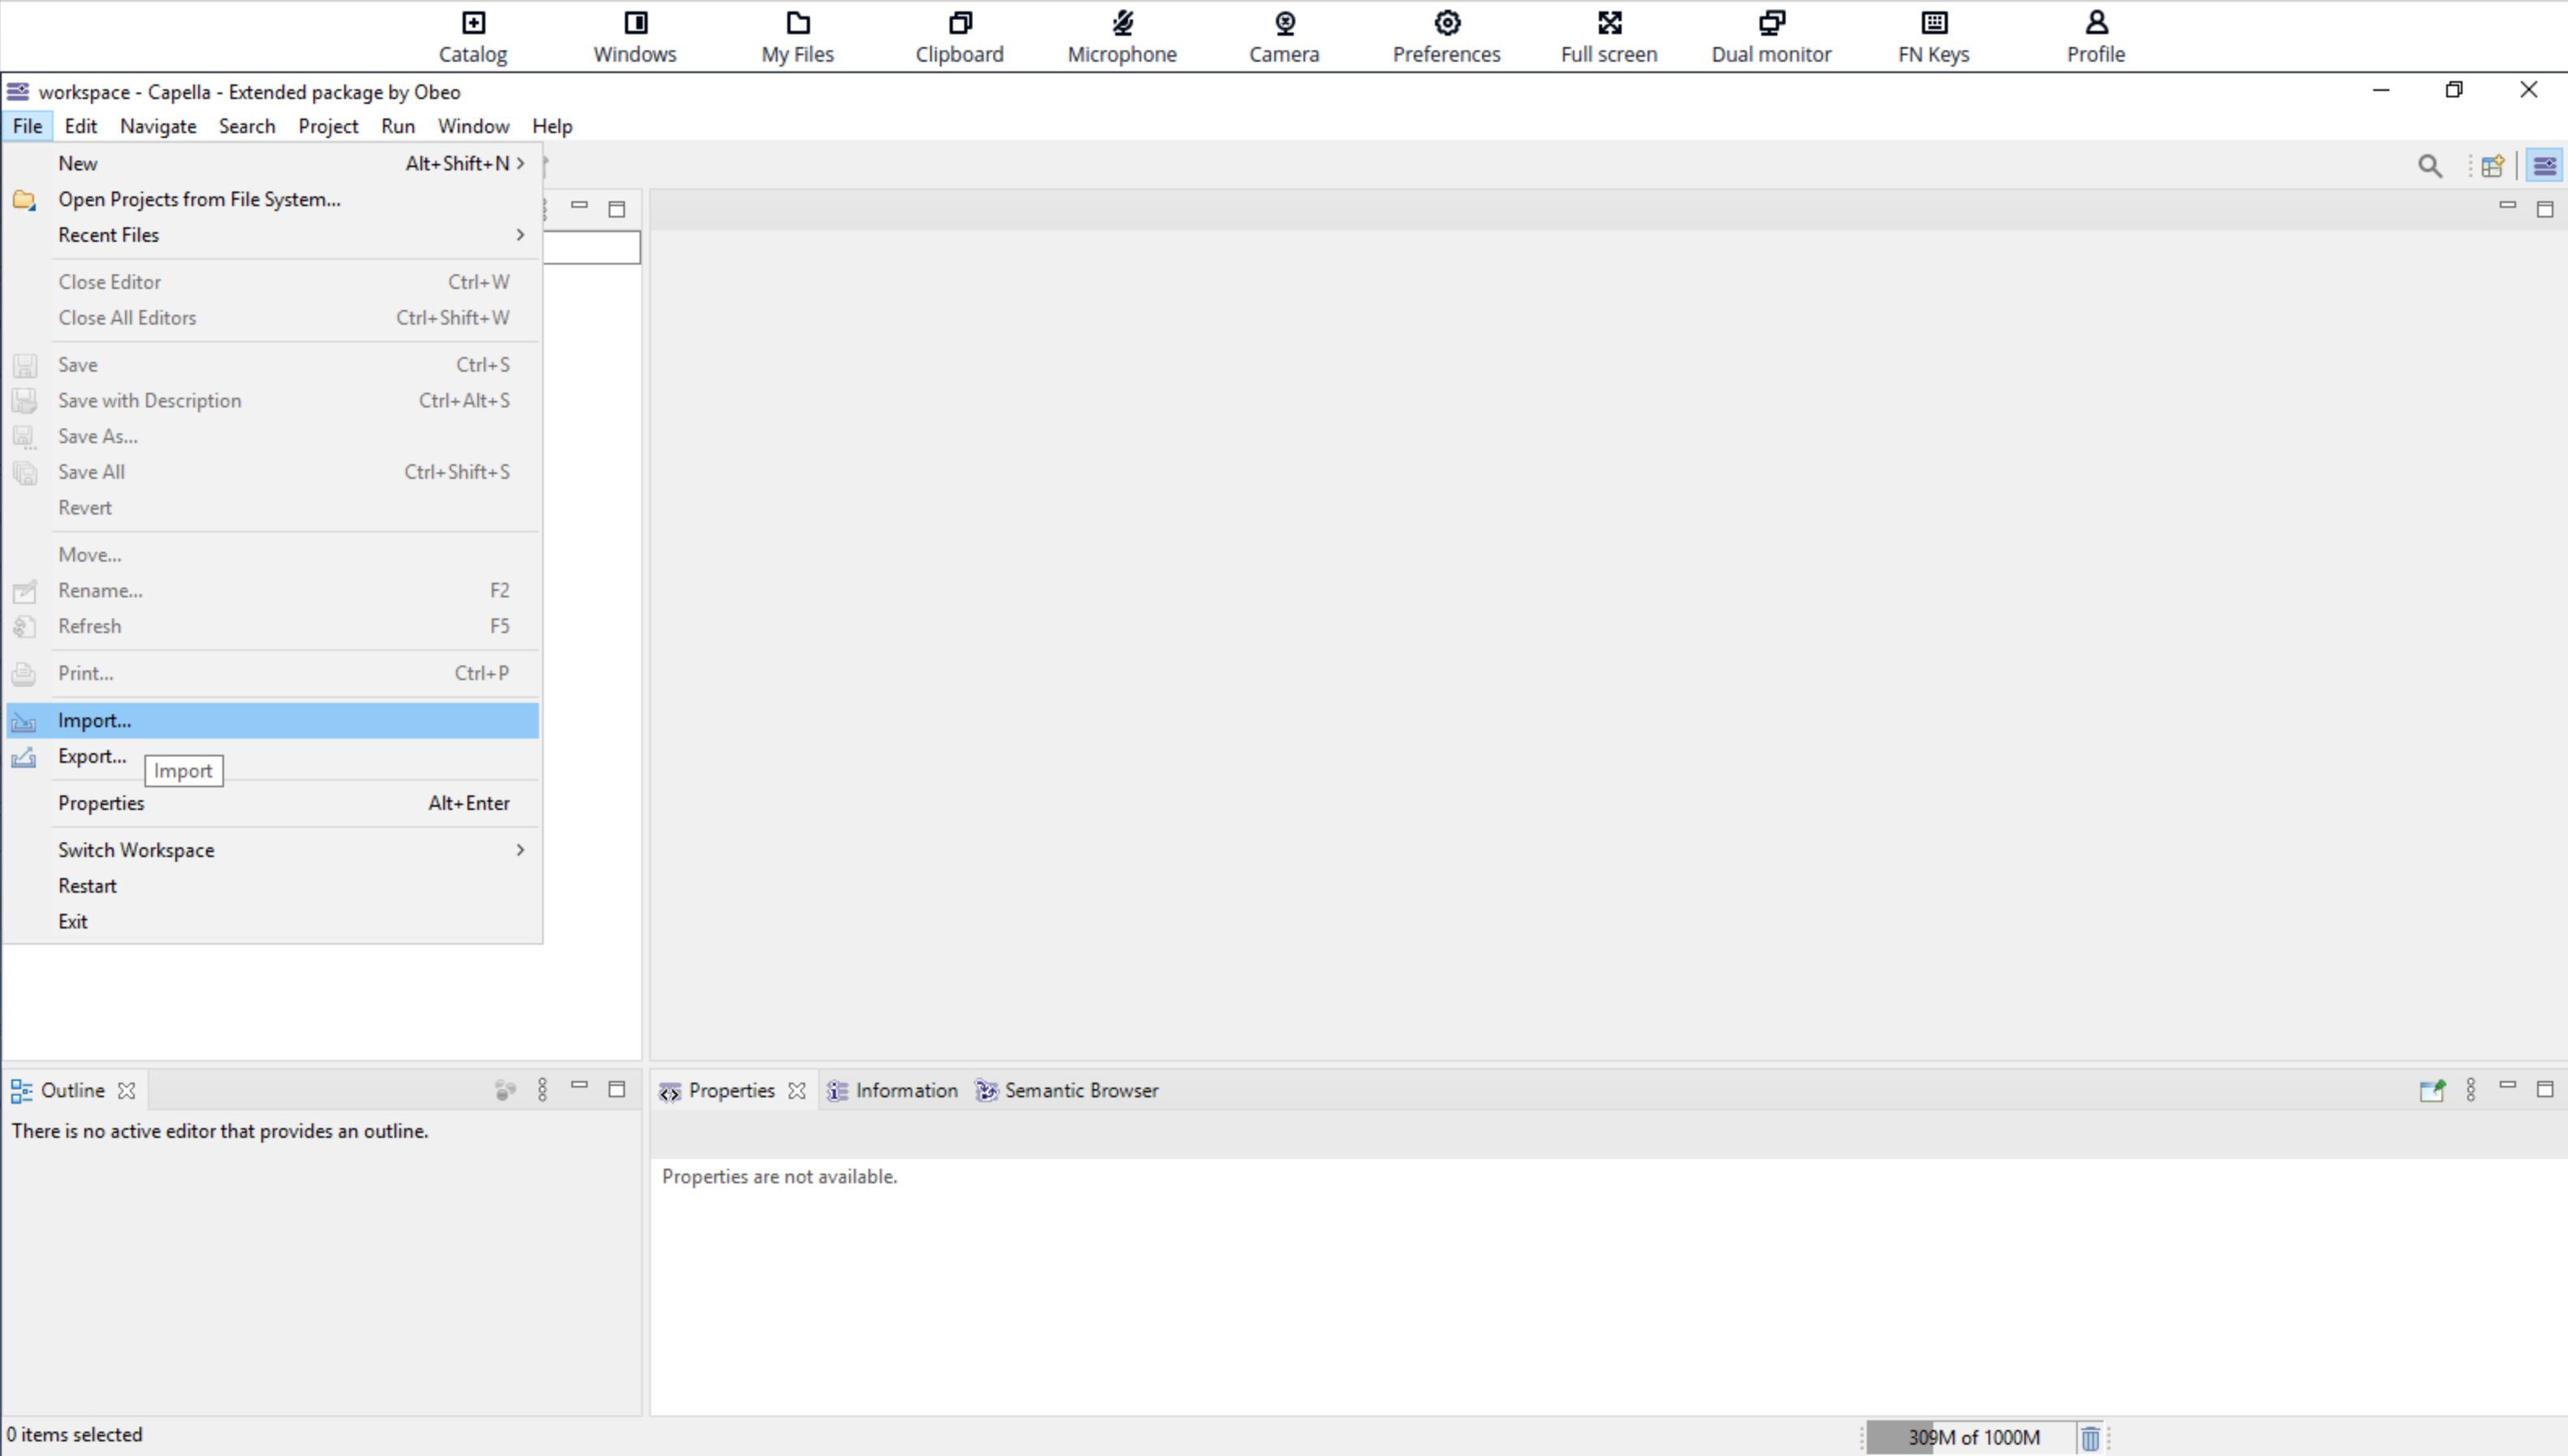
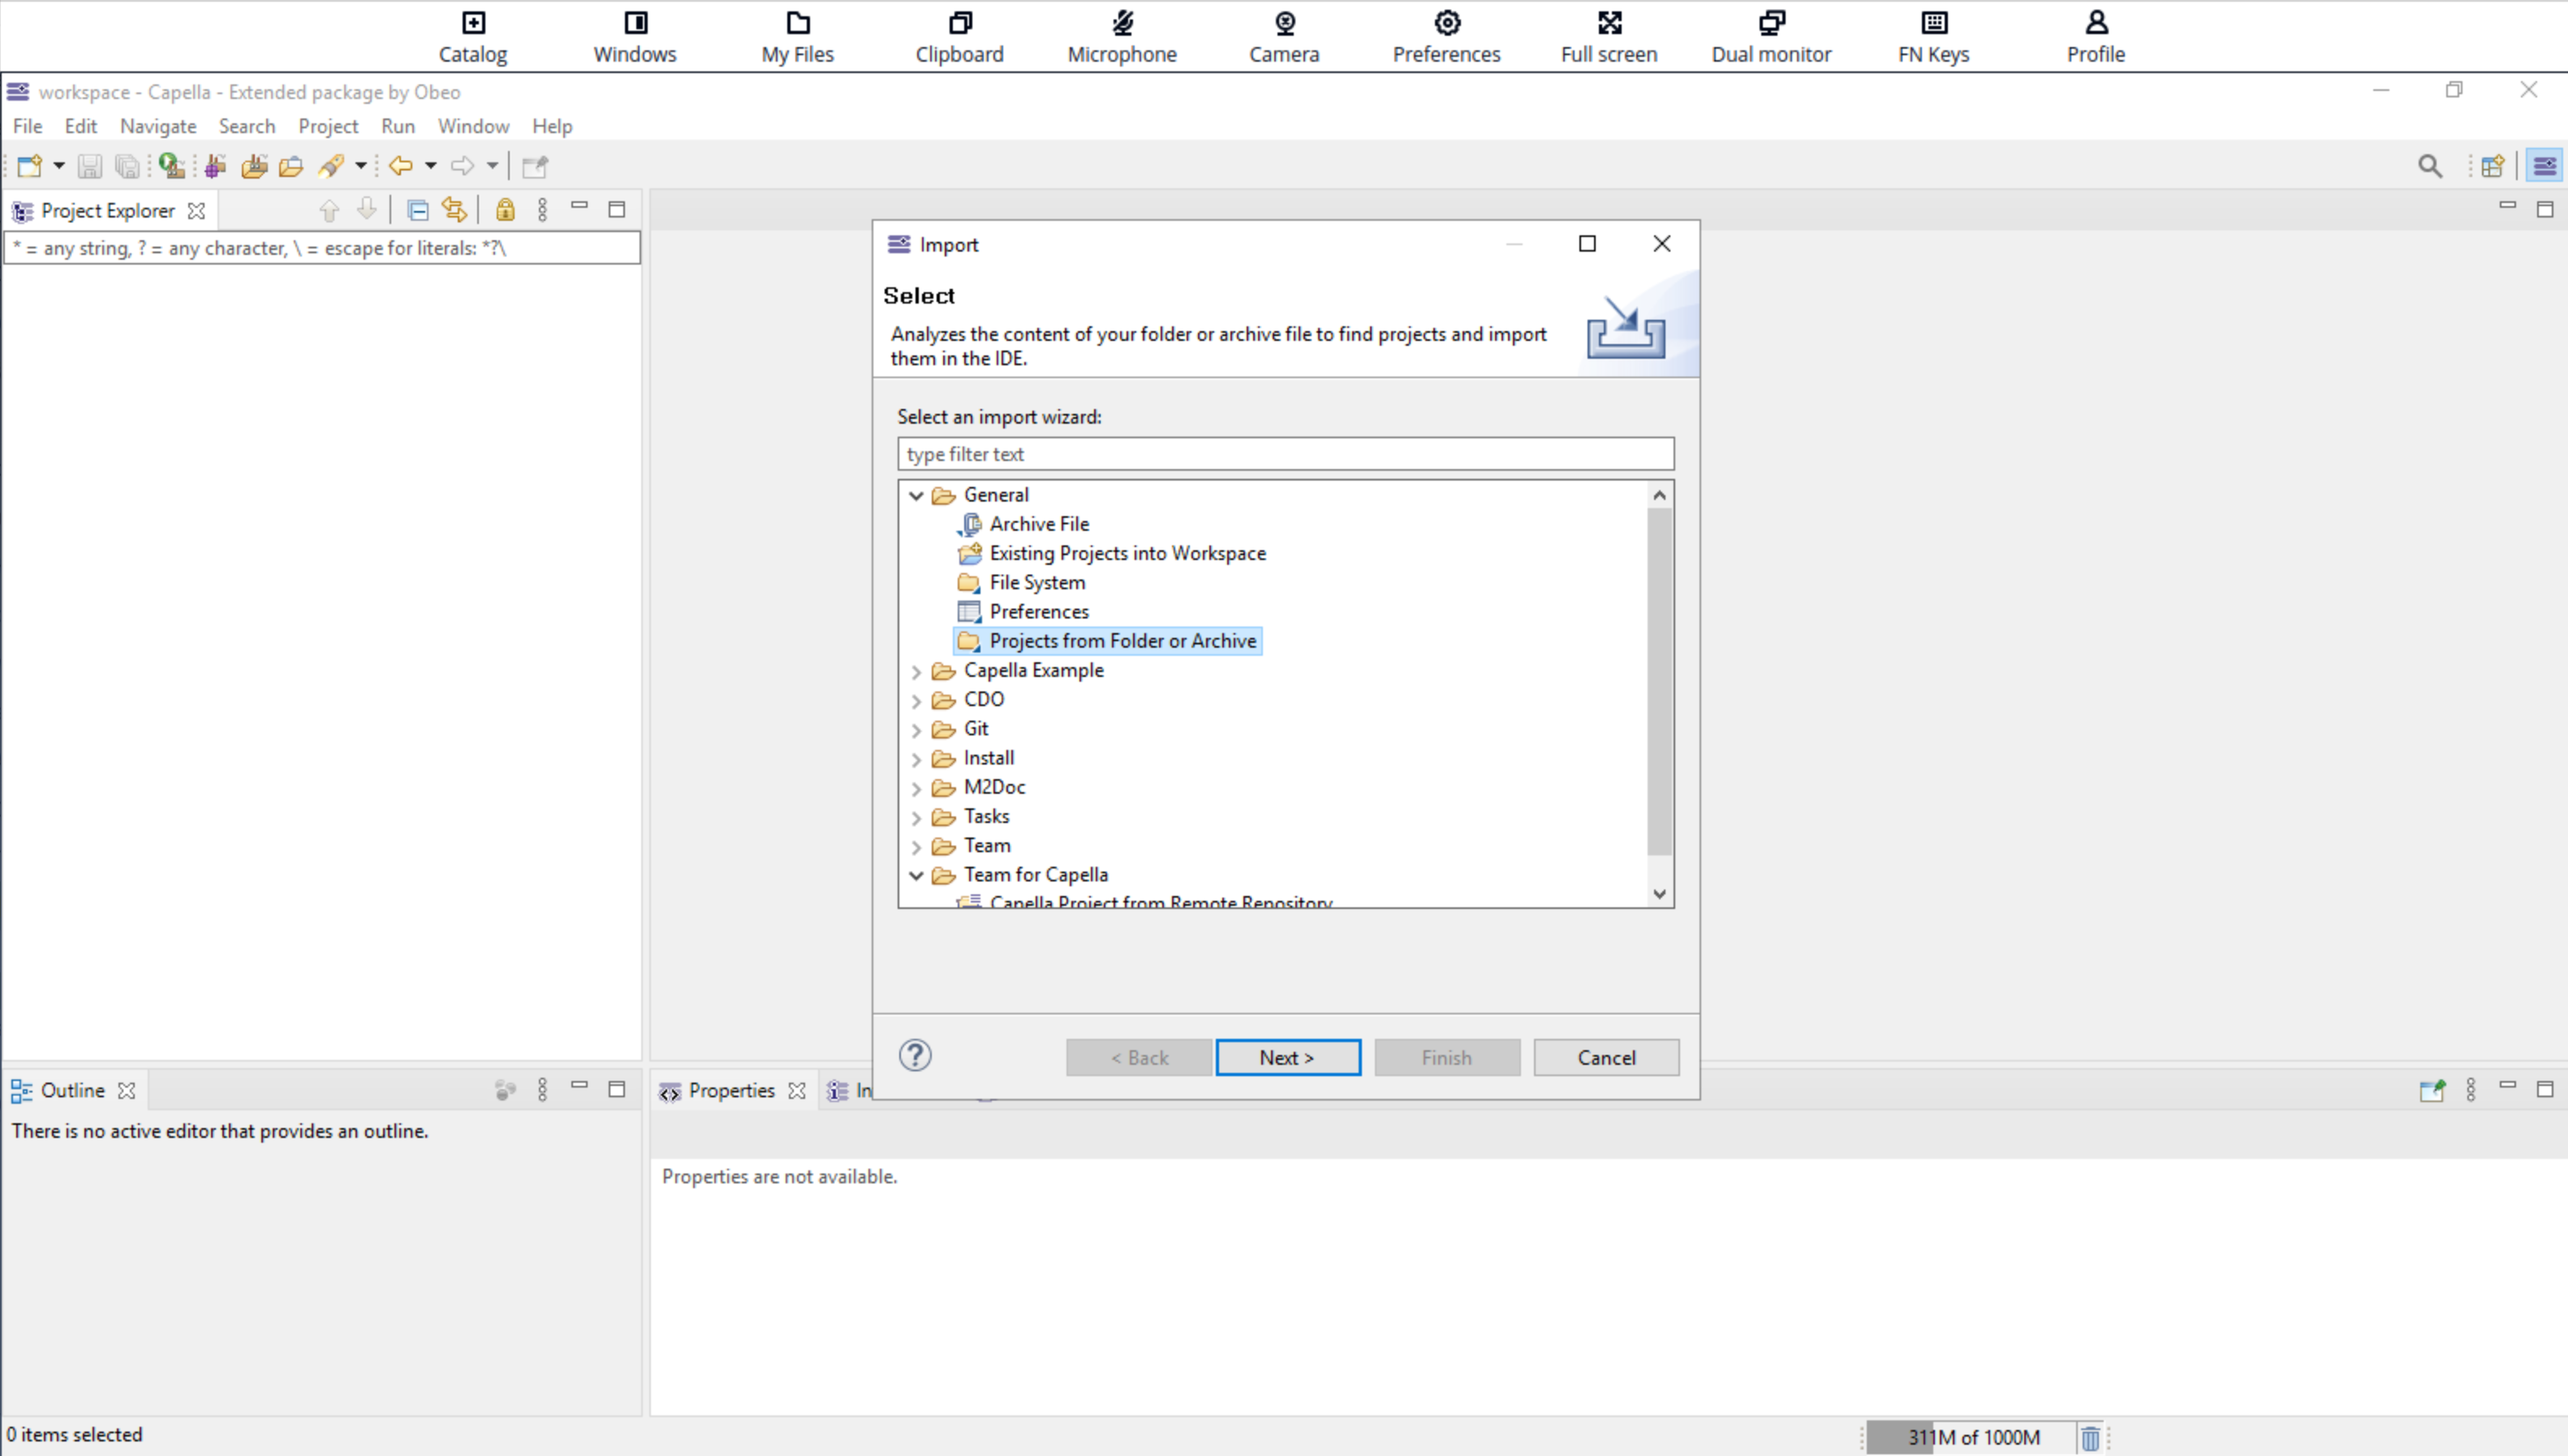
Import archived project from capella Import wizard :
-
Select the uploaded archive in
D:\PhotonUser\My Files\Temporary Files\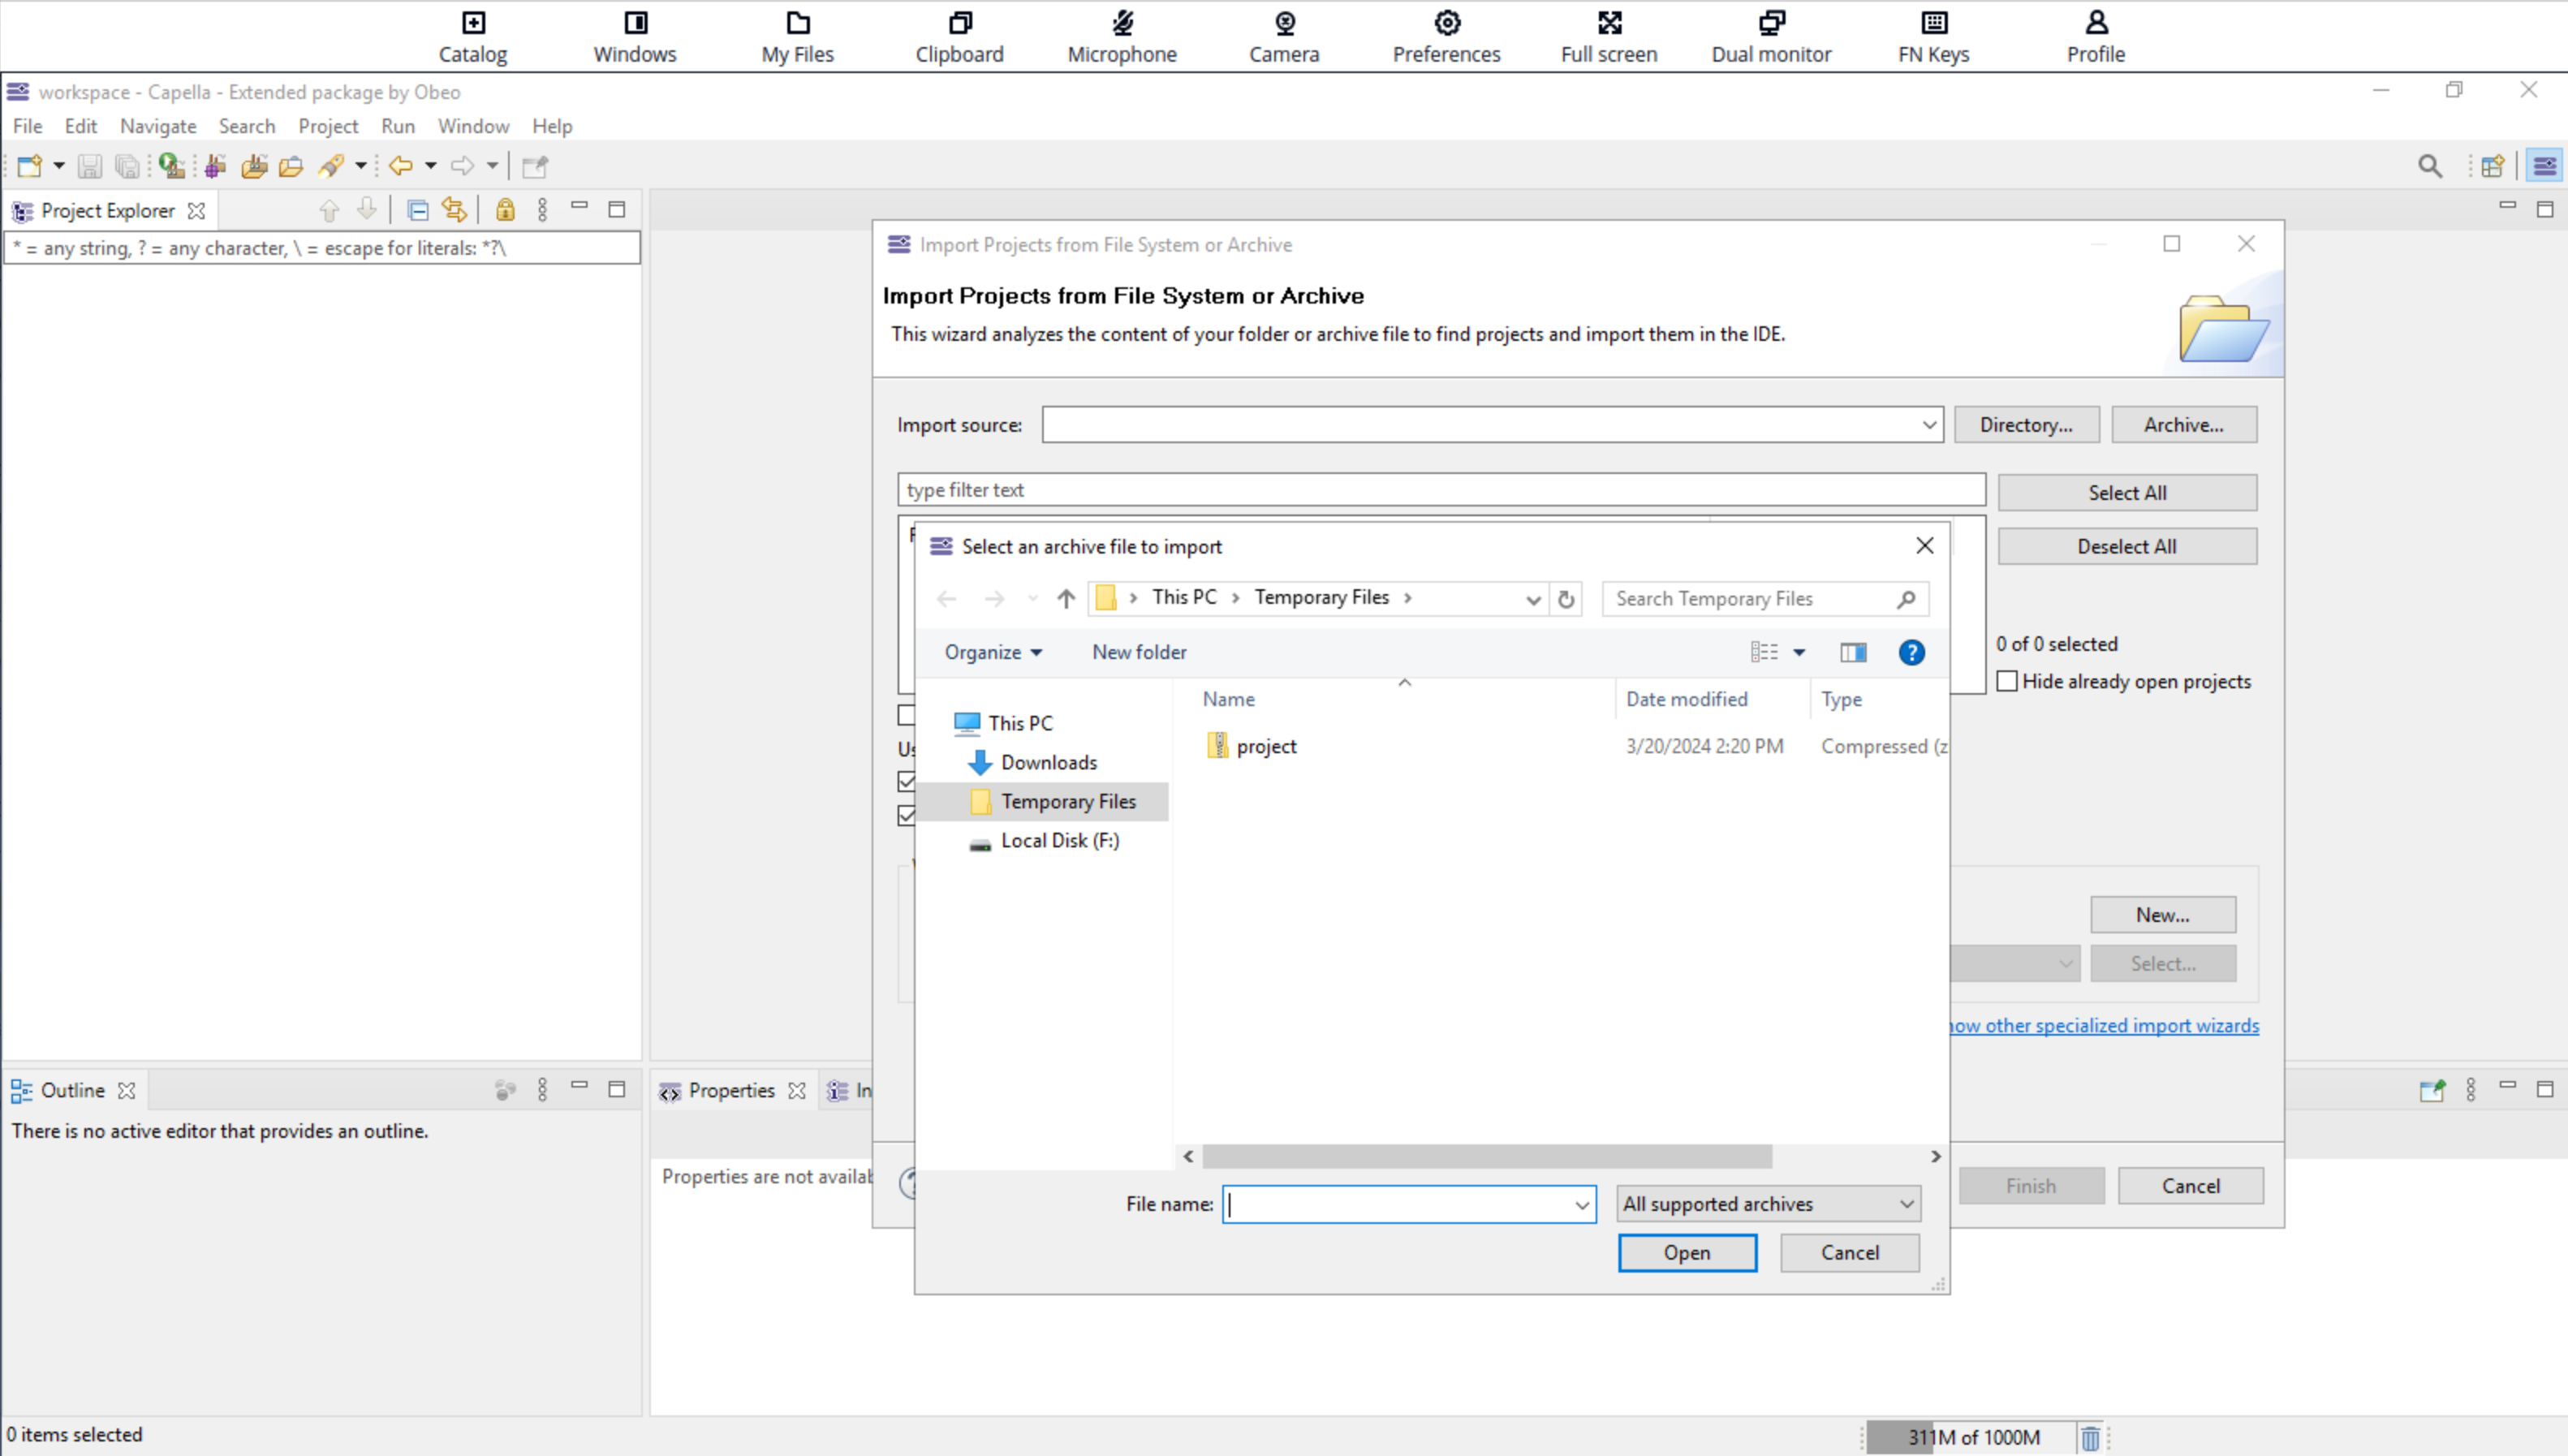
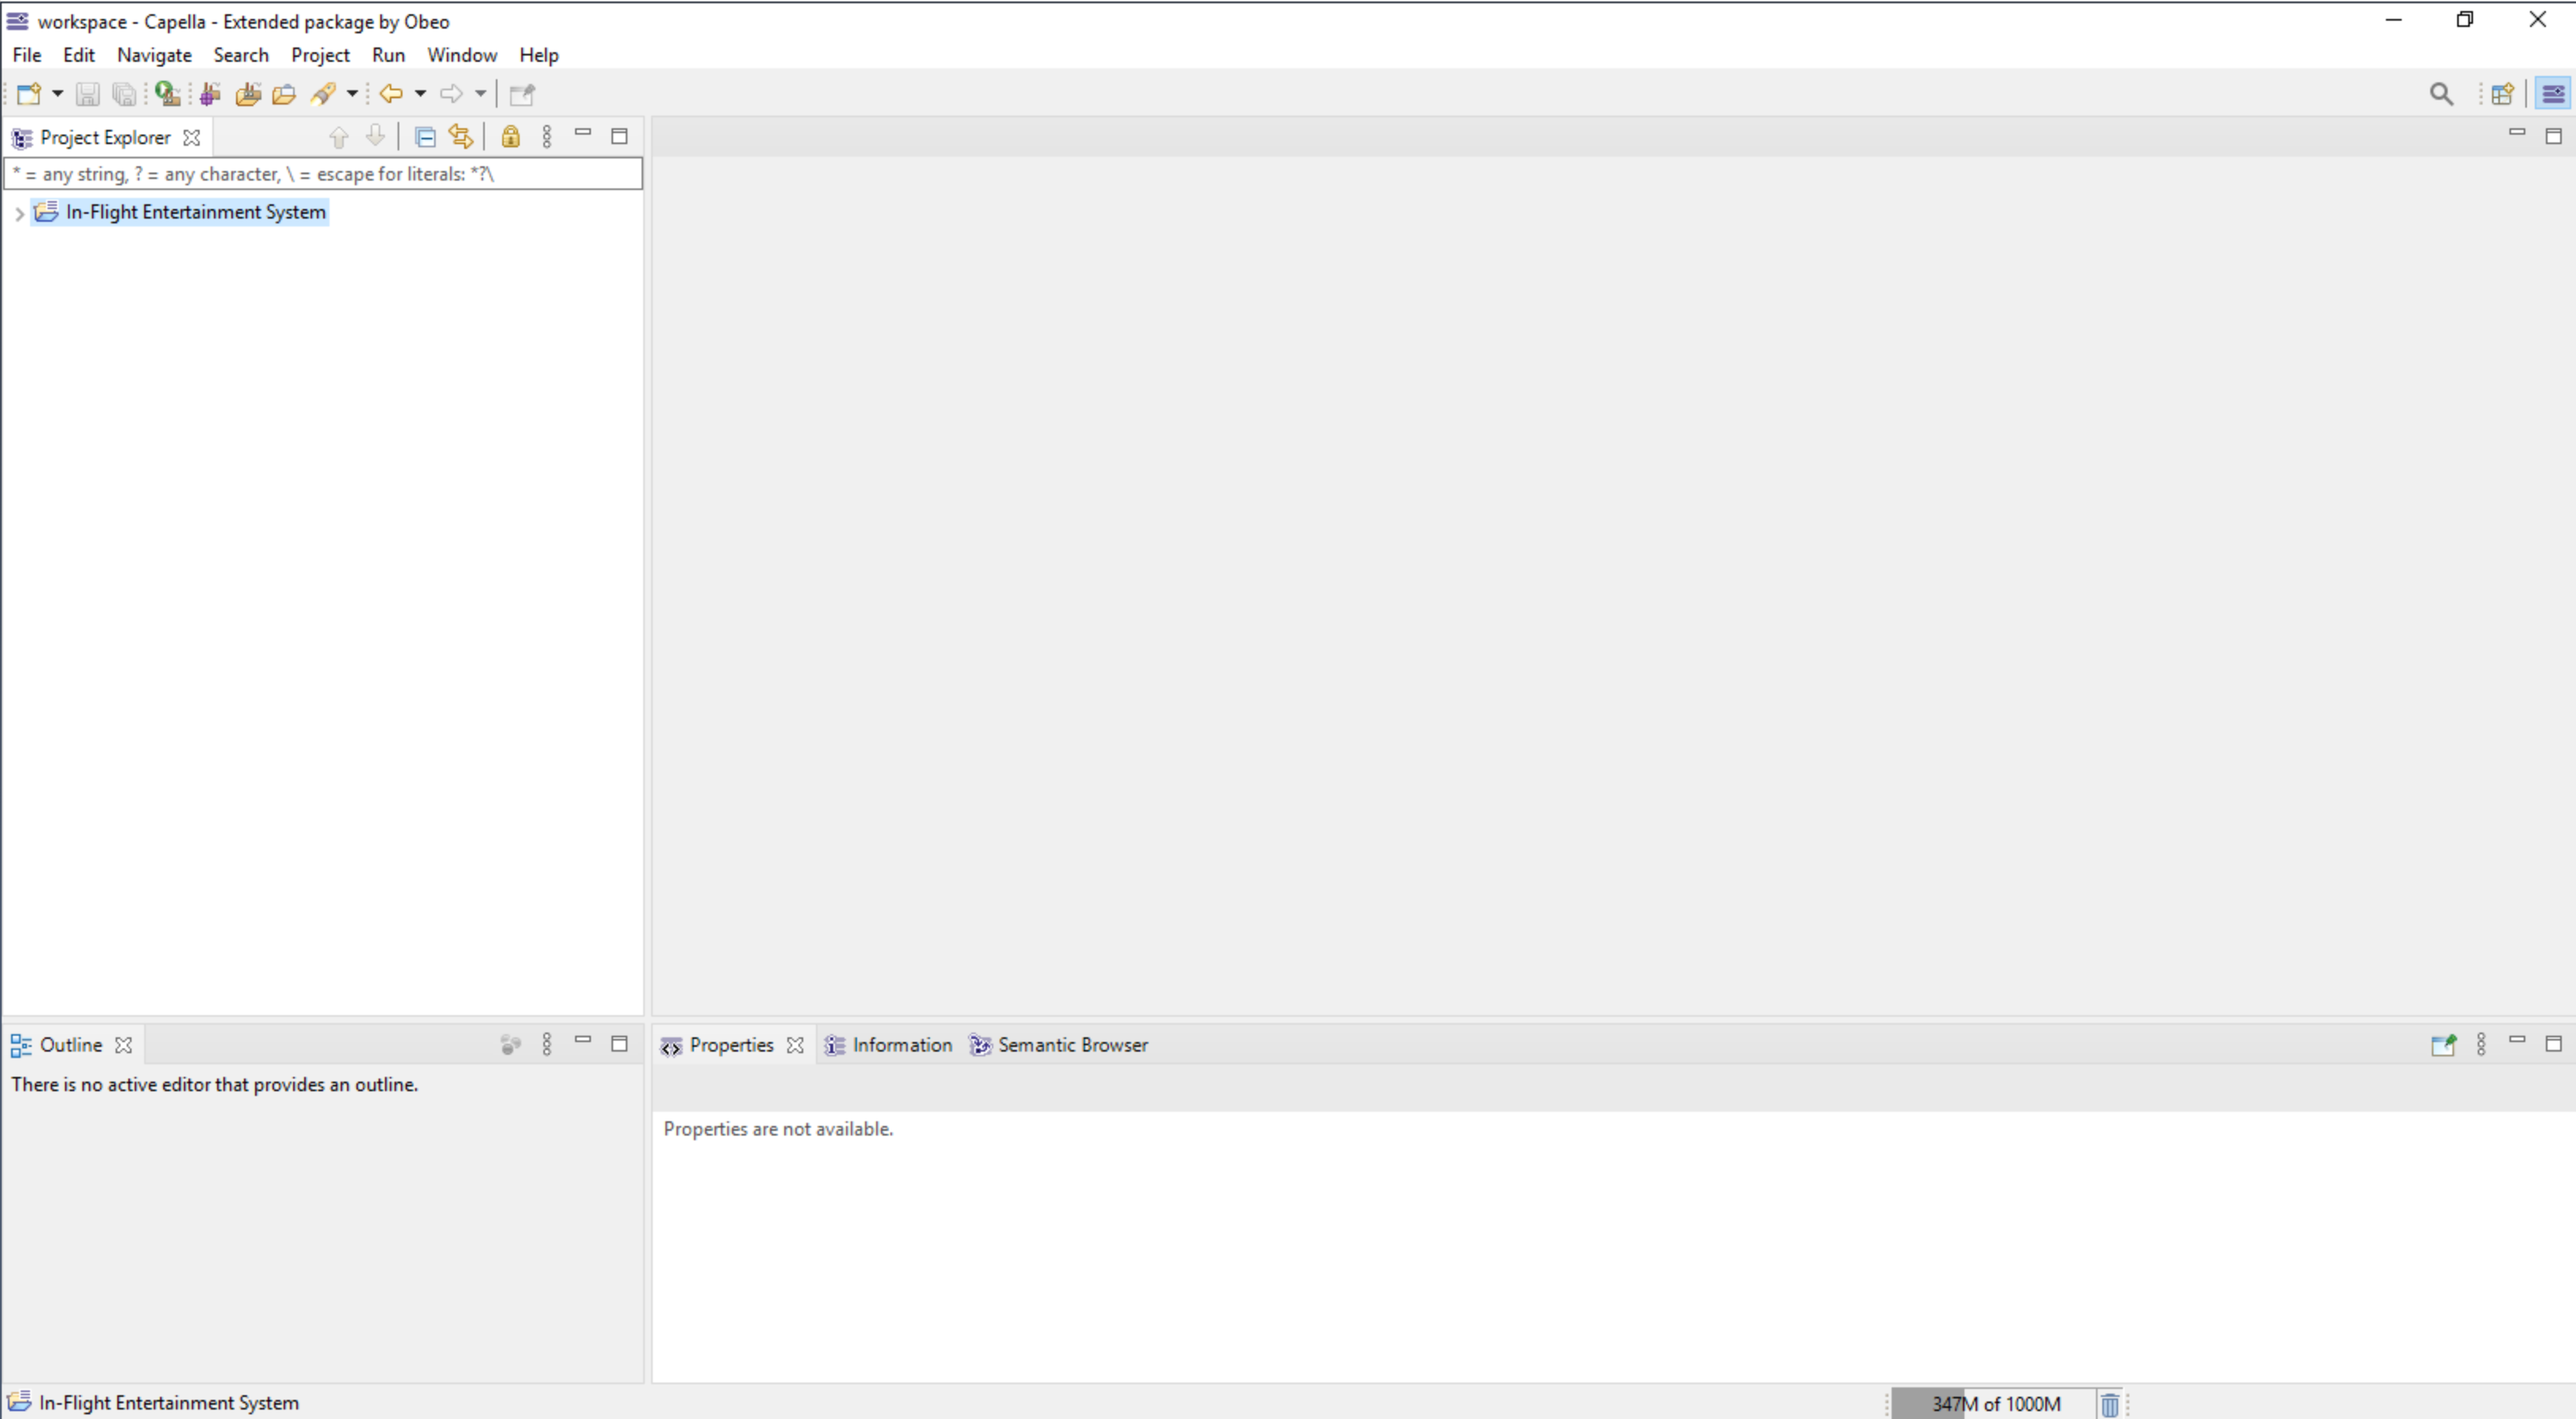
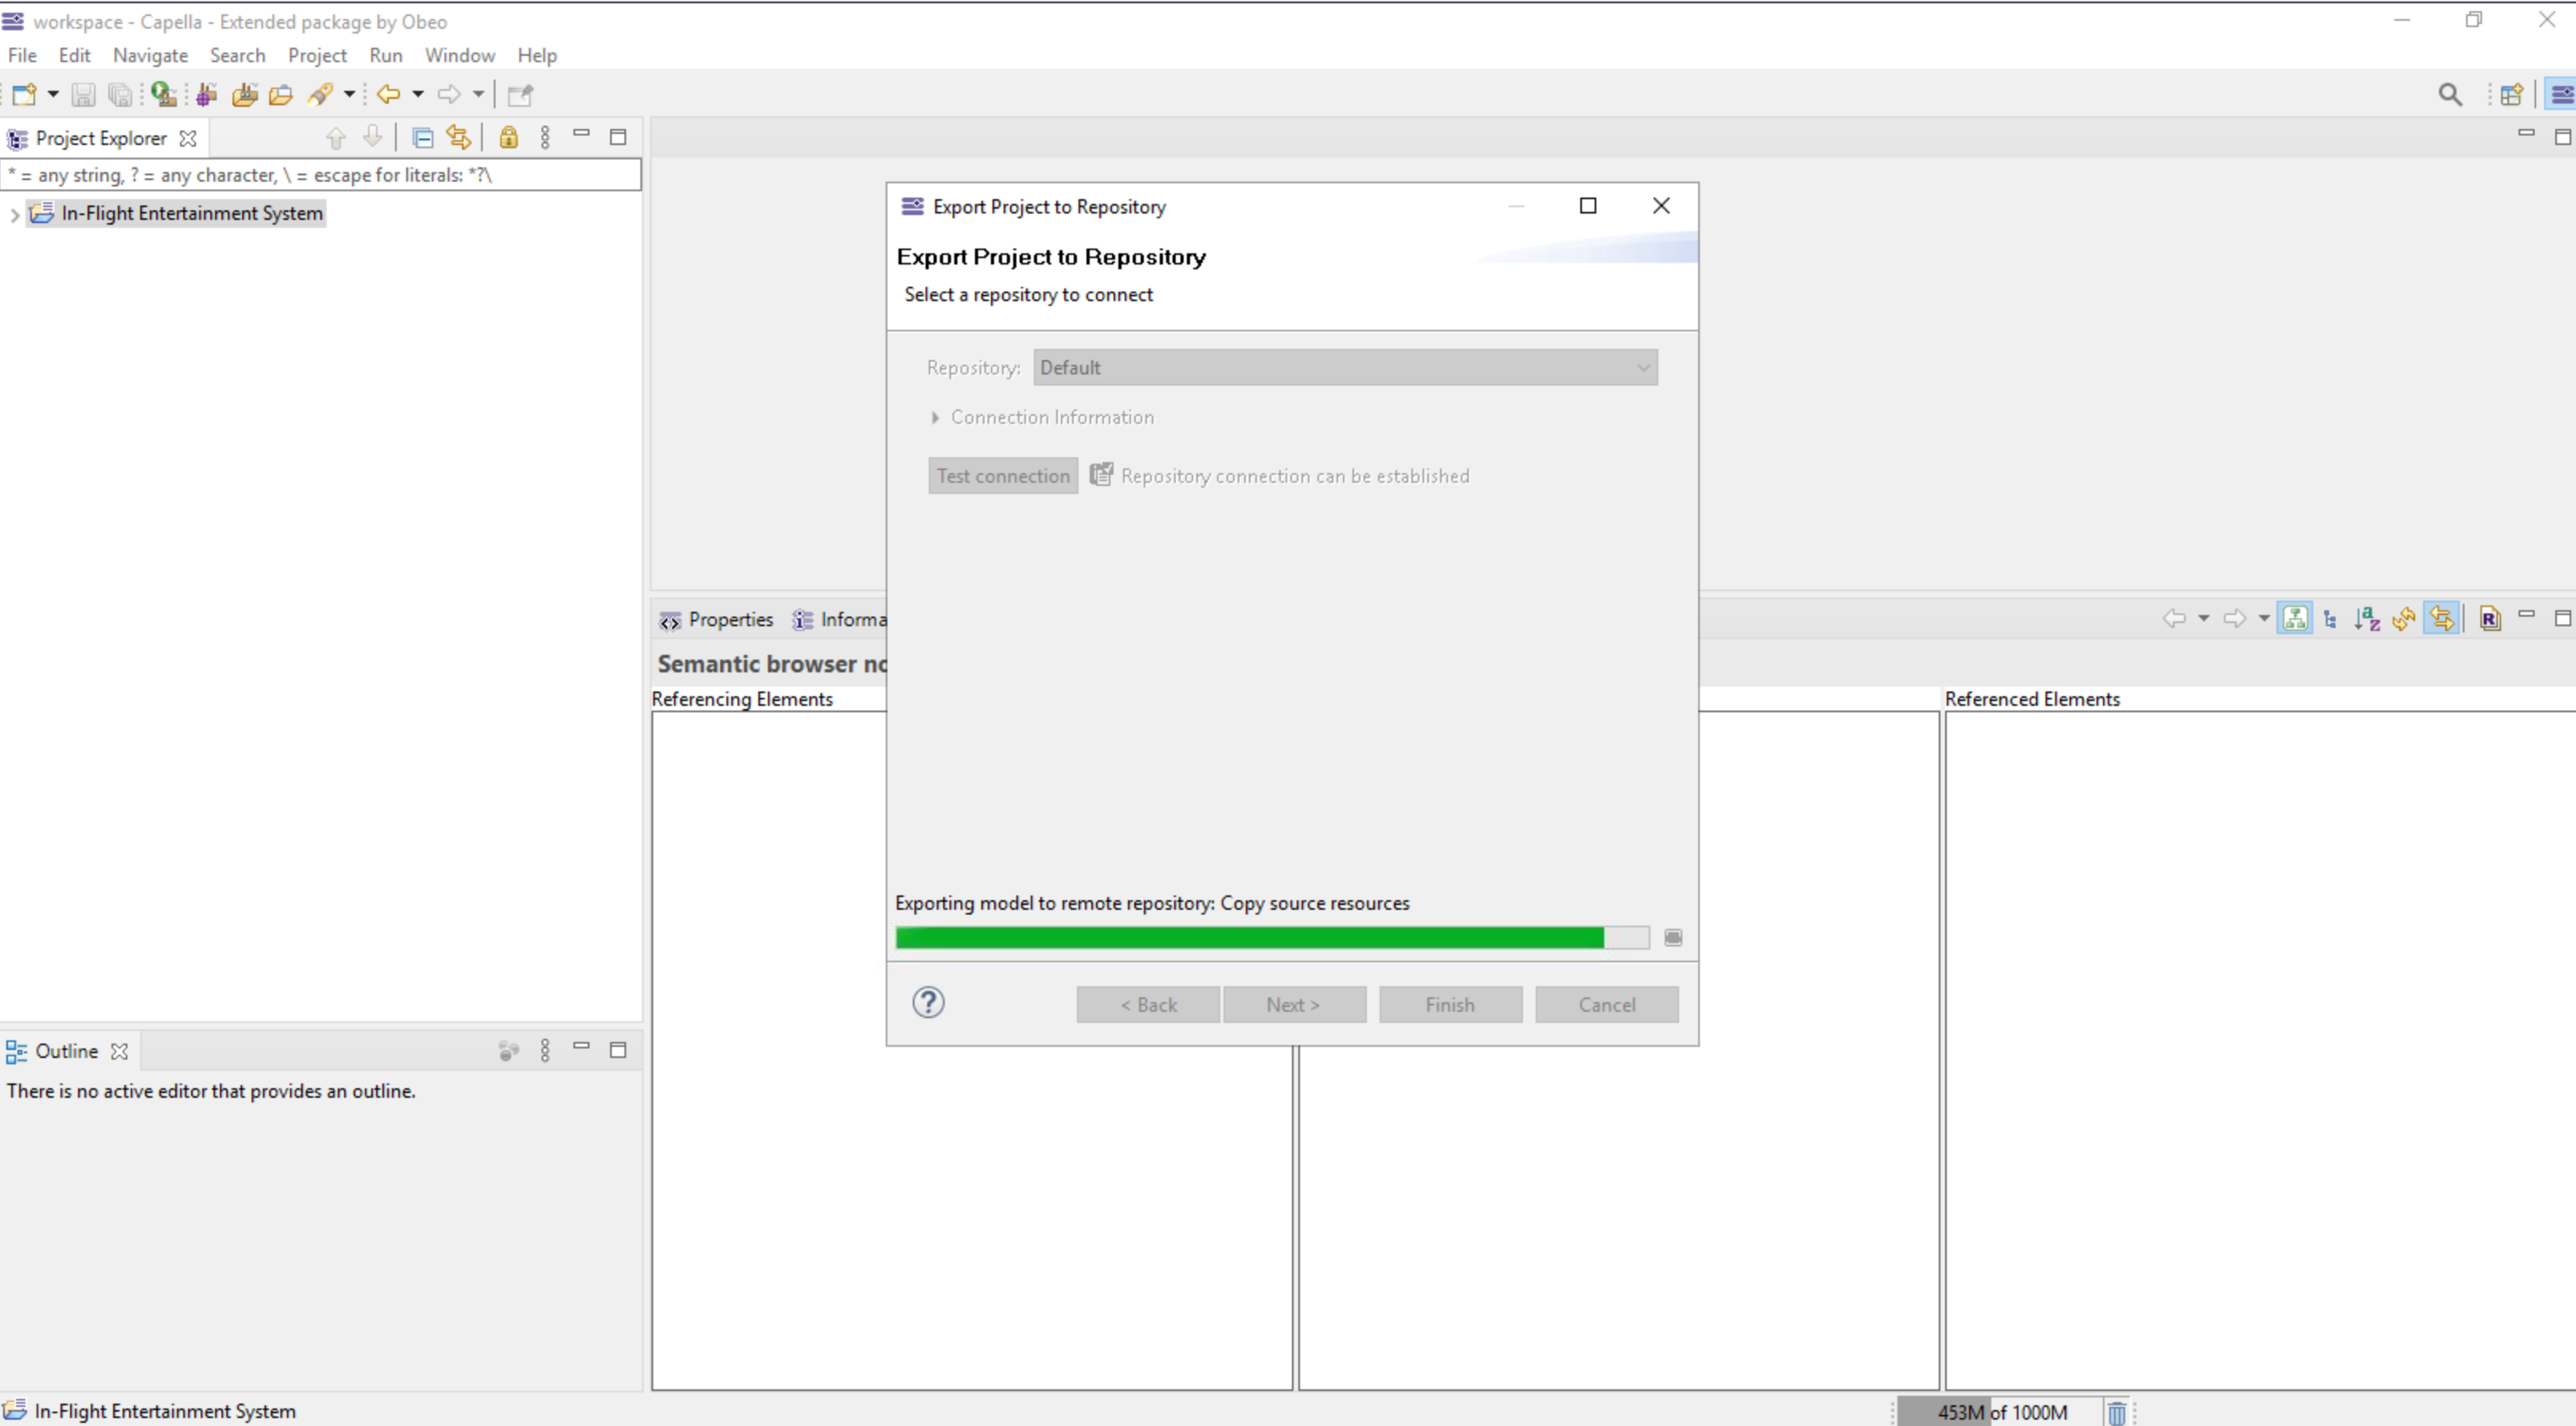
6. Push a project from workspace to Team for Capella
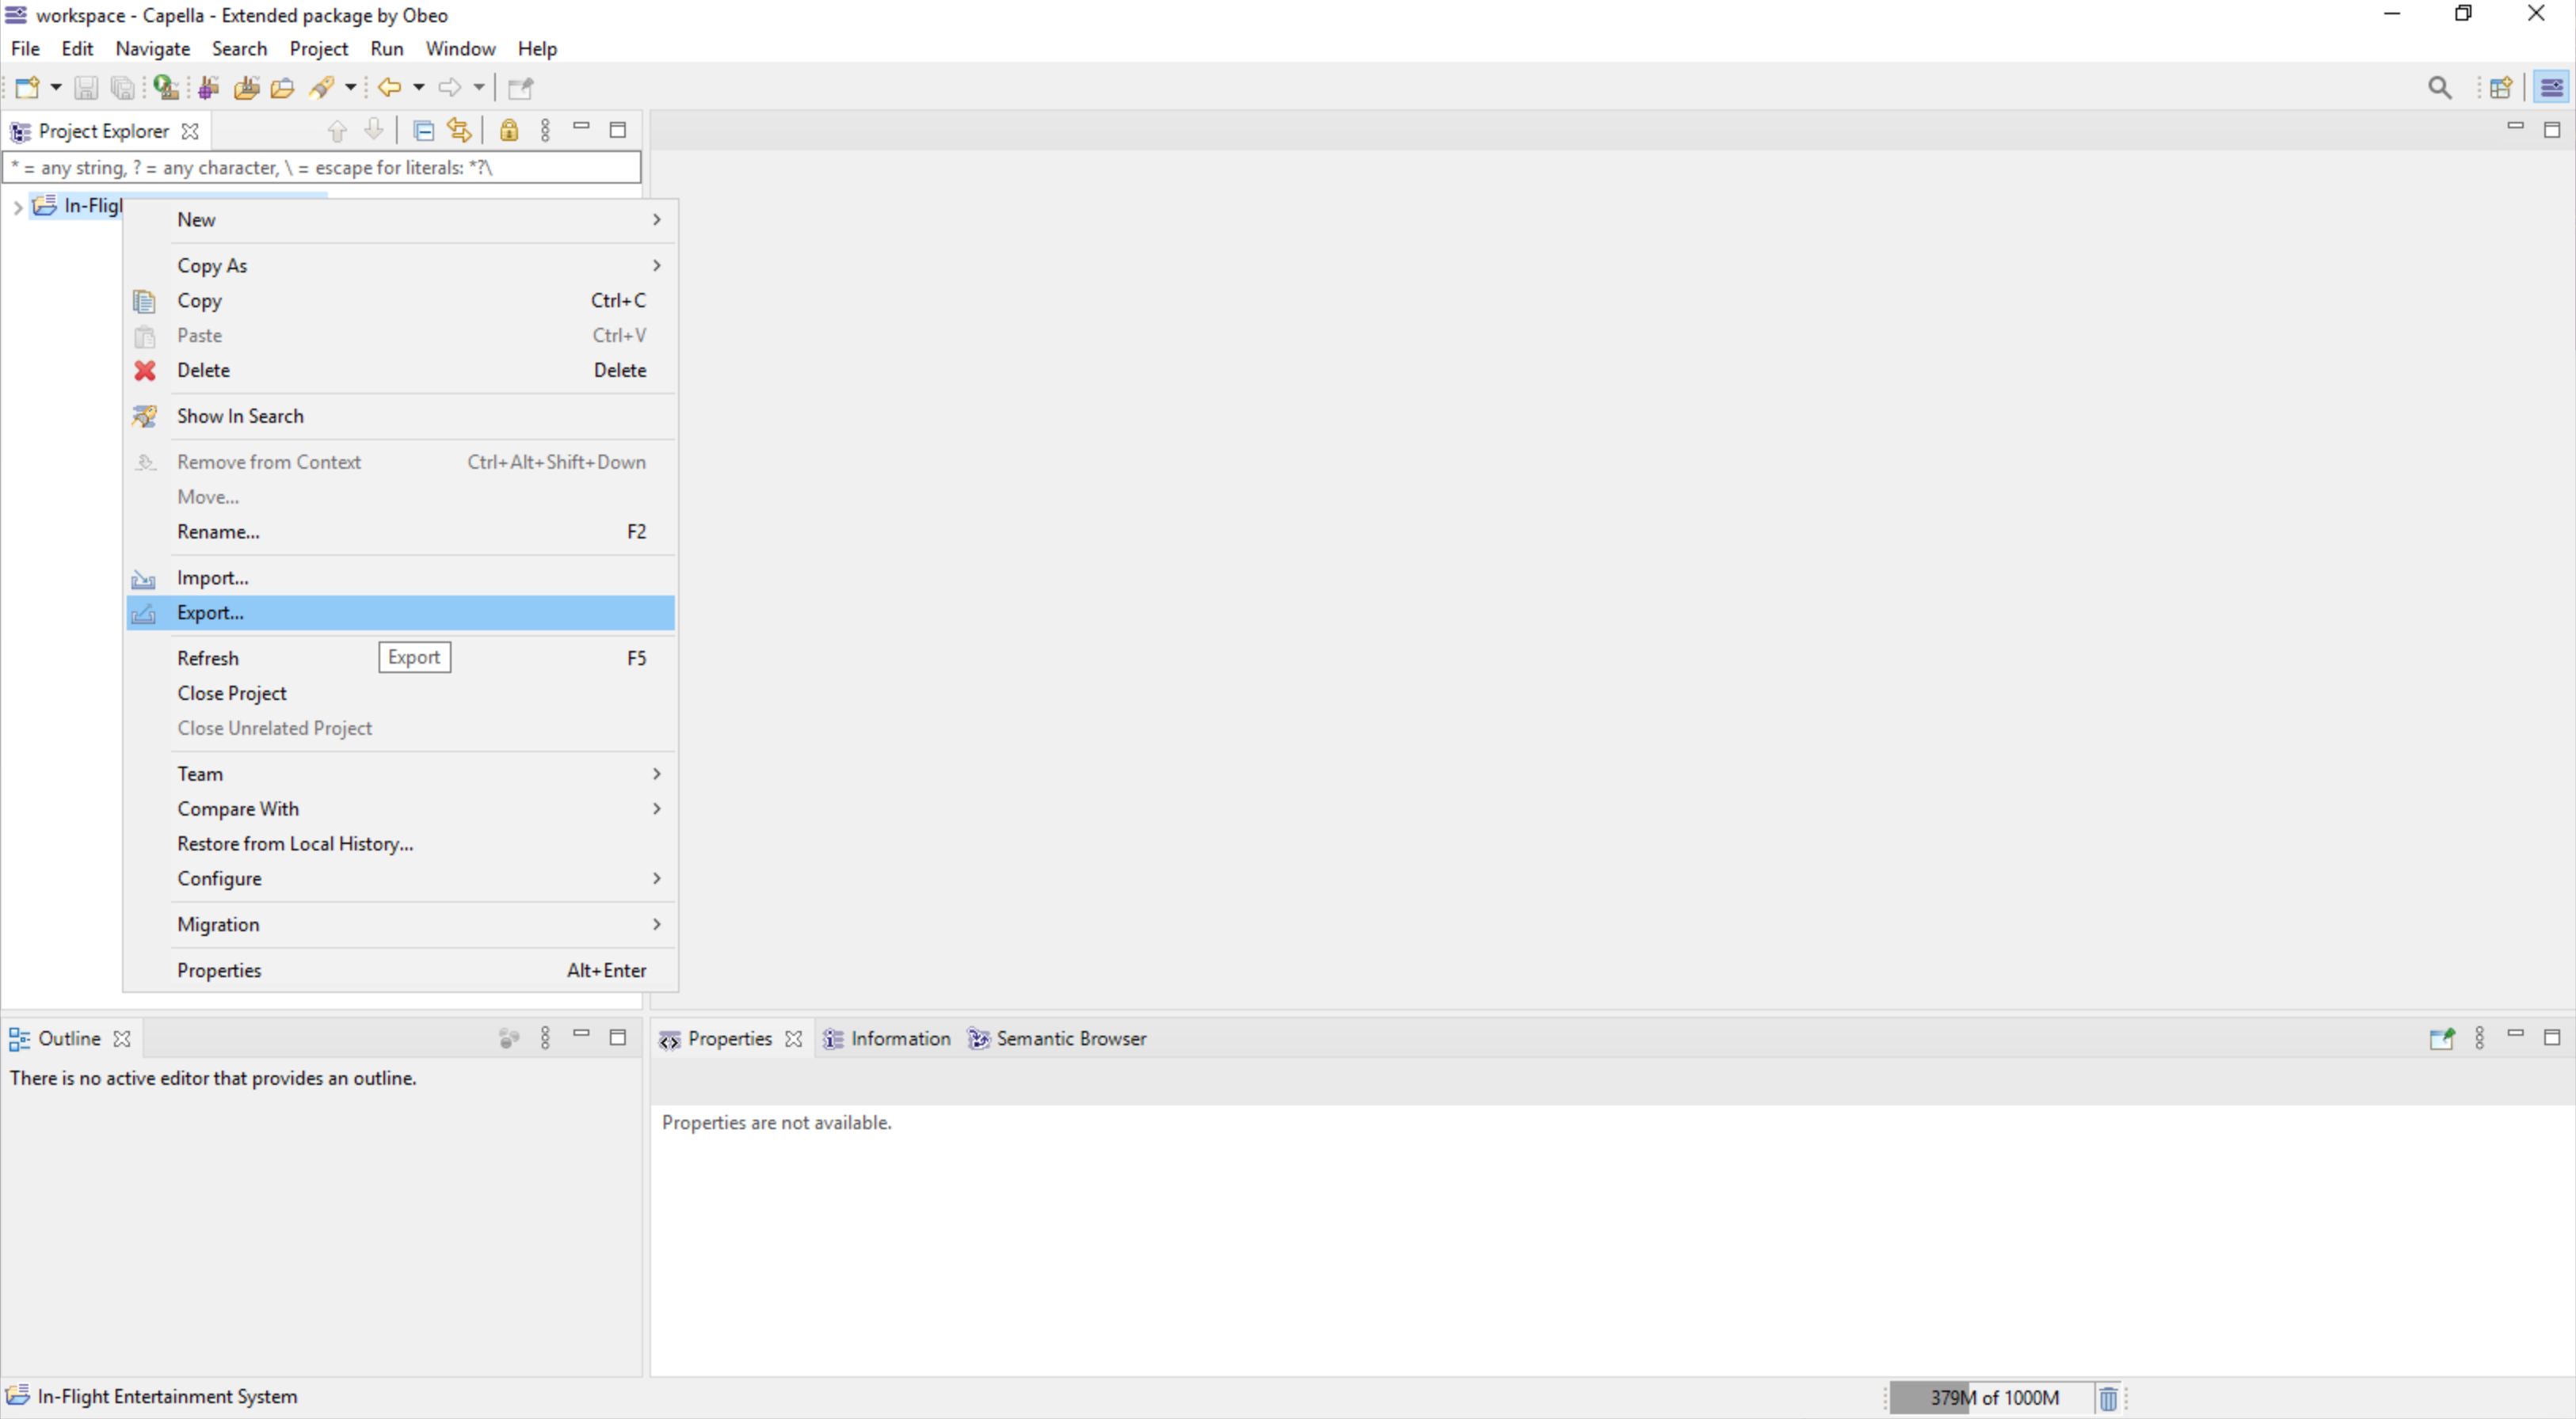
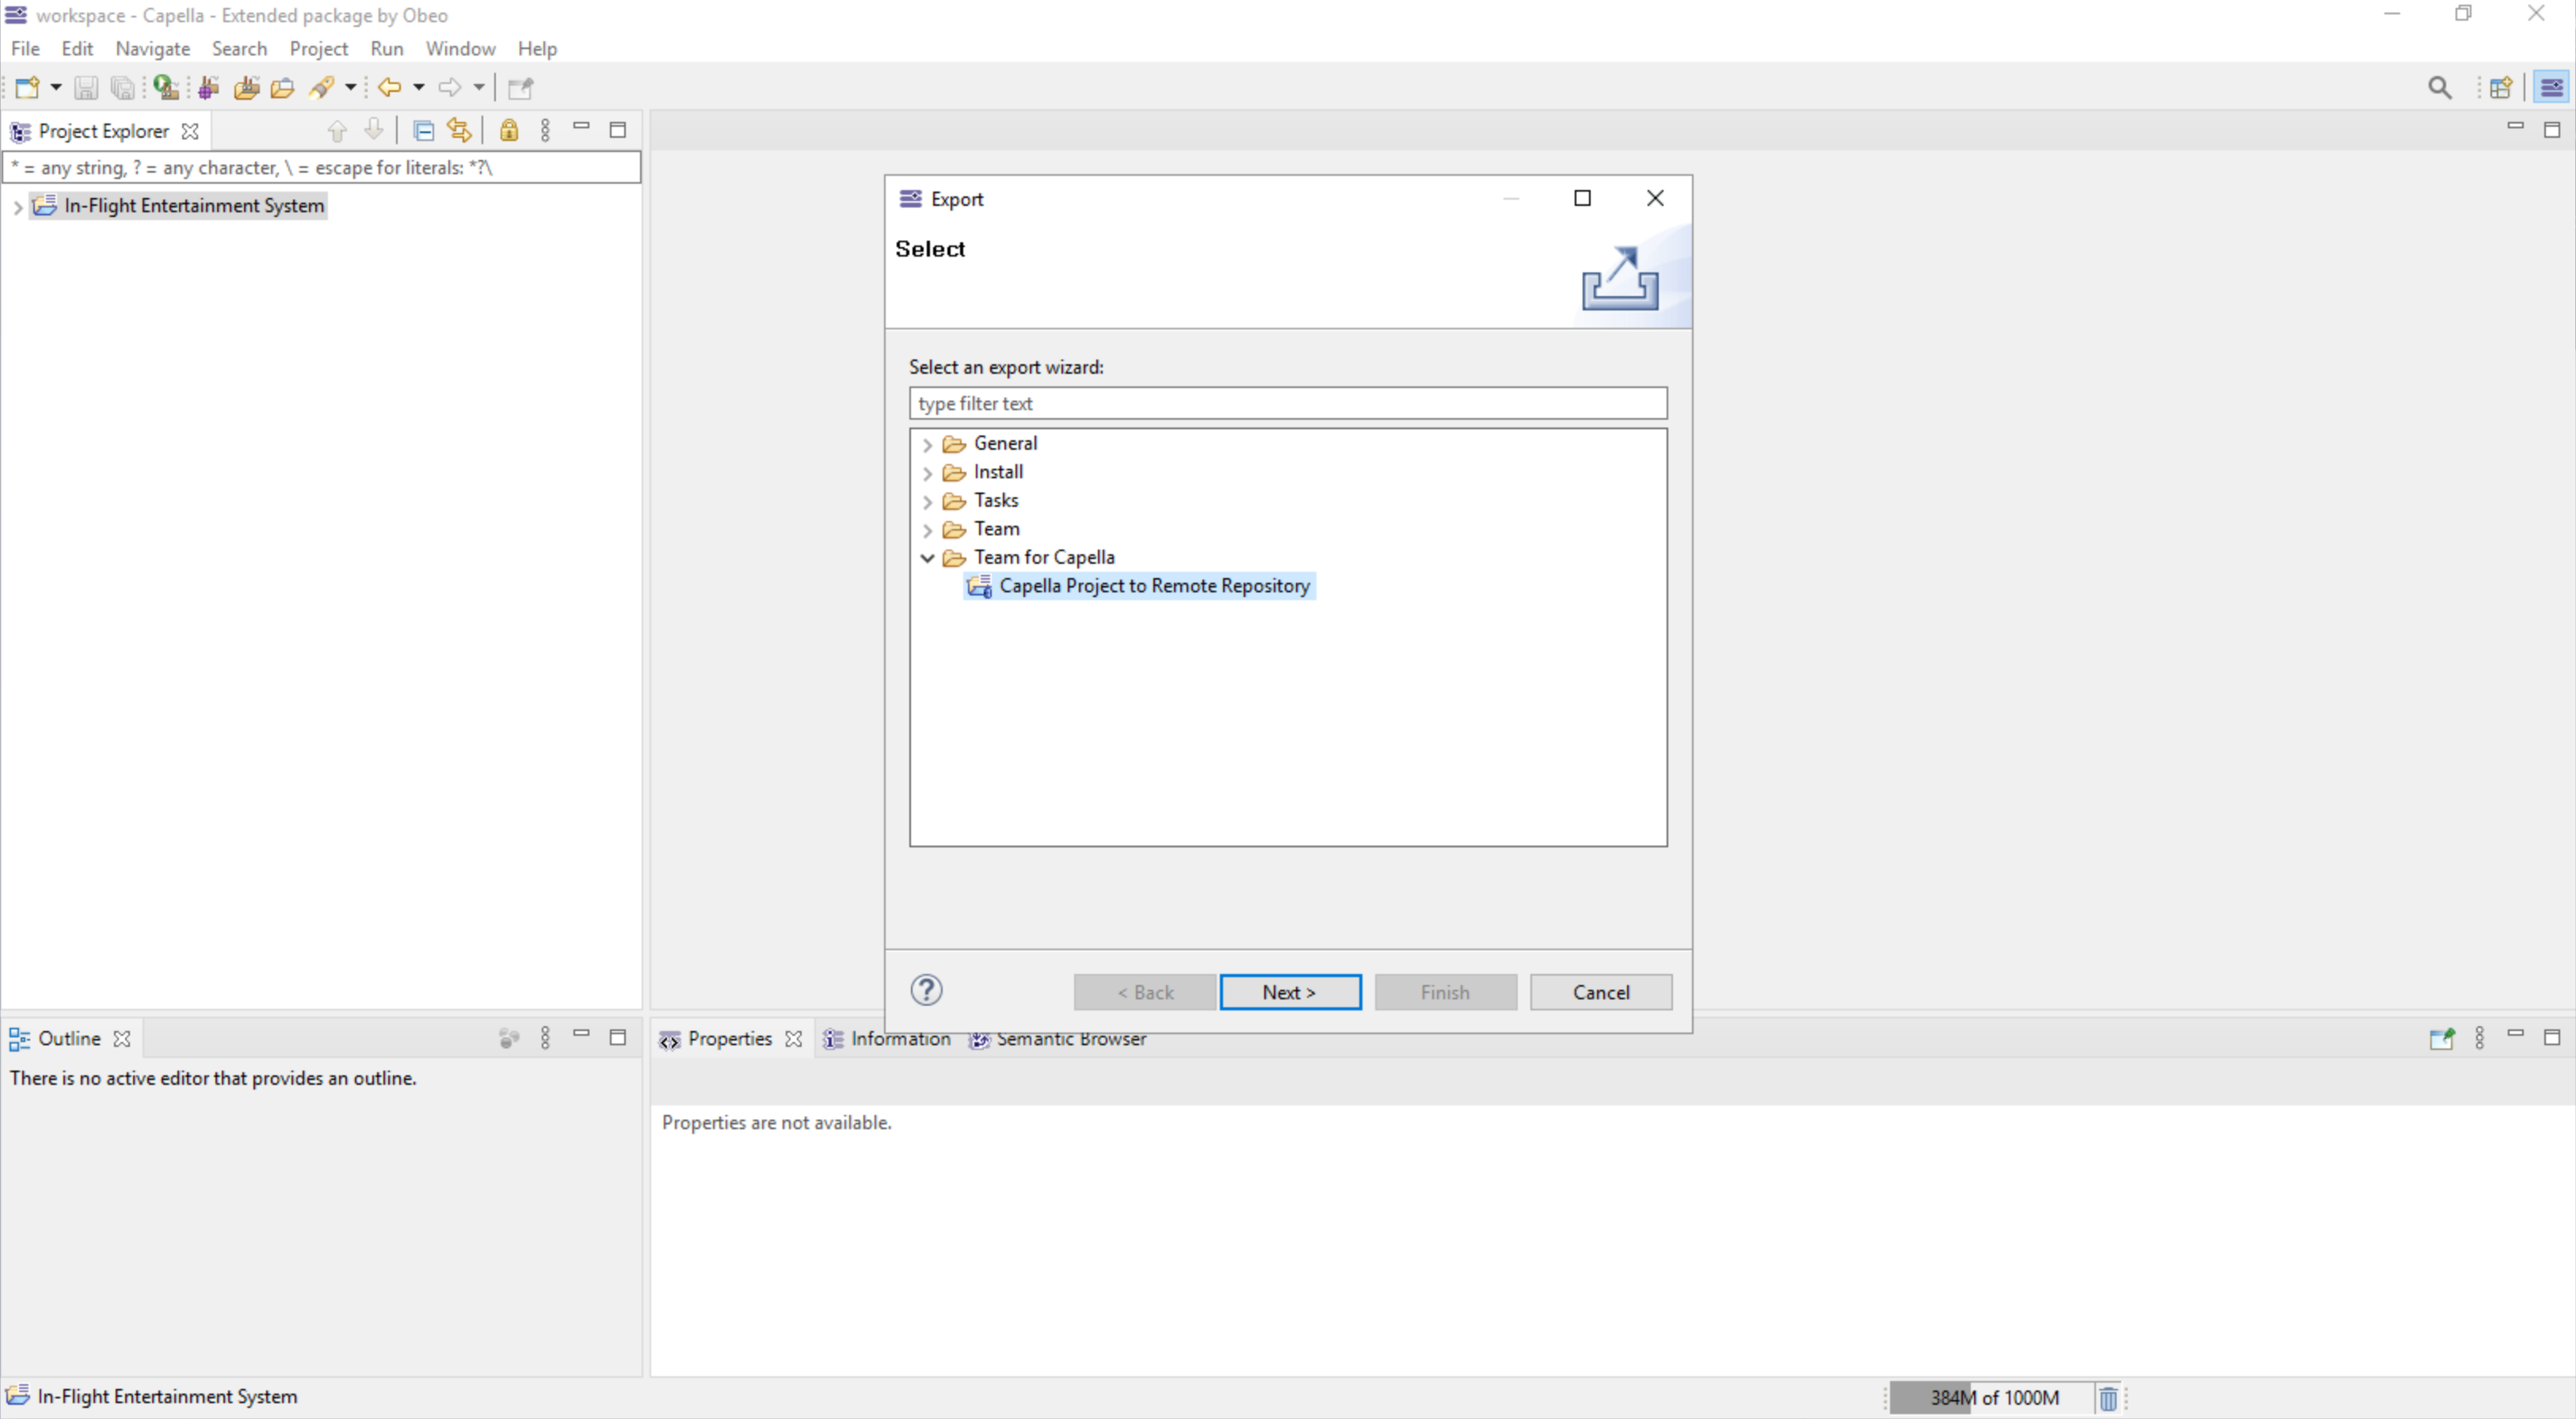
To share model with team, the project must be exported on the Team for Capella server.
-
Select the project to push on Team for Capella and start the export wizard :
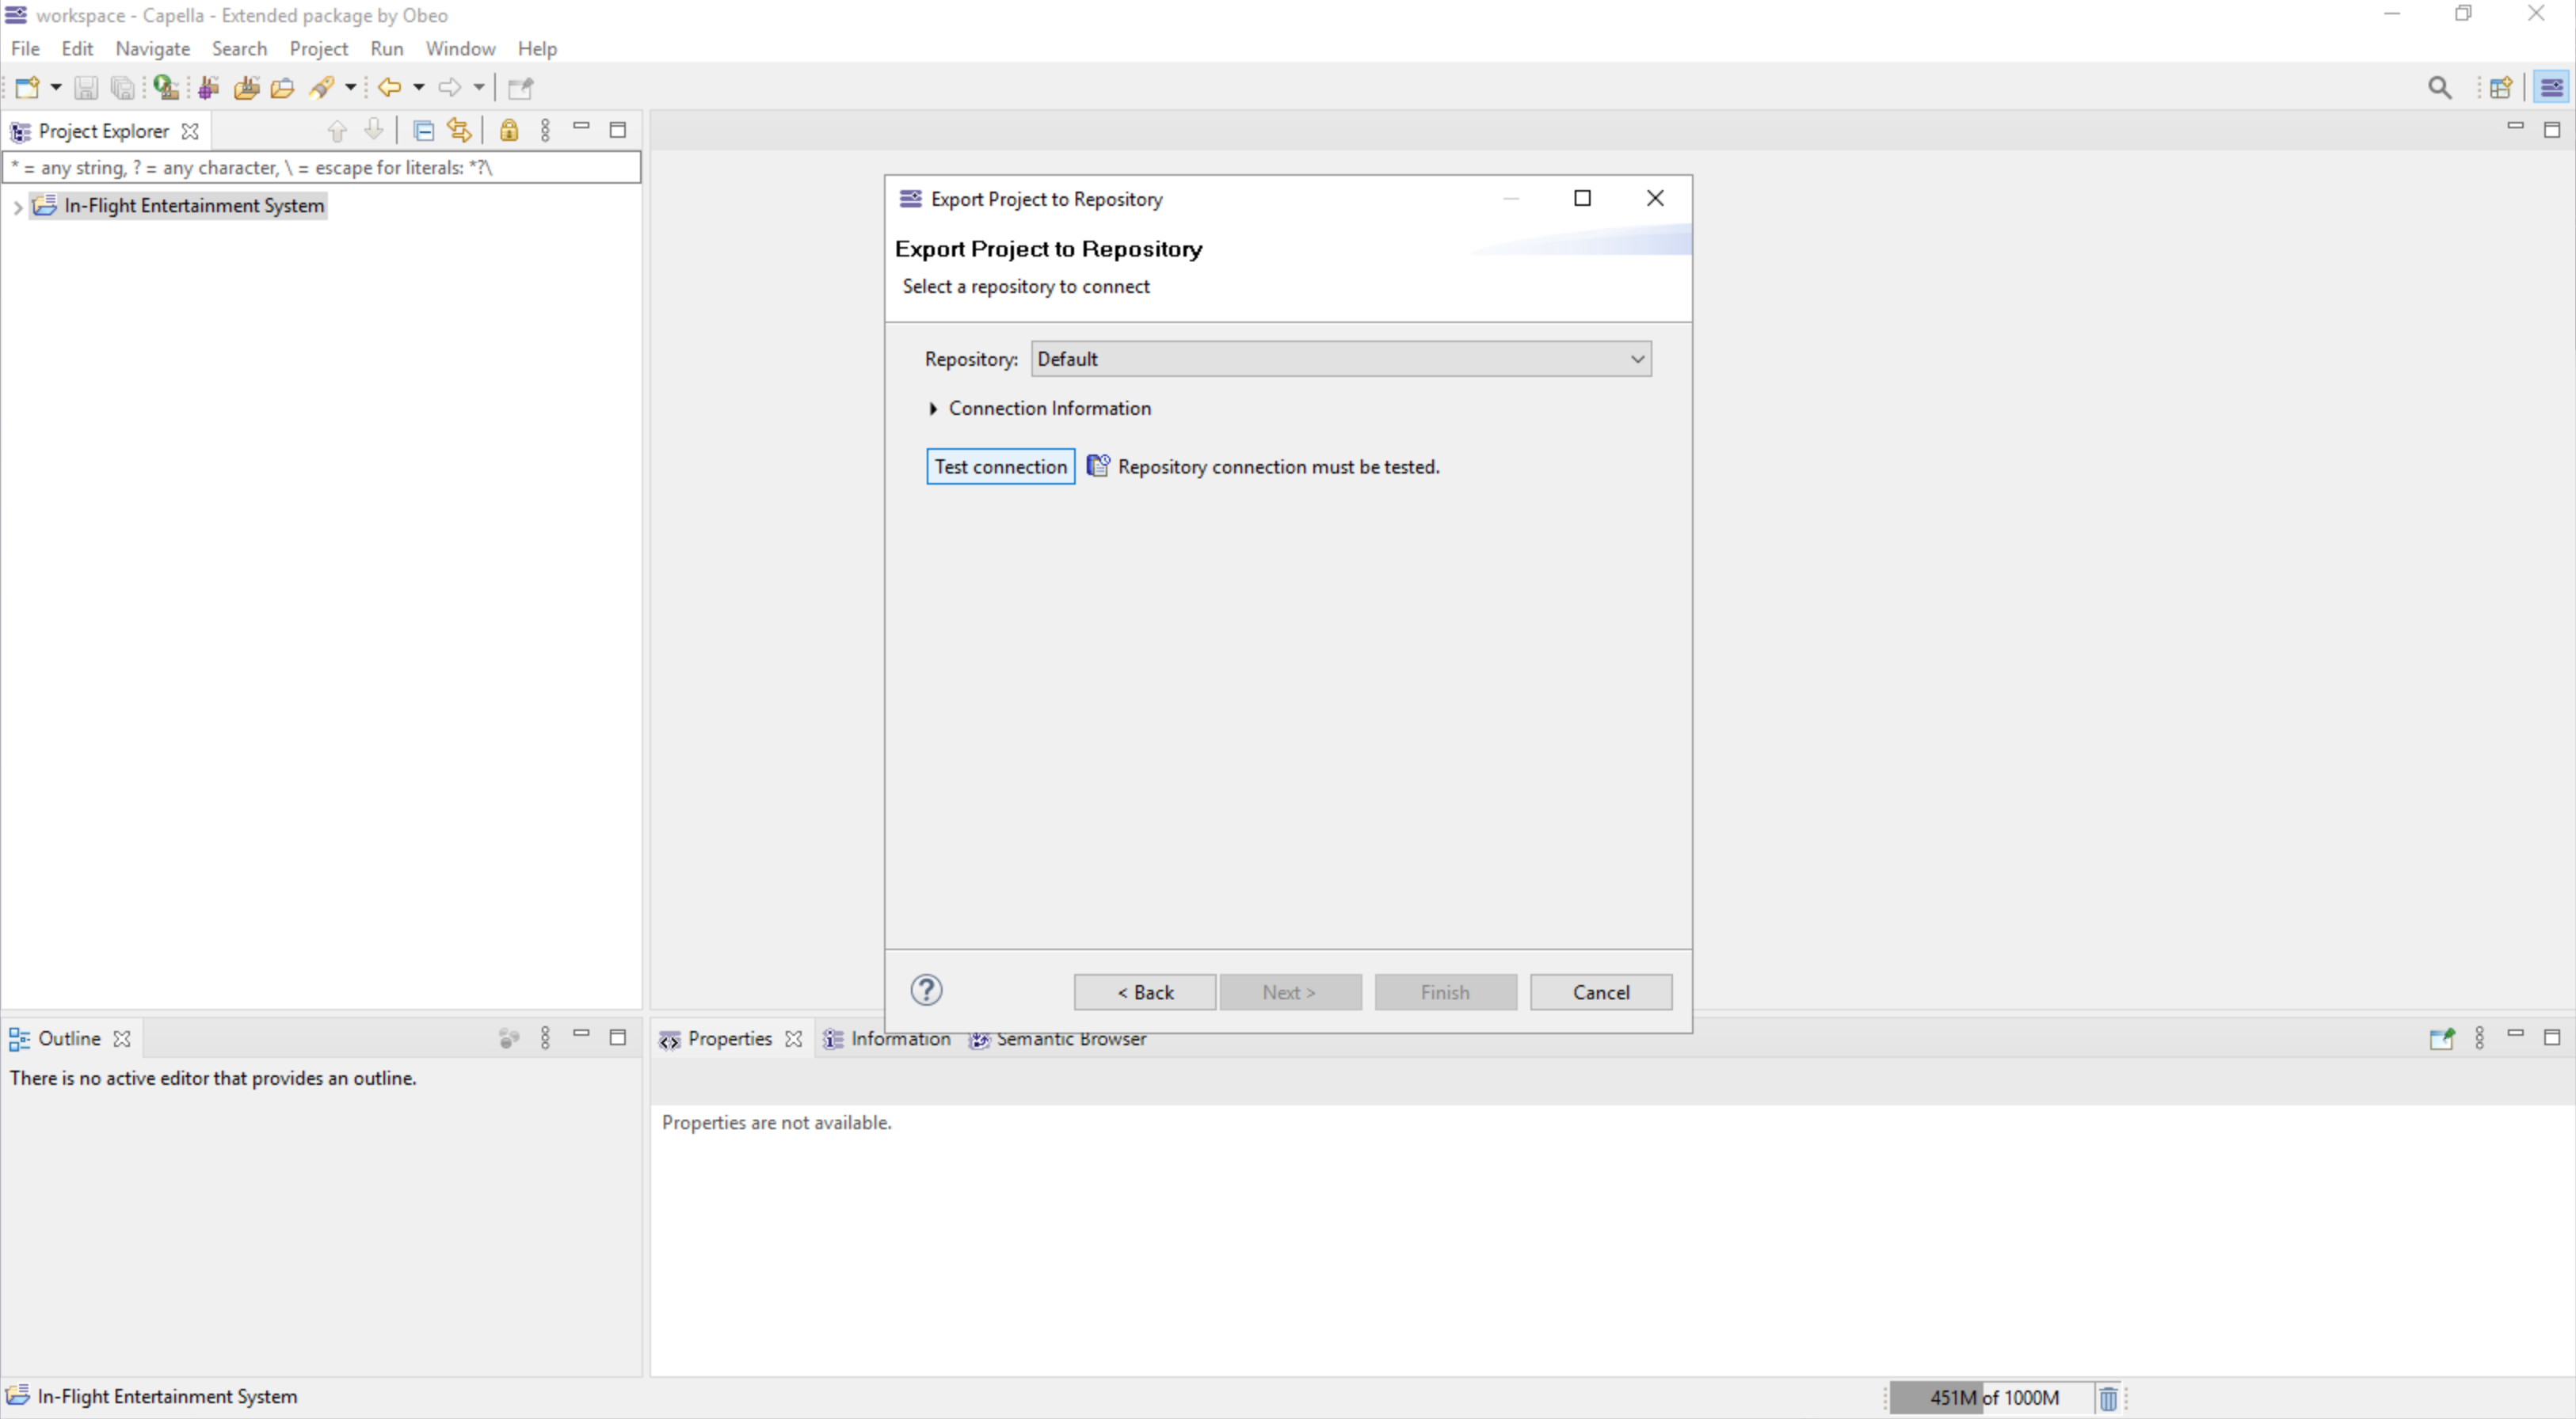
-
Connect to the Team for Capella server using your credentials (Test connection) :
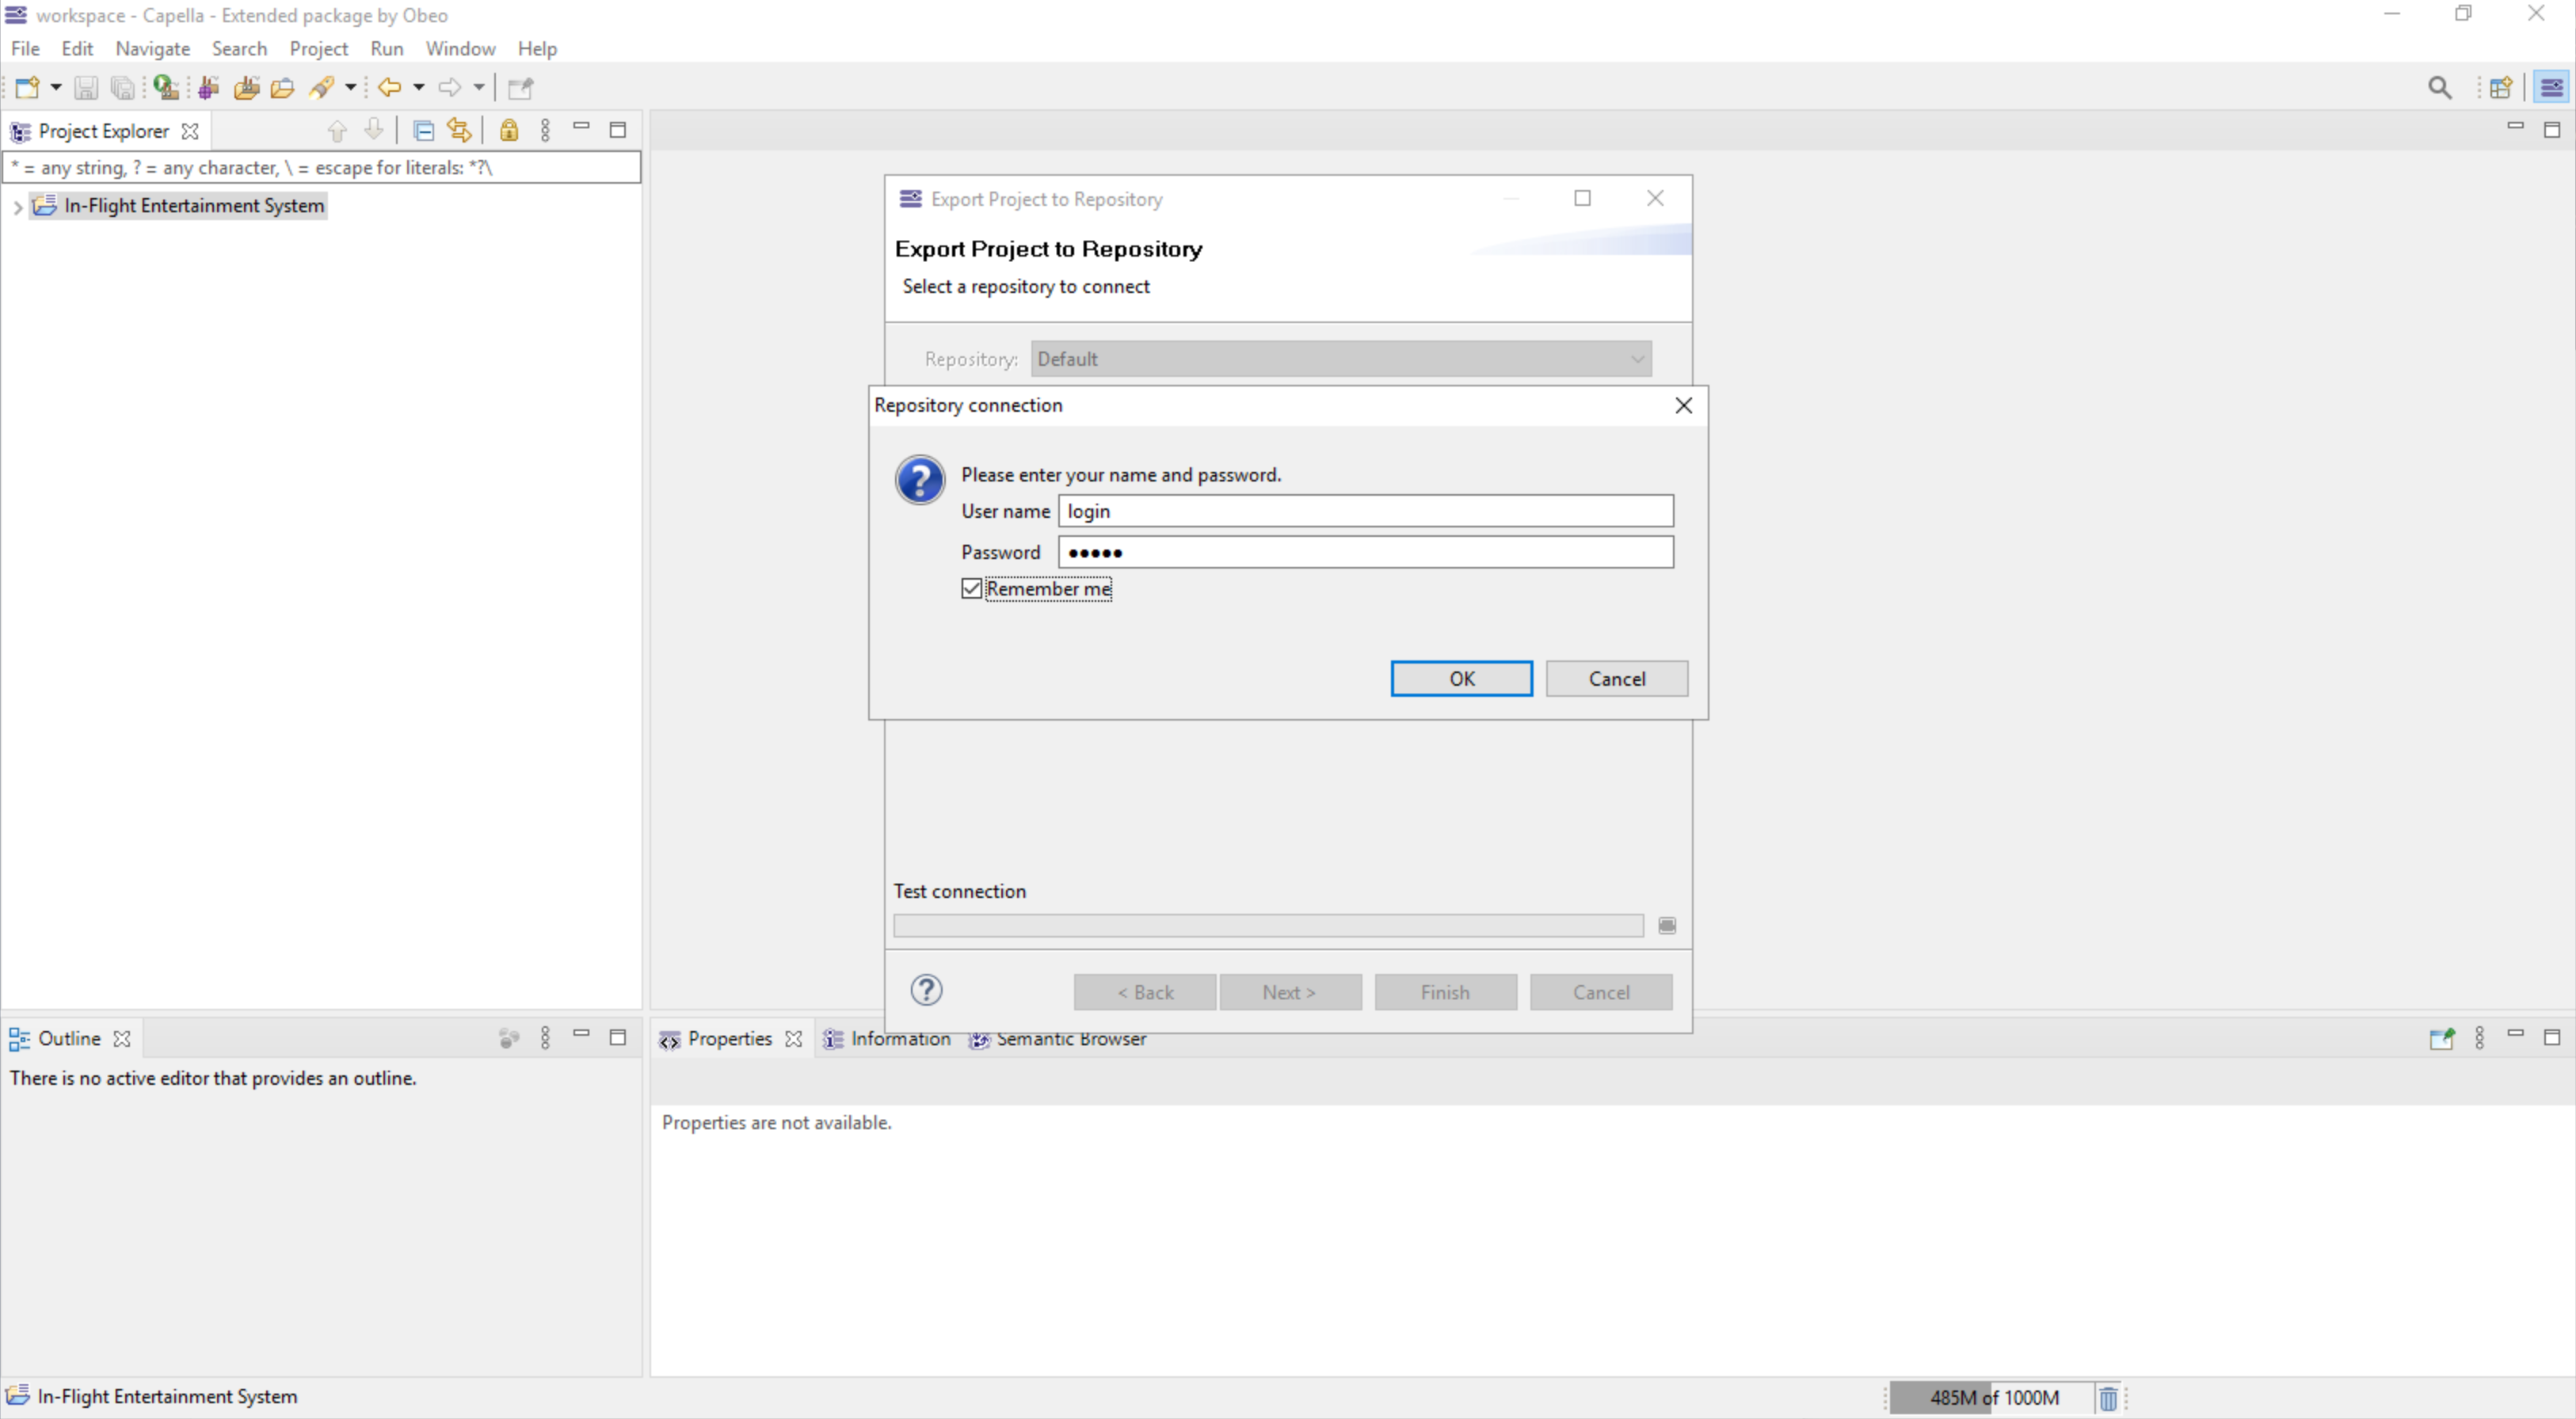
-
[Optionnal] If you select the "remember me" option, set a master password on the capella client :
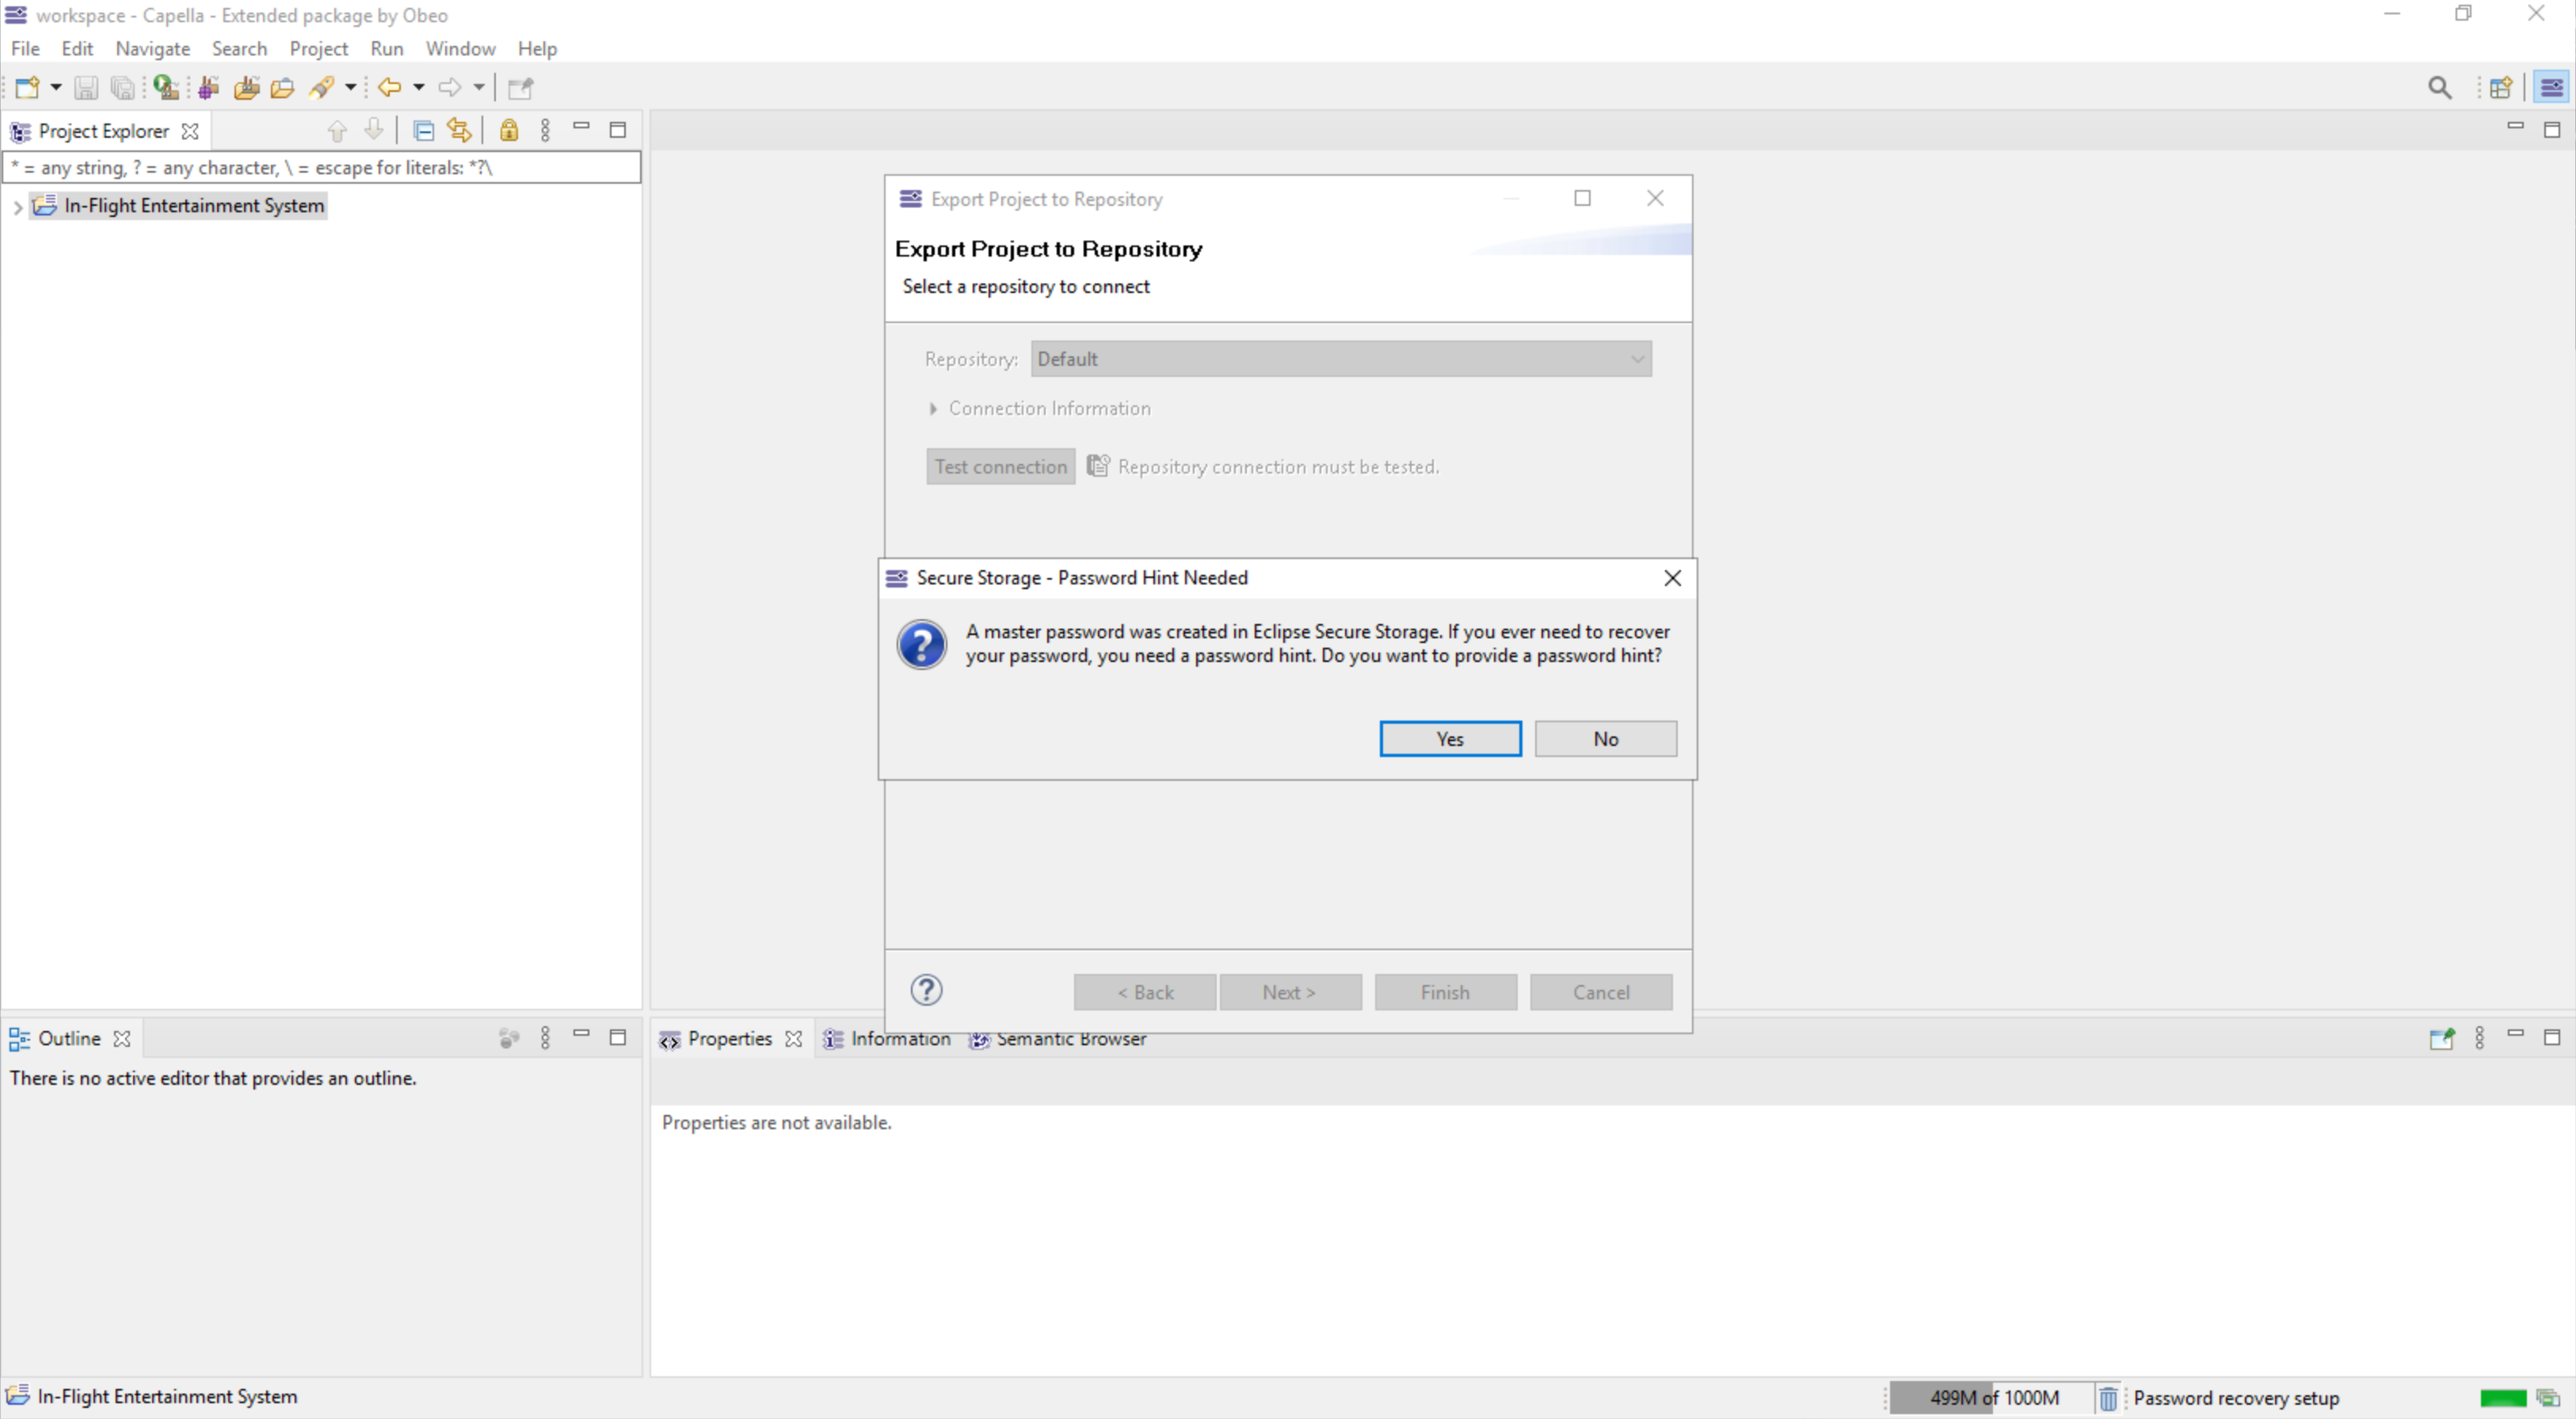
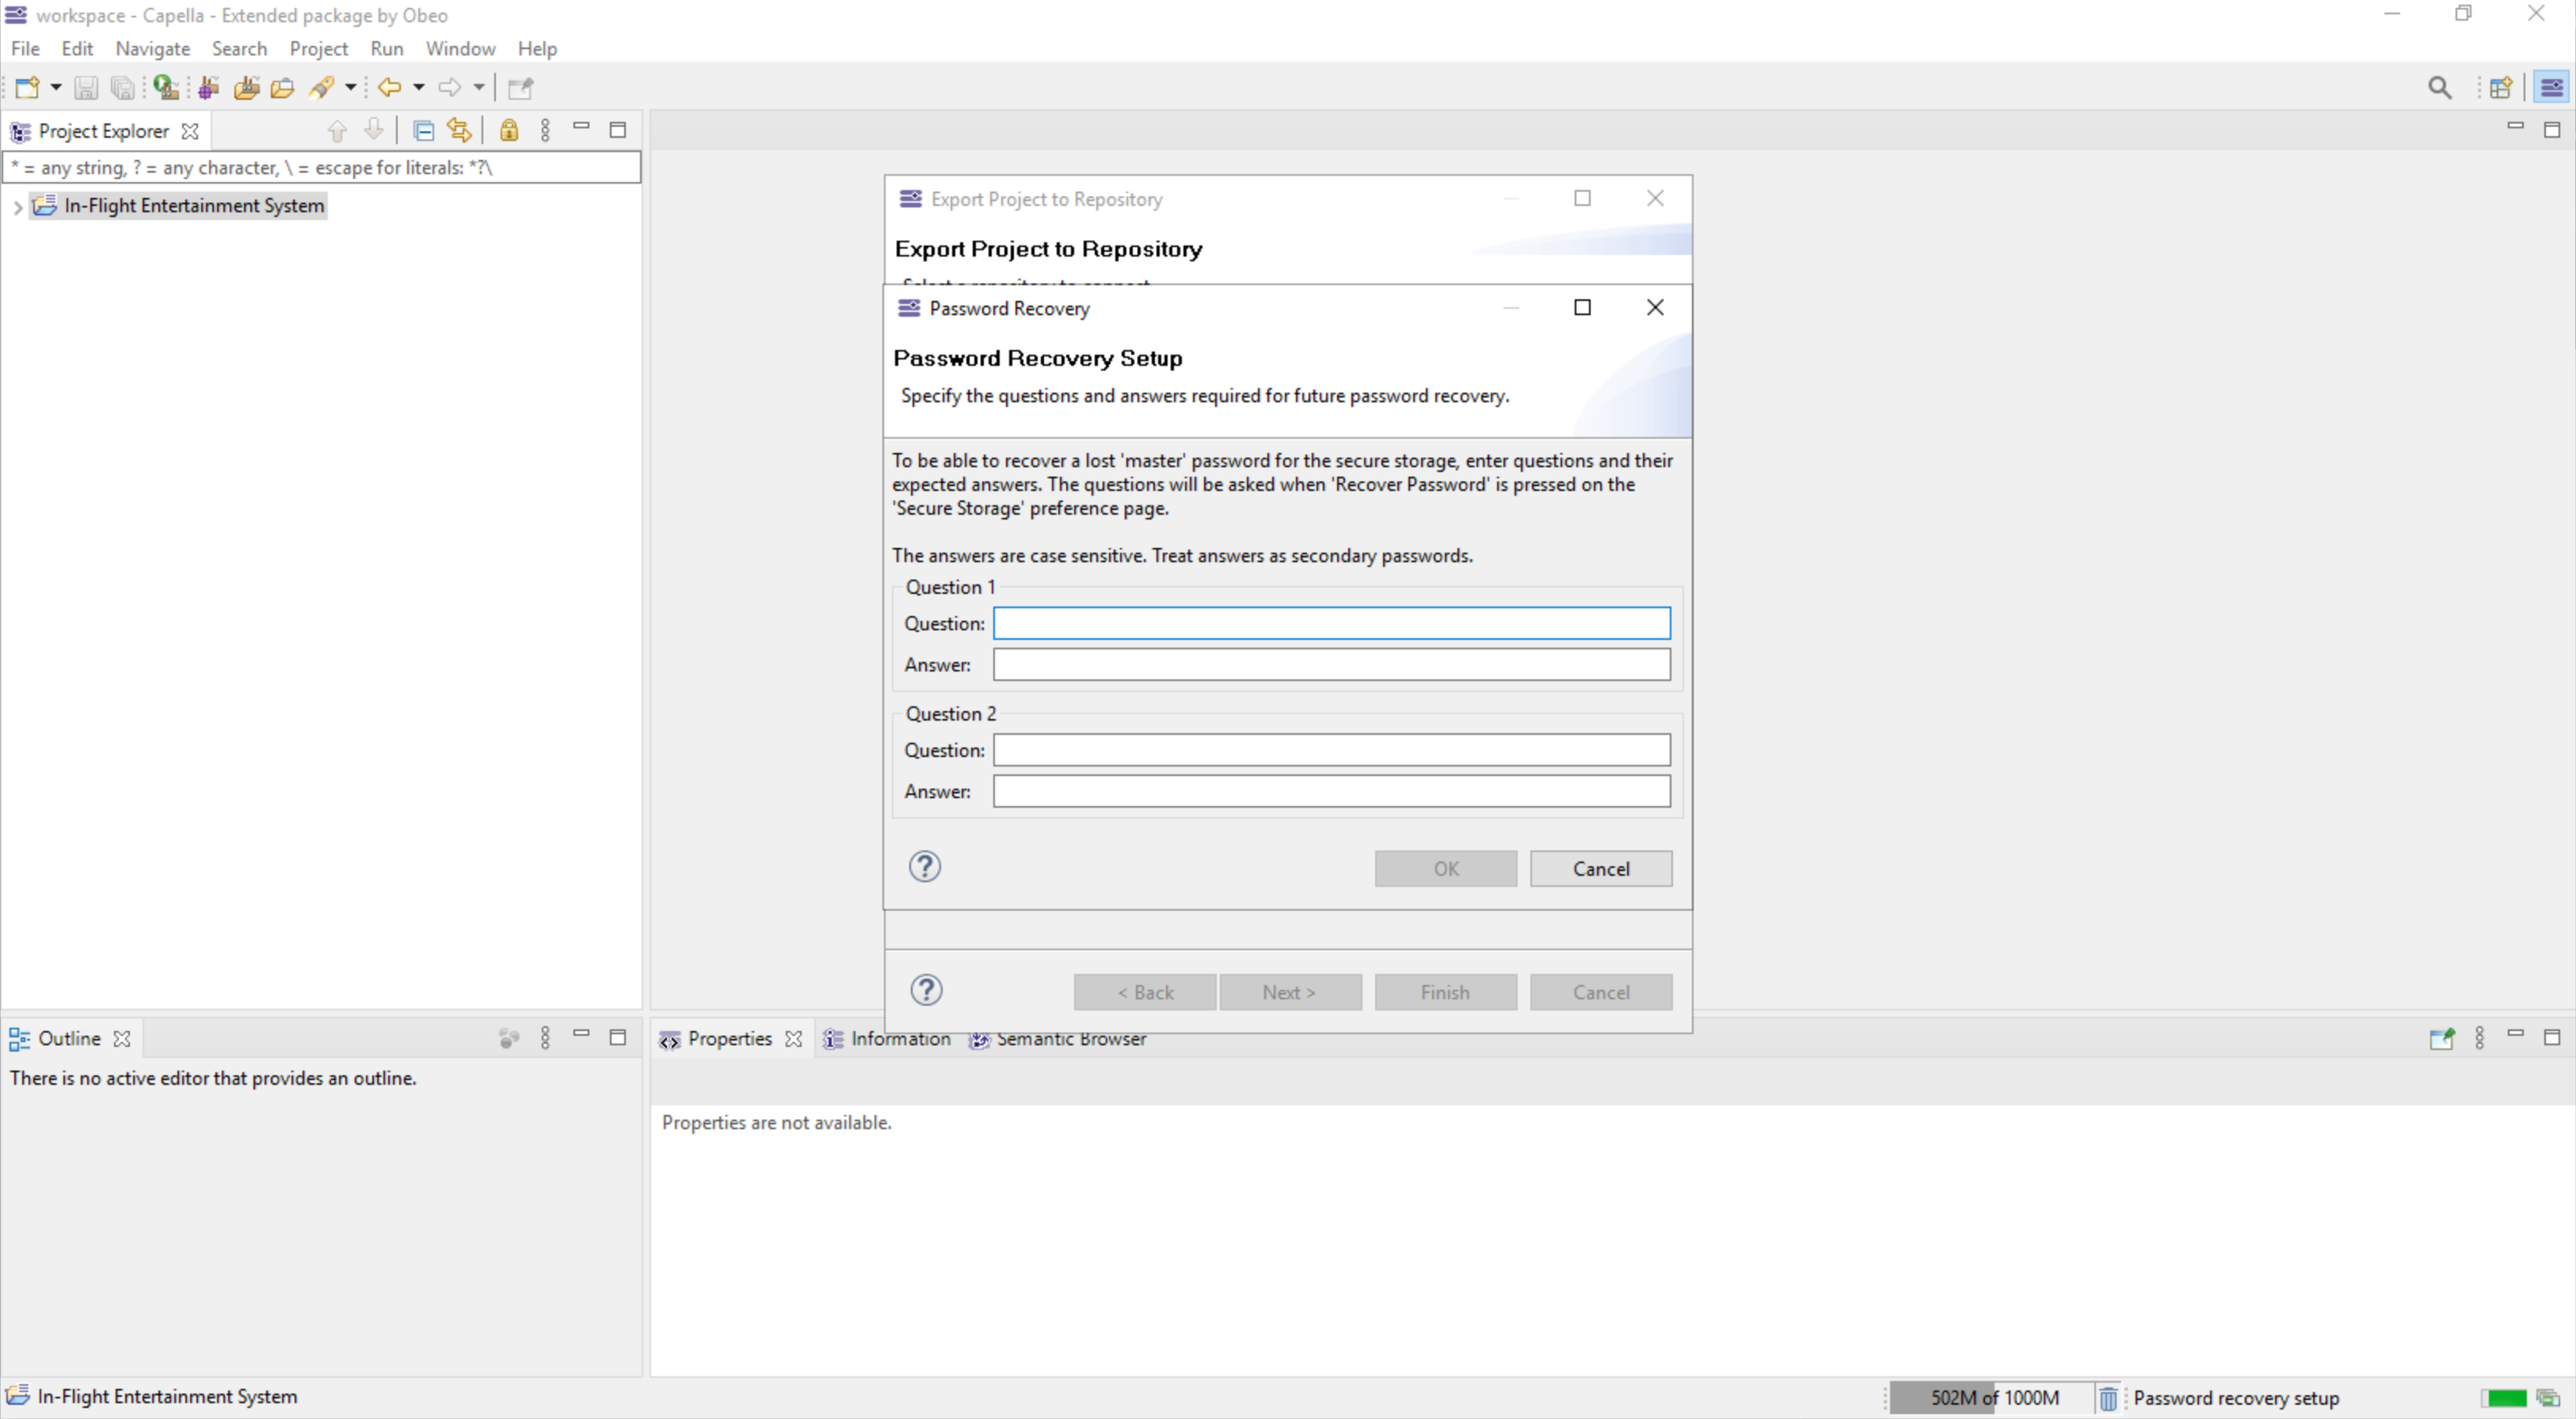
-
Push the projet : Click on Finish
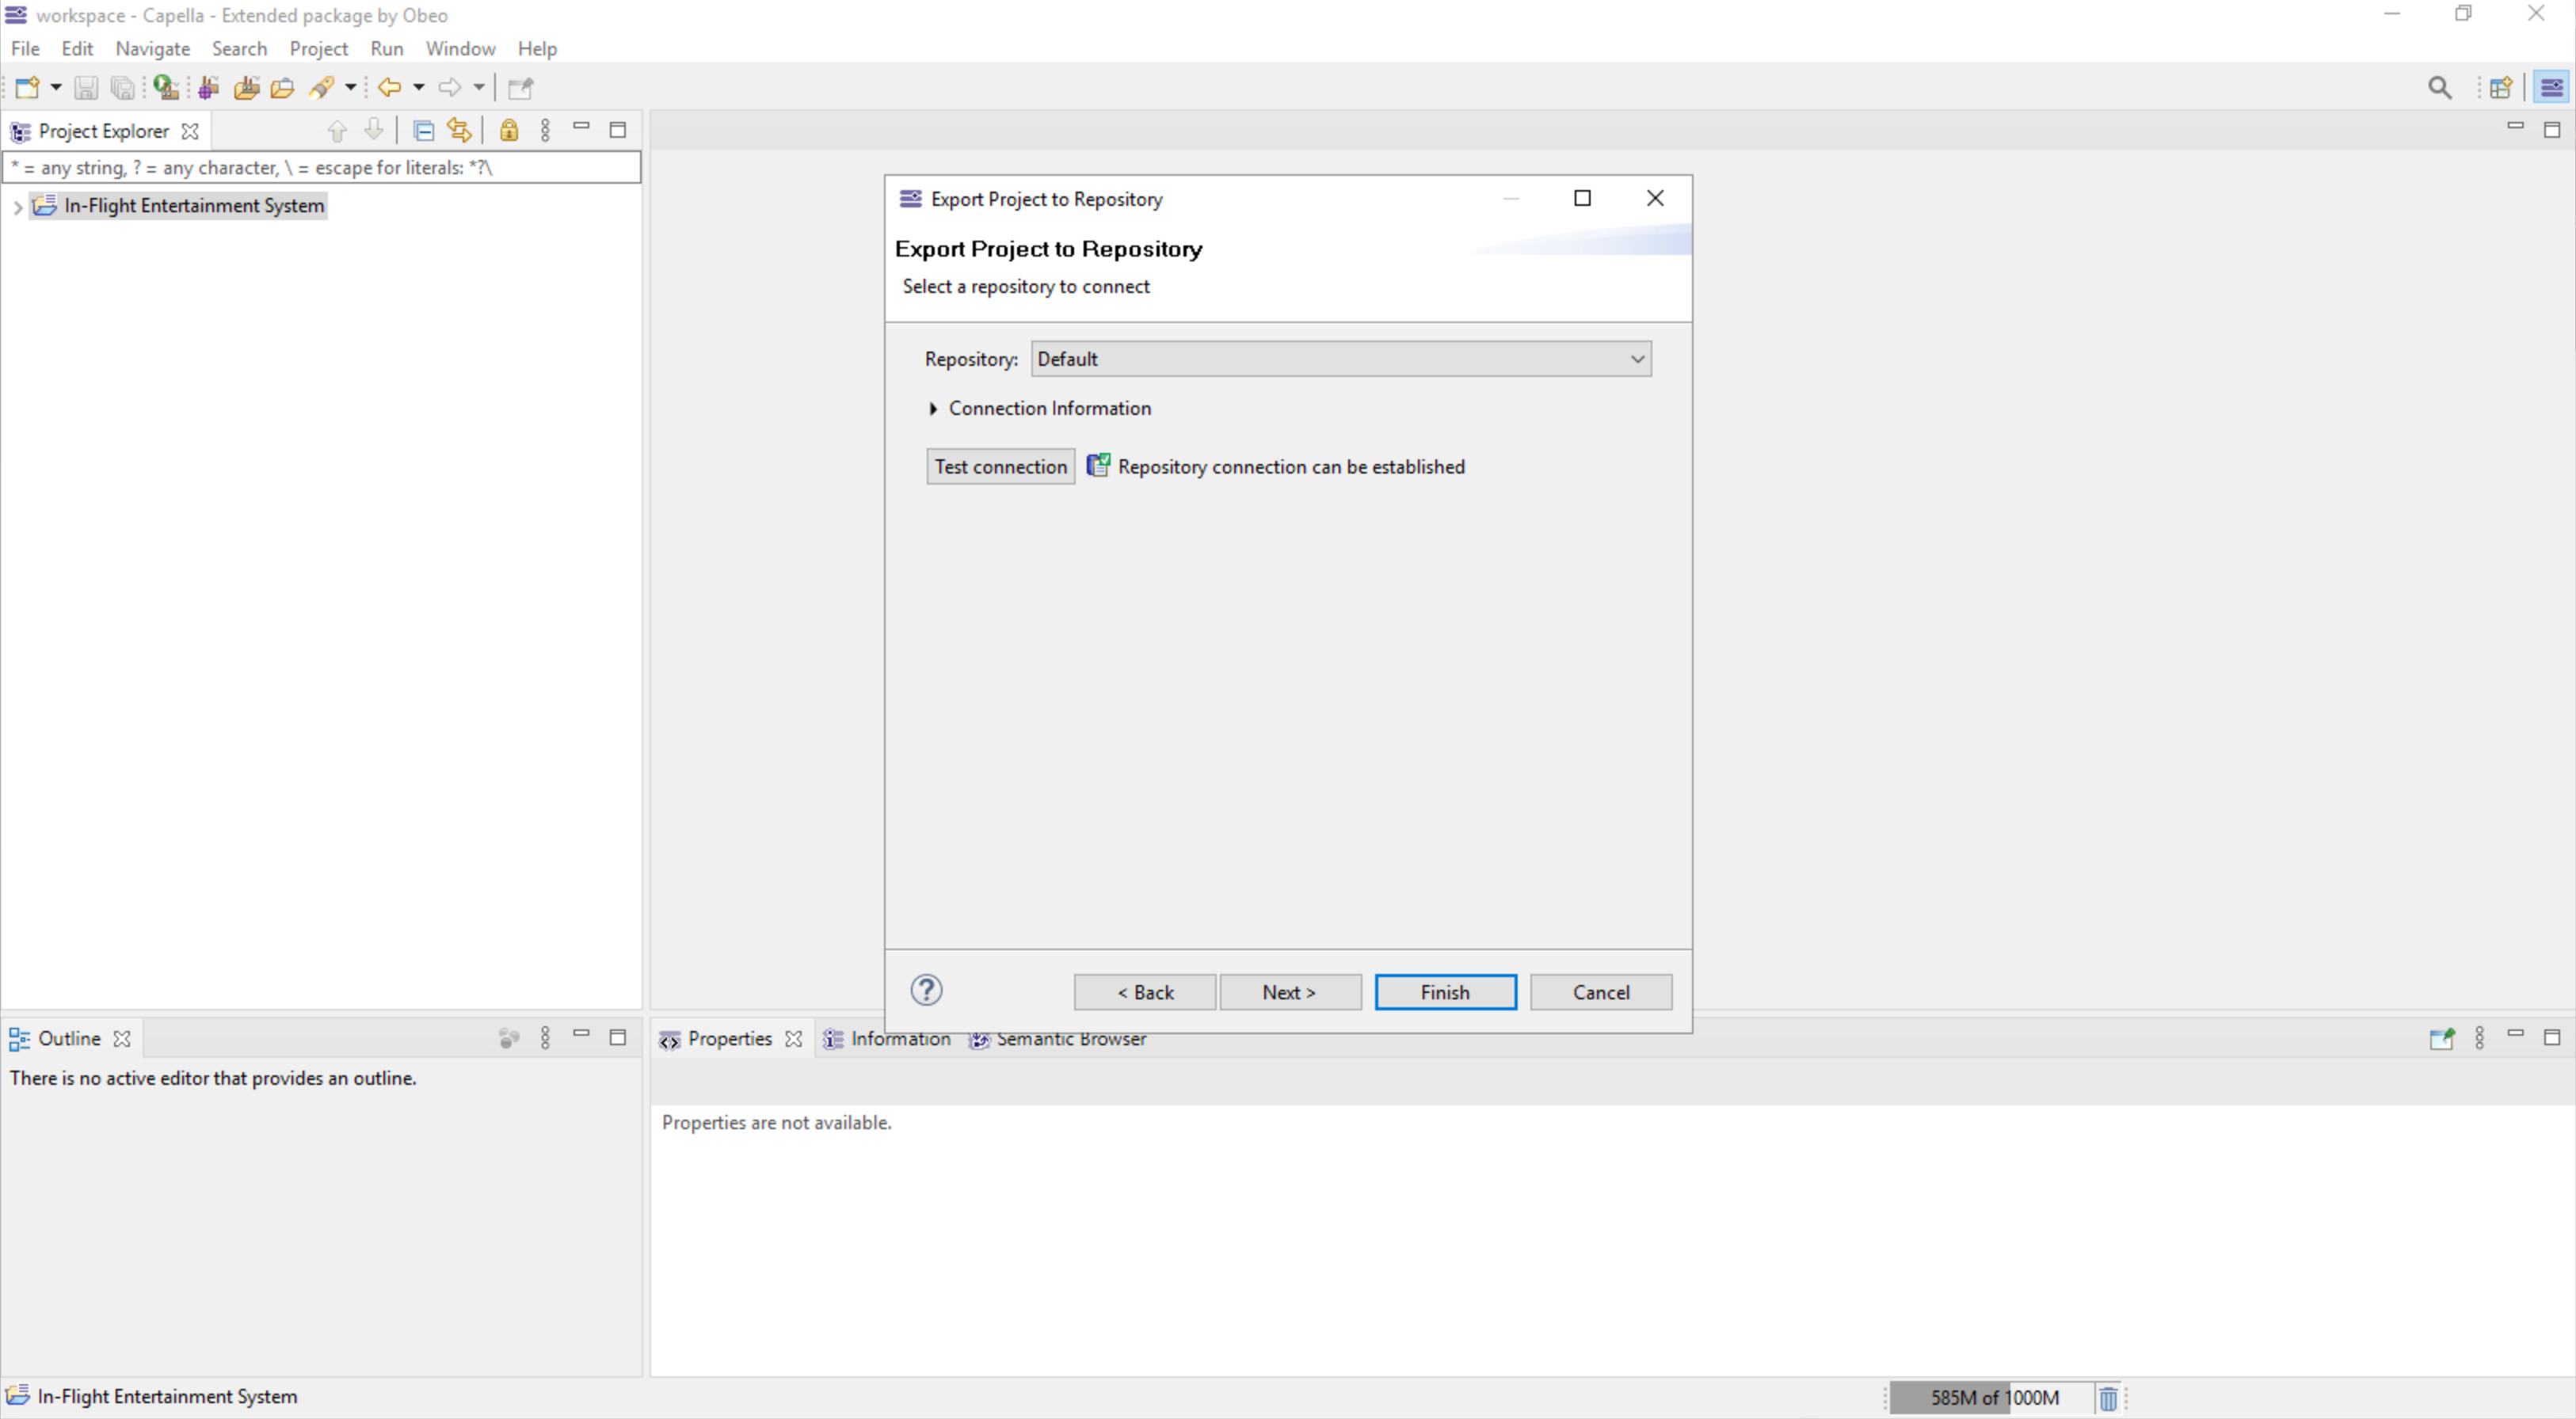
7. Pull a project from Team for Capella to workspace
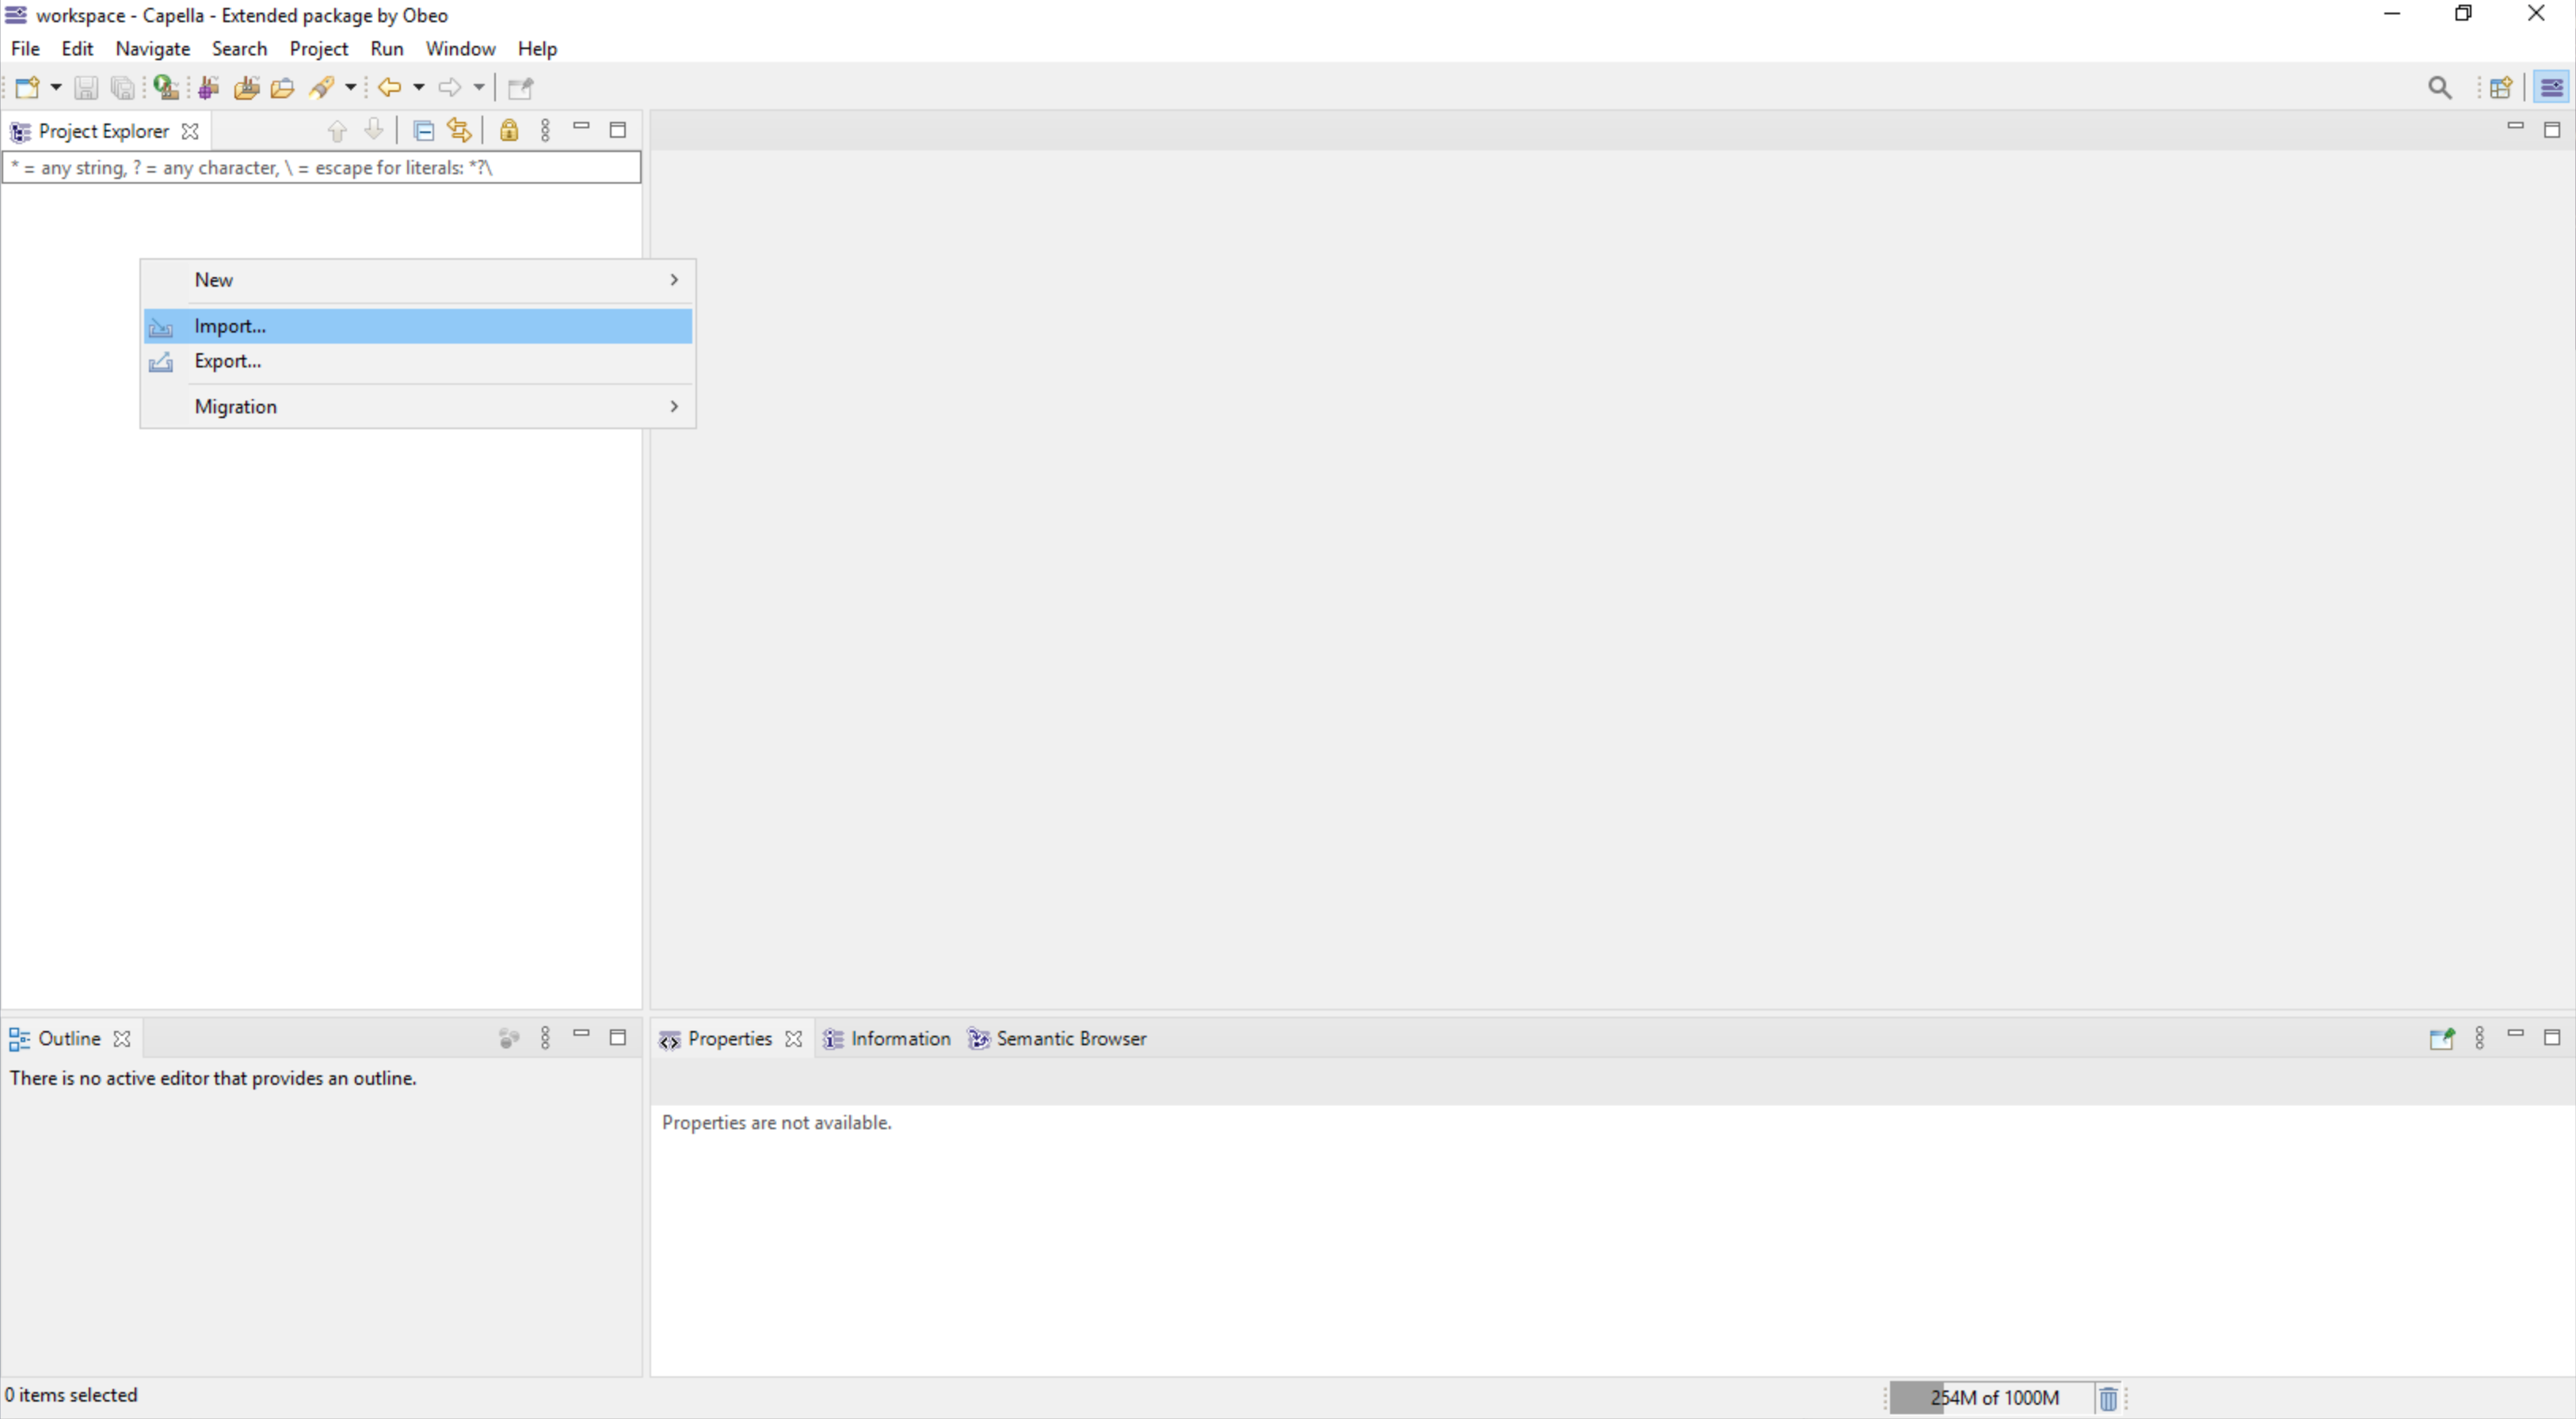
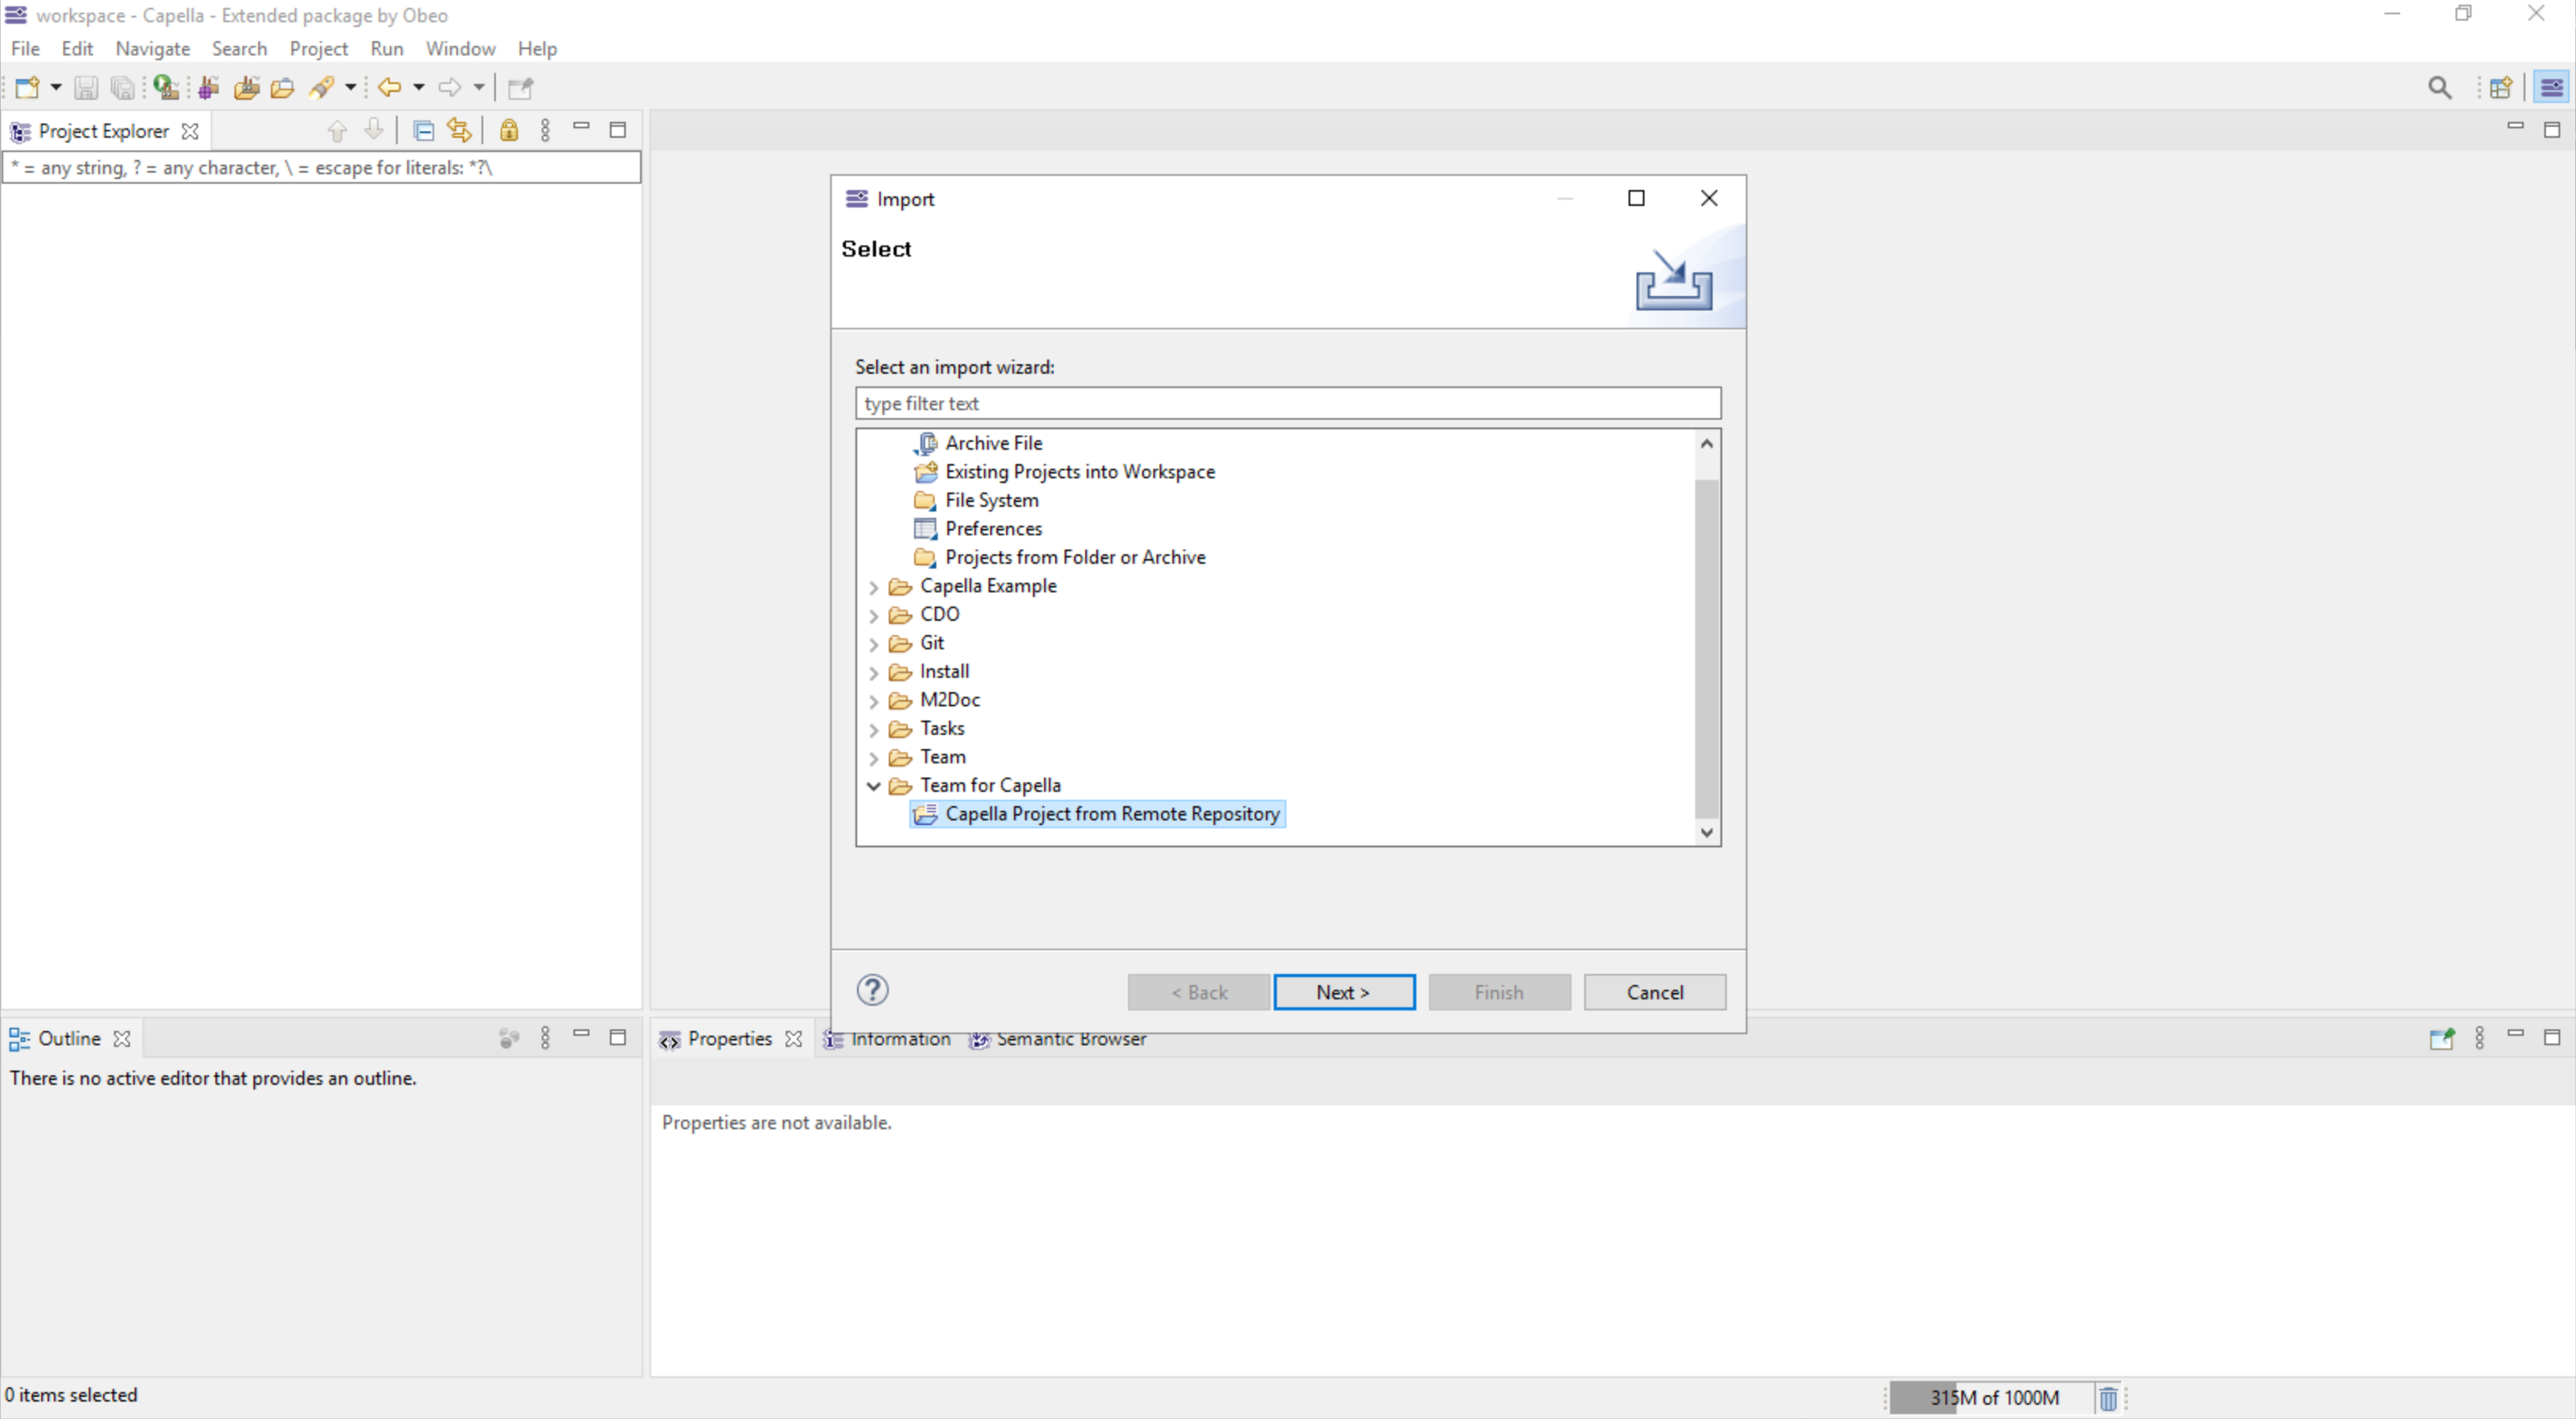
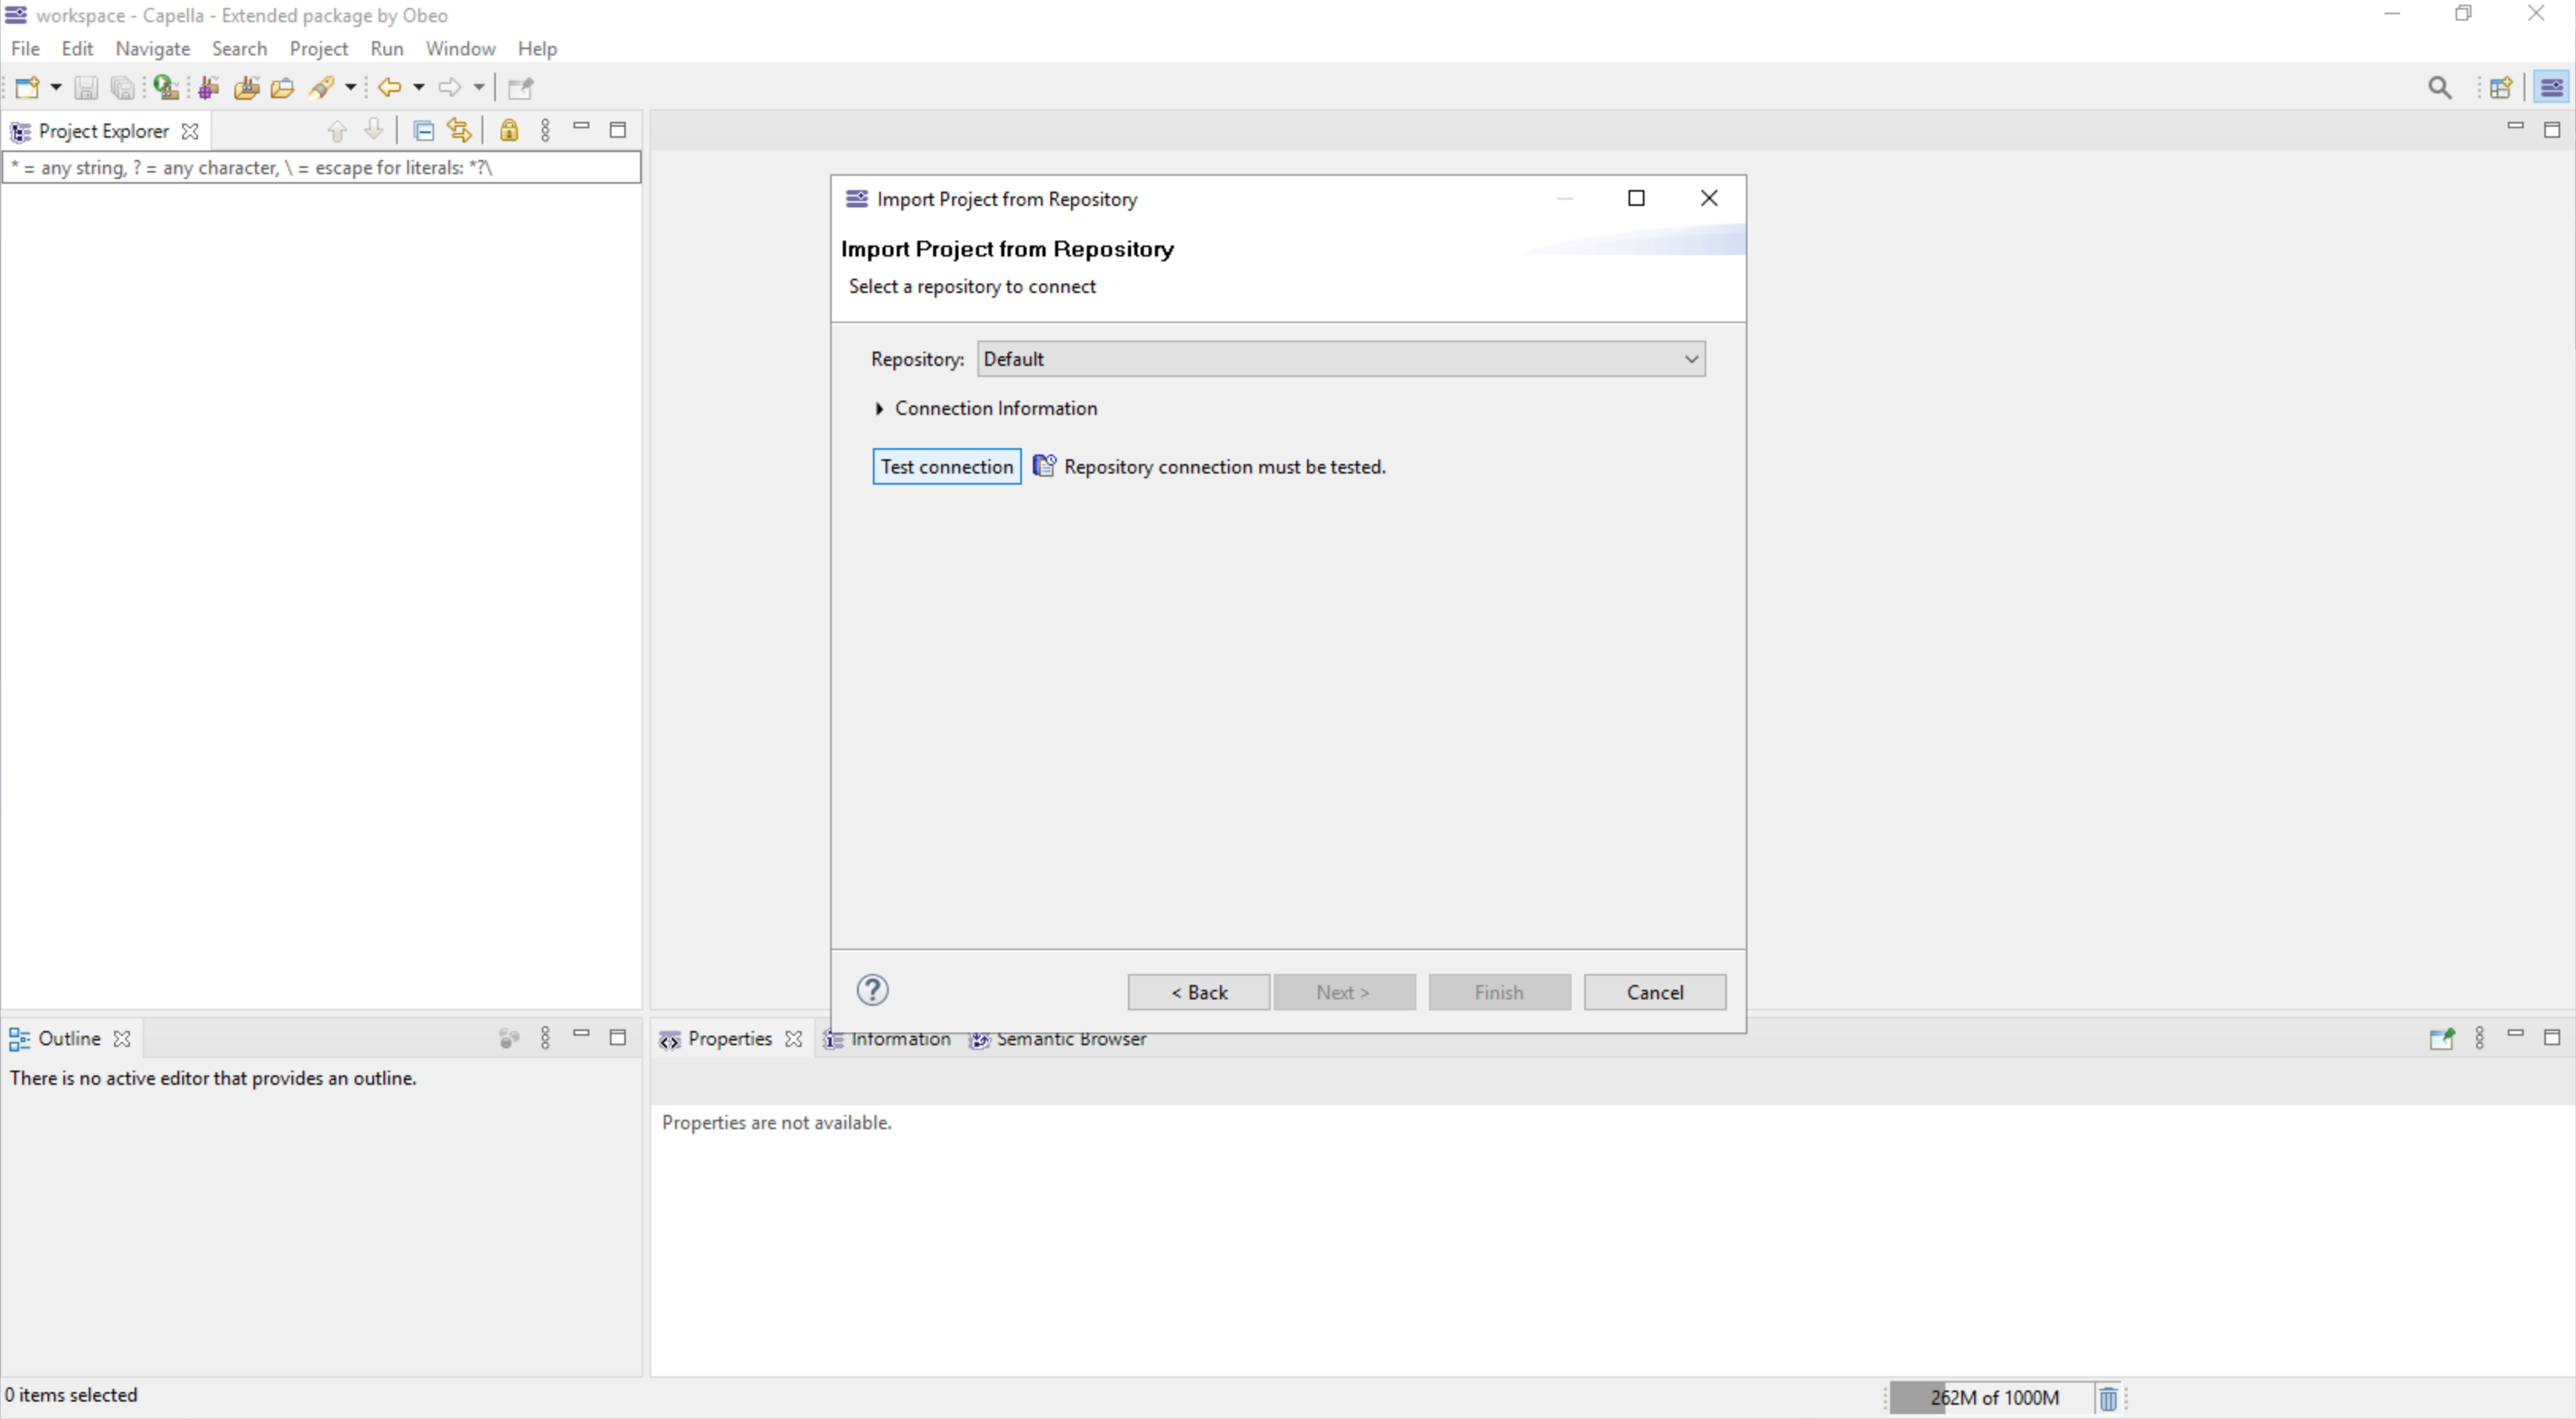
To work on a Team for Capella project already present on the server, the project must be imported as a shared project :
-
Start the import wizard :
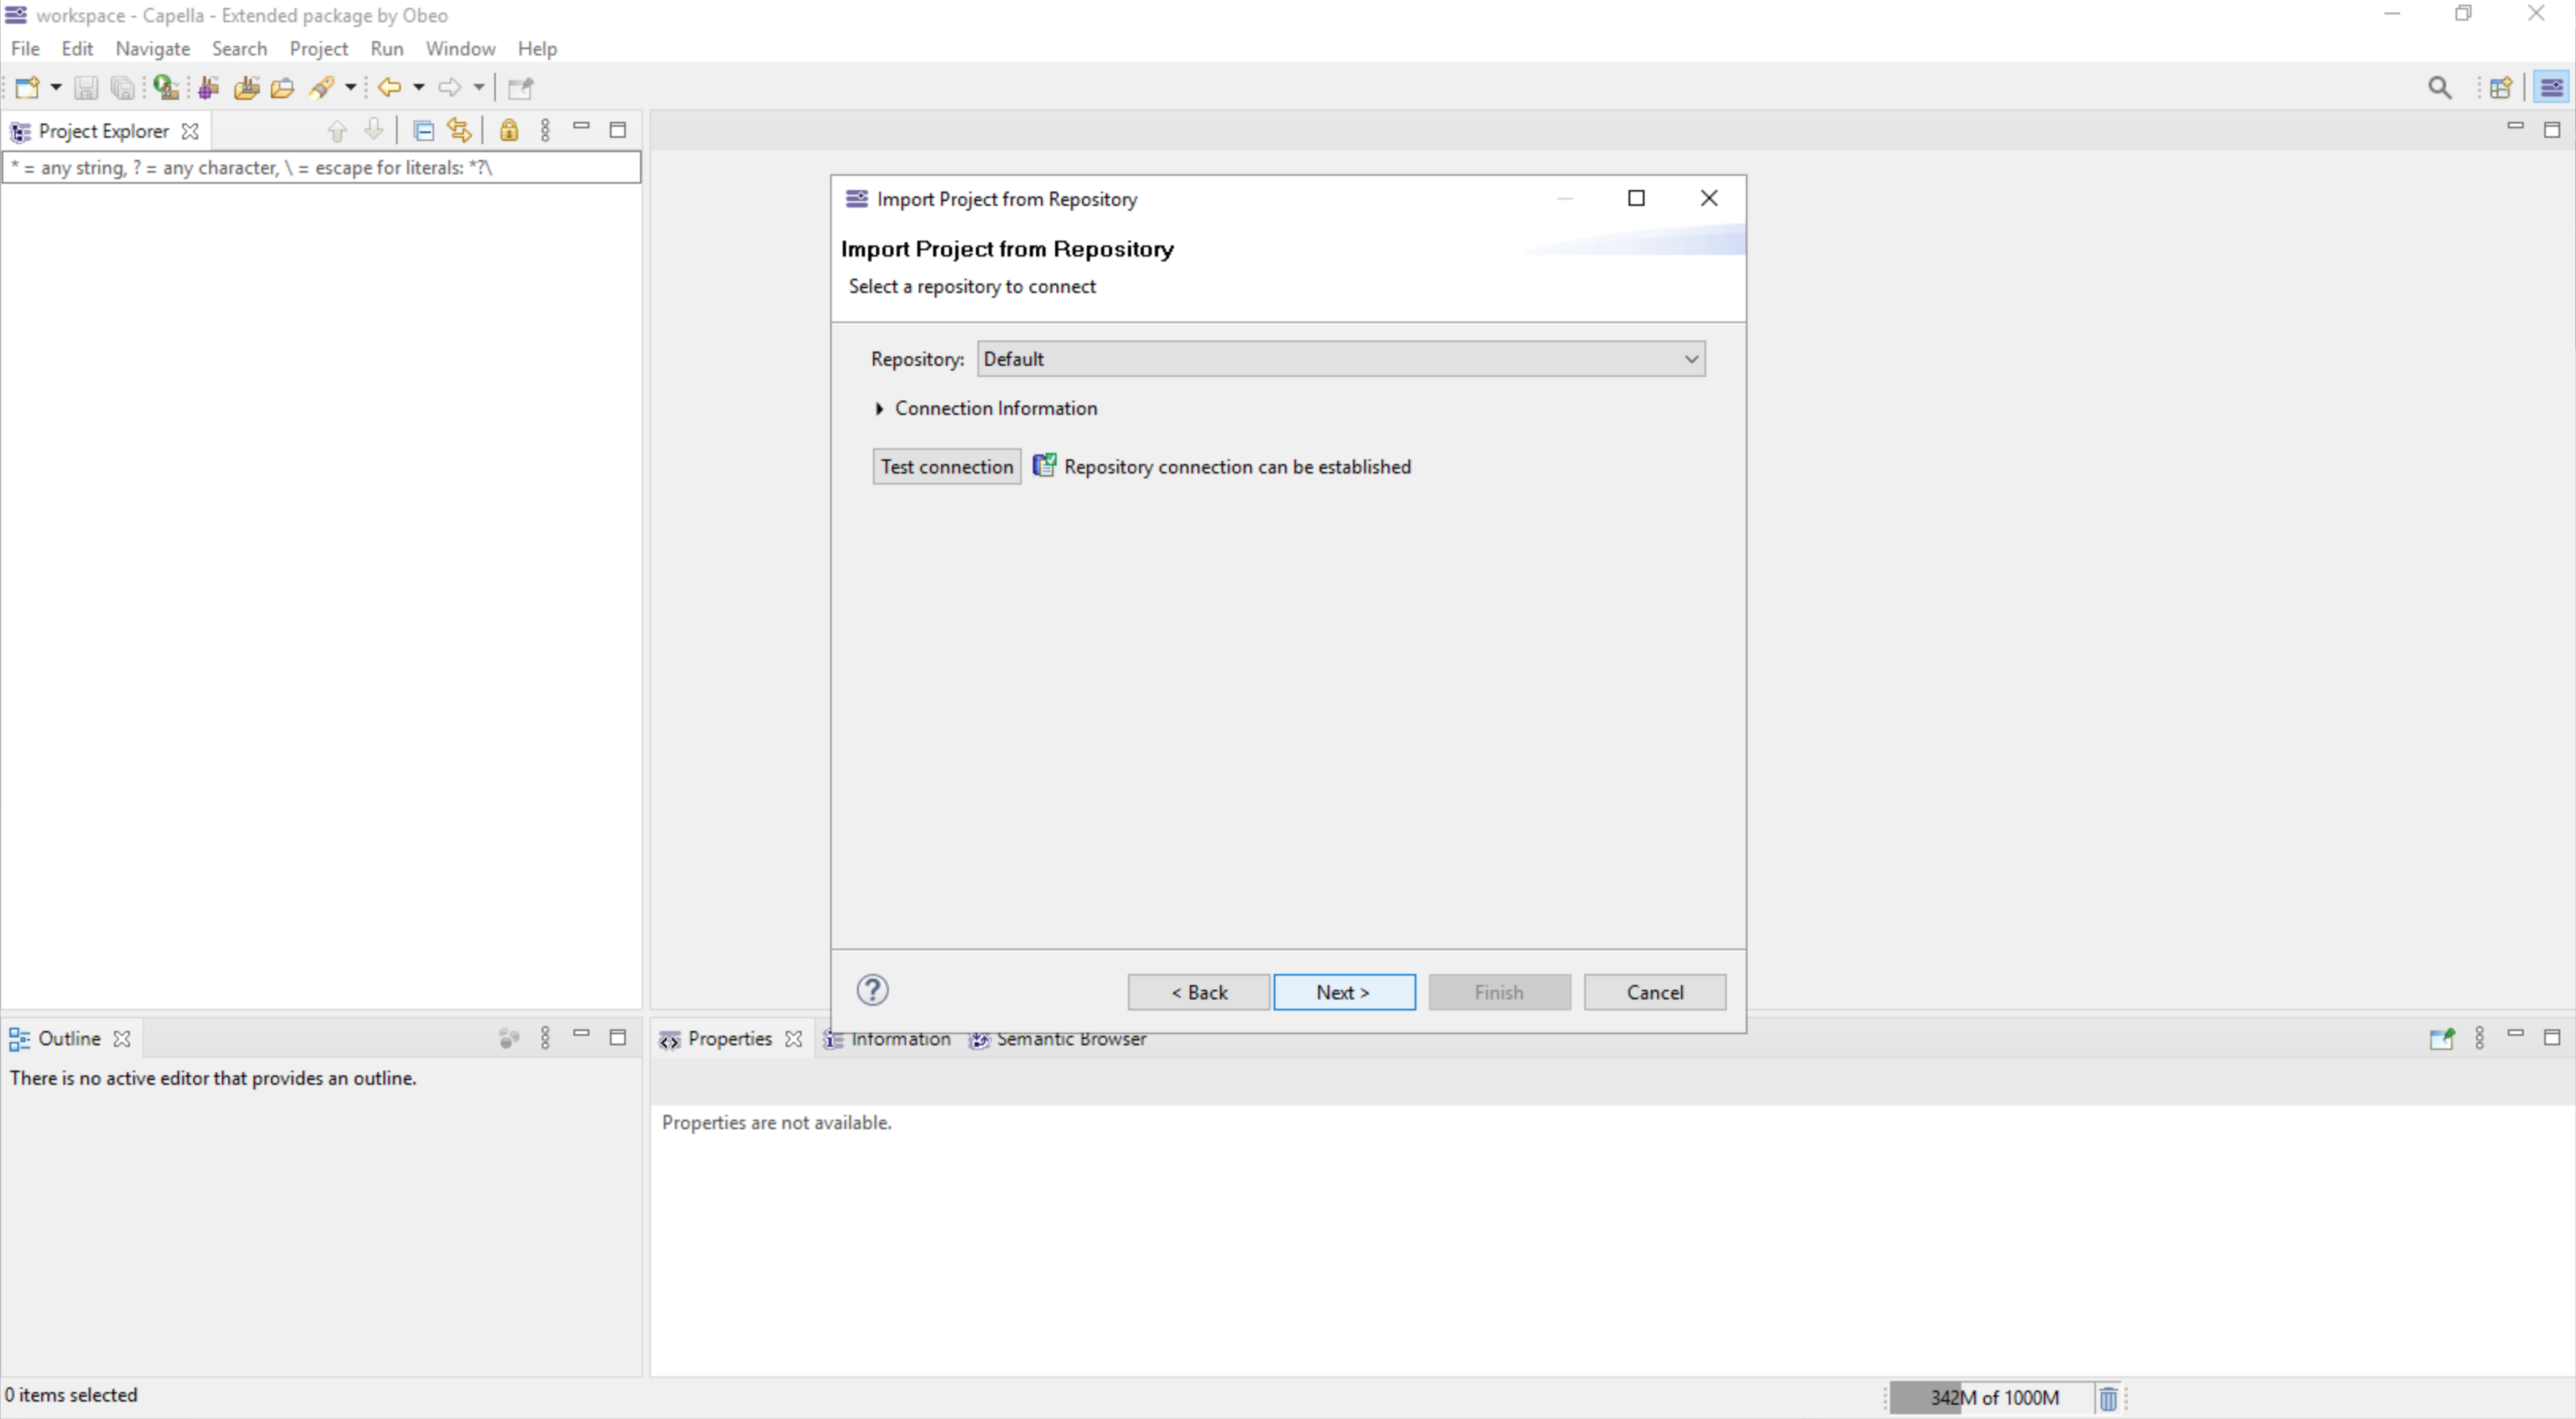
-
Connect to the Team for Capella server using your credentials (Test connection) :
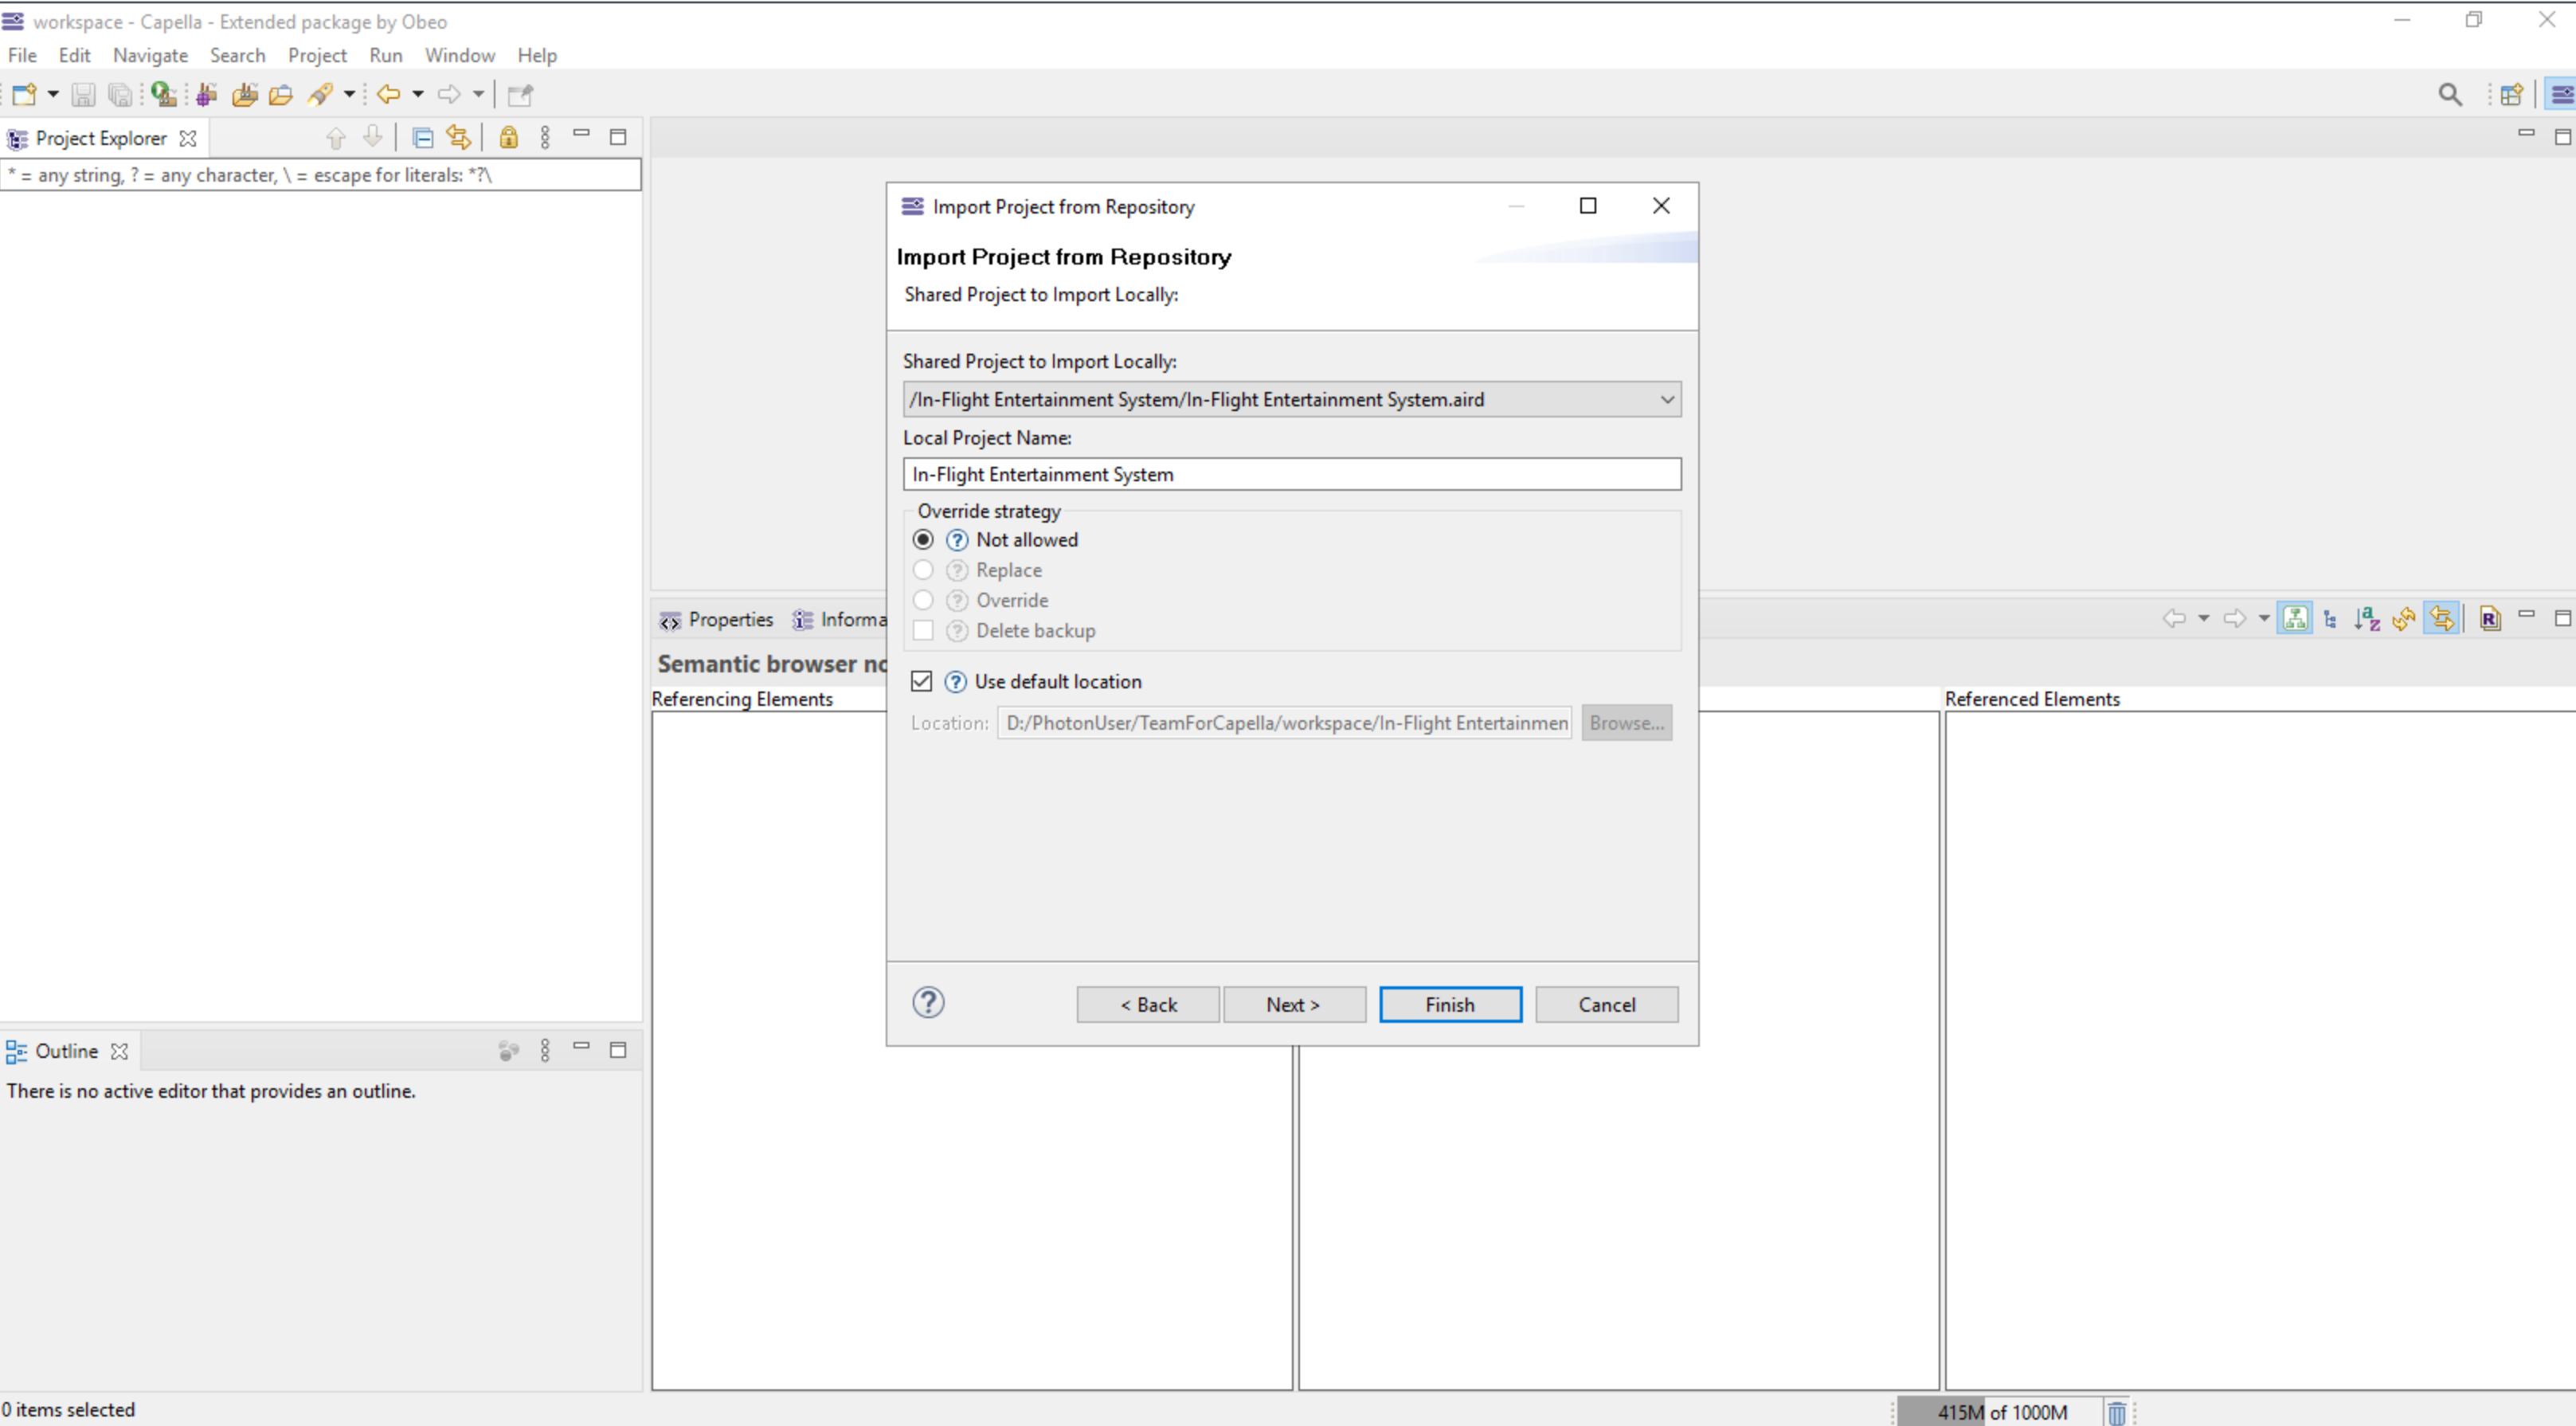
-
Select the project to import :
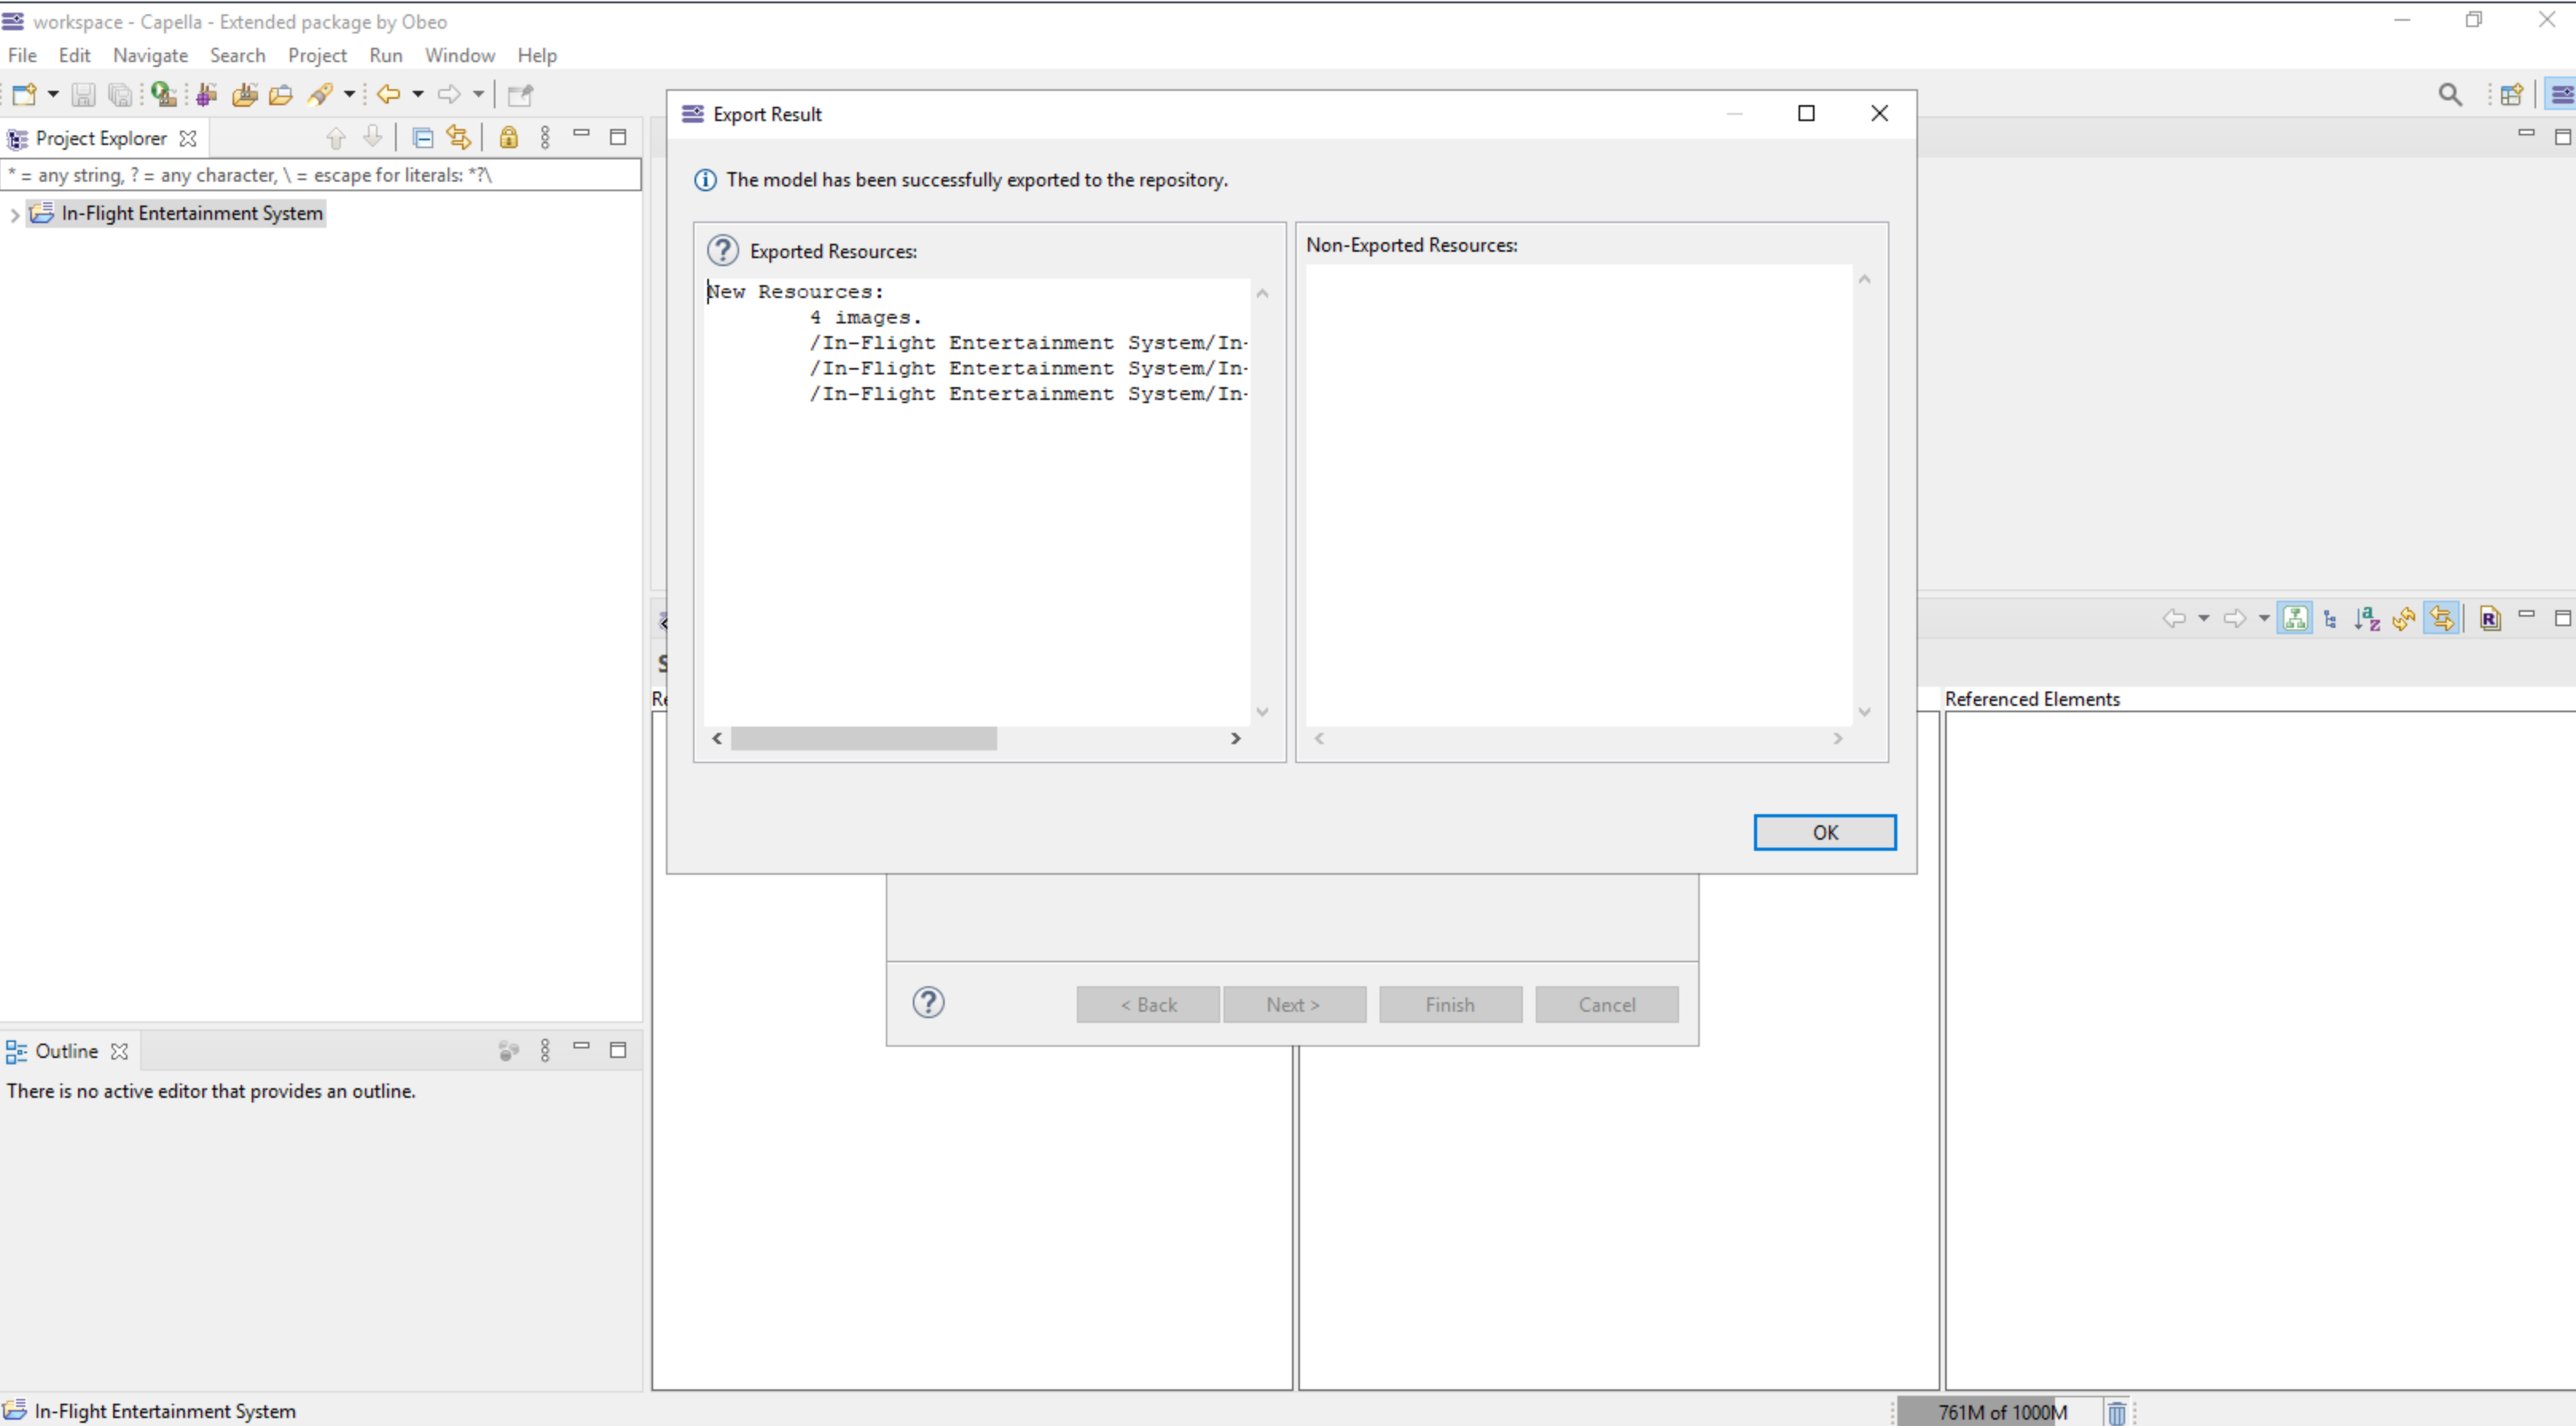
-
Click on finish :
8. Common Capella errors
8.1. The Folder xxx is read-only
The Folder xxx is read-onlyIf this is not the first time you’re launching Capella, and if you have not closed the Capella application the last time you used the service, you may encounter this error:
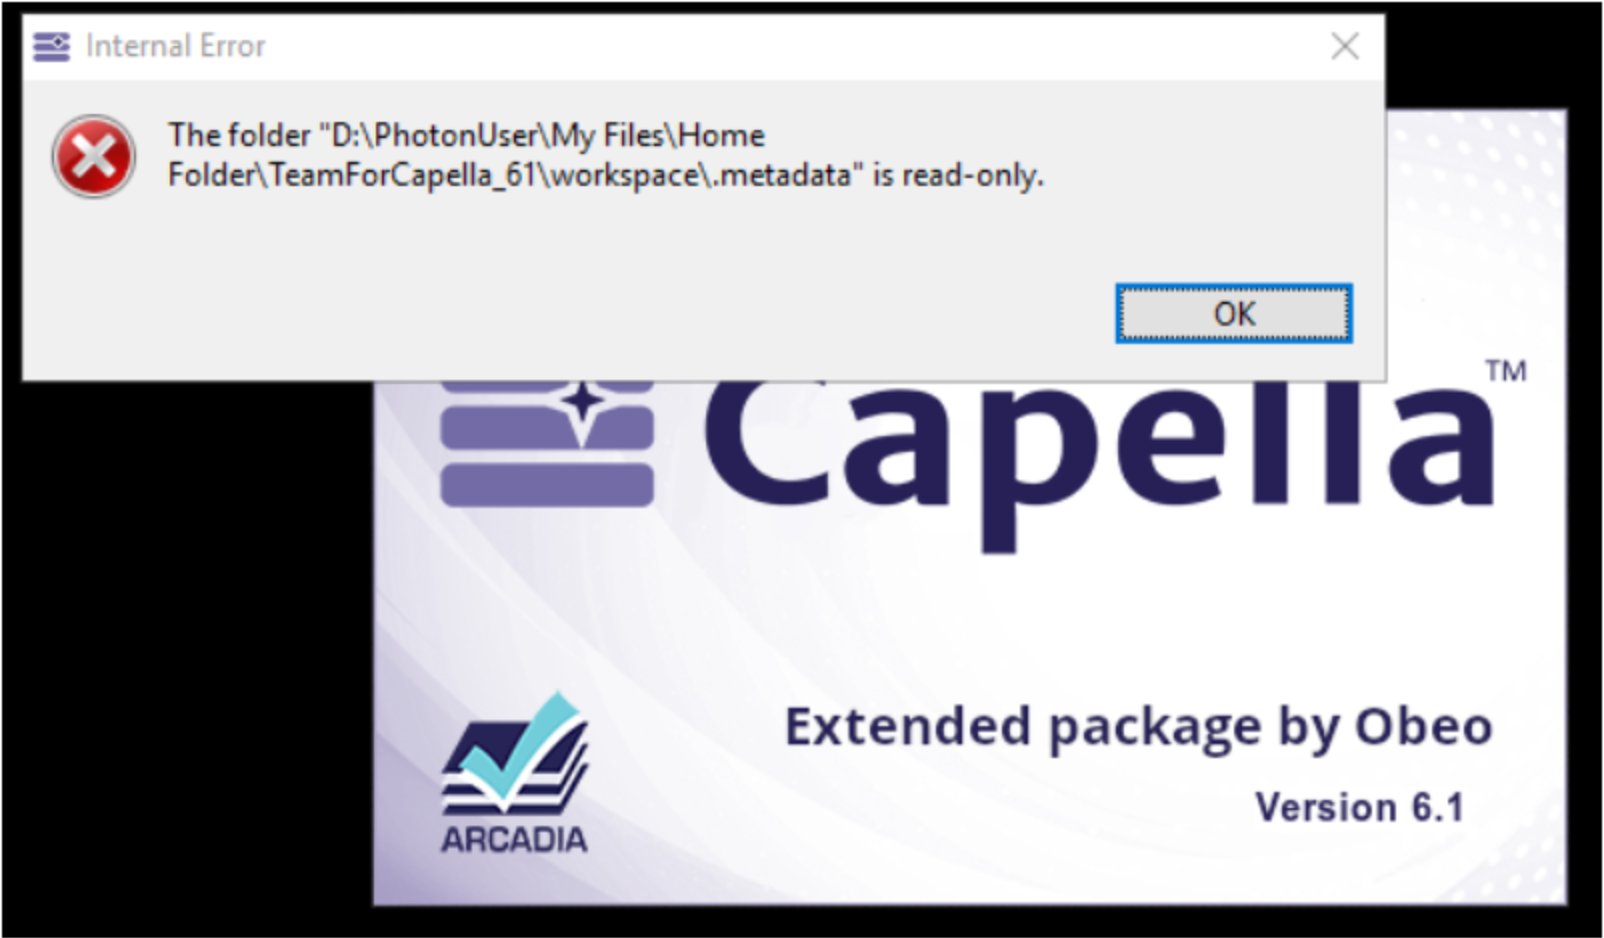
To solve the issue, click OK to close the error popup window. Then click at the top left of your browser tab on the “Launch app” icon and click on Capella again:
Please refer to Leaving the platform for more information on how to close your environment properly.
