1. Global Configuration Support
Publication For Capella supports the connection to Jazz Team Server projects that use the Global Configuration mechanism.
|
The support of Global Configuration in Publication For Capella is, for the time being, limited. Specifically, we support Scenario Two of the 5 scenarios described by IBM for integrating with Global Configuration. We plan to enrich this support in the next versions. |
1.1. Server Set-Up
To use Global Configuration, Publication For Capella must be associated with a friend server that provides Global Configurations. A project will then require an association to a Global Configuration service provider of this friend server.
On the friend side, Global Configuration must be activated and at least one configuration must exist.
1.2. Activating Global Configuration on a Project
In Publication For Capella, the use of Global Configuration is decided on a per-project basis. Deciding to use Global Configuration on a Publication For Capella Project is a final decision, it cannot be reverted afterwards.
|
Impacts of Global Configuration
Activating Global Configuration on a Project will change the behavior of Publication For Capella for this specific project:
|
To activate the use of Global Configuration on a project:
-
Go to project settings;
-
In the Overview section, click on the Activate Global Configuration;
-
Confirm.
| Global configuration cannot be activated for a project if active OSLC links are already in use in any of the project models. |
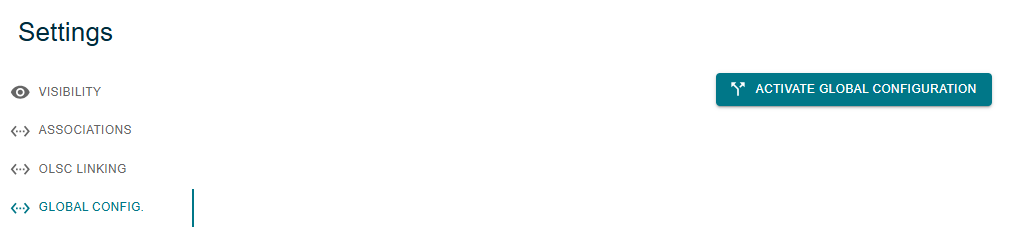
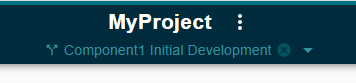
Once activated, the button is no longer available and a message indicates that Global Configuration has been activated for this project. A subtitle appears under the project name:

| This action cannot be reverted. |
1.3. Assigning a Global Configuration to a Model
For the time being, each model should correspond to a single stream of work for this model.
Once the Global Configuration mode has been activated for a project, the models it contains can be assigned a Global Configuration as follows:
-
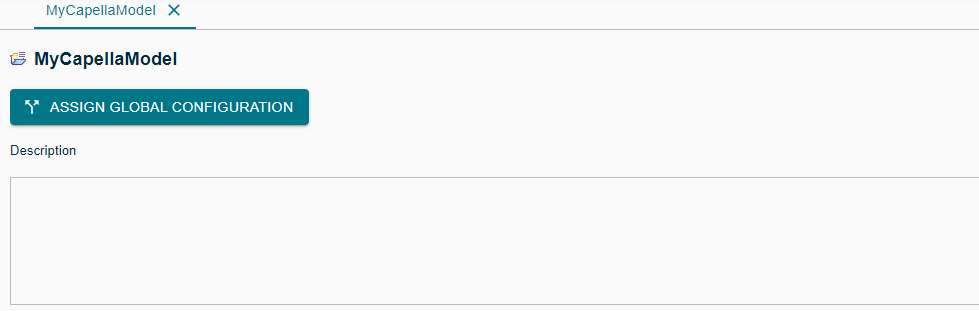
Click on the model in the Explorer;
-
In the model page, click on Assign Global Configuration.
-
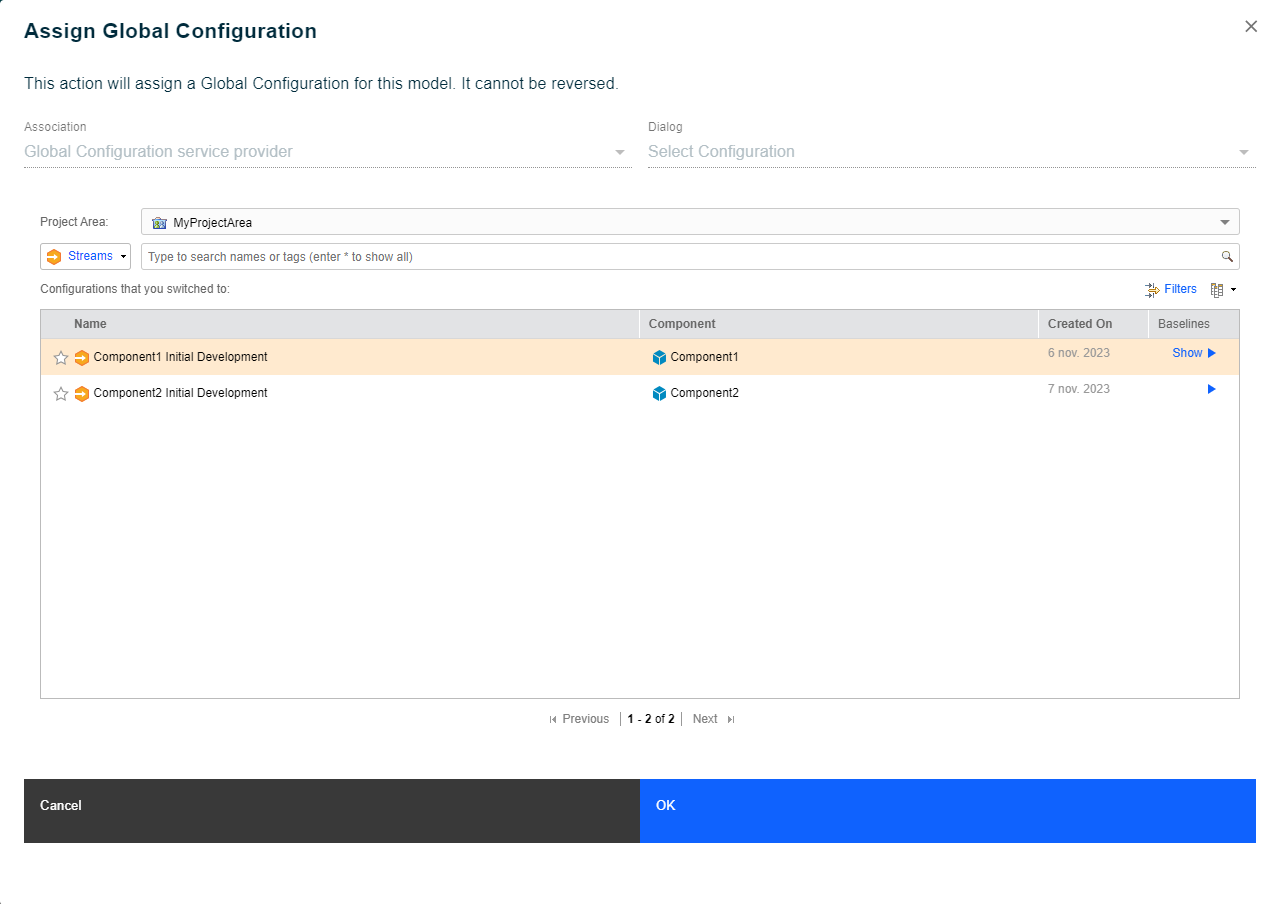
A dialog makes it possible to chose the Global Configuration Provider among the configured OSLC associations. If there is only one possible choice the OSLC remote dialog will automatically be loaded.
-
Select a Global Configuration then click OK;
-
Confirm.
| This action cannot be reverted. |
Once assigned, any OSLC link created on any of this model’s objects will use the configuration to retrieve the remote element data:
-
Label & icon of the link will match the remote version related to the assigned configuration.
-
Clicking on a link will lead to the remote page within the assigned configuration.
-
Once an Update from server action has been performed, a Publication For Capella client synchronized with the model will see the data available within the assigned configuration:
-
Refreshing artifacts will fetch the remote version within the assigned configuration.
-
Only artifacts available within the assigned configuration can be dropped within the model.
-
1.4. Filtering a Project by Global Configuration
The project can be filtered to only display information related to a specific Global Configuration as follows:
-
Click on the label under the project title, which shows No configuration selected by default.
-
This will open the configuration selection dialog.
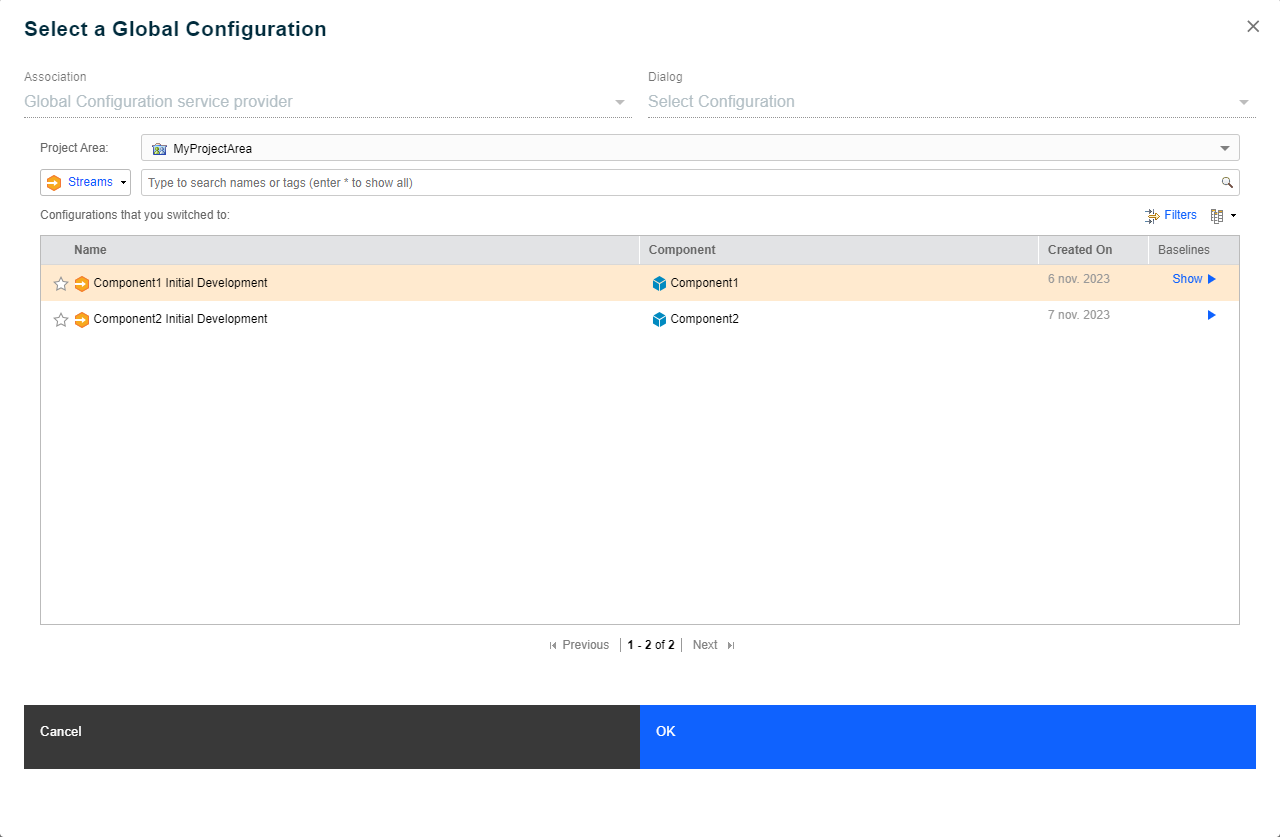
-
Once a configuration is selected, its title appears under the project name.
-
The filter can be reset by clicking on the cross icon on the right of the configuration title.