Capella Connected Project
1. First Connection
Connecting to a remote model is similar to opening a file-based model. The result of a connection is an opened model ready to be modified.
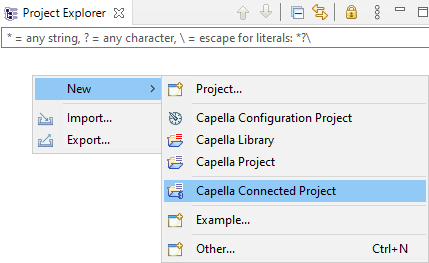
Using the contextual menu on the Capella Project Explorer, click on New / Capella Connected Project
A dialog pops up, asking to specify the information of the remote repository holding the model. By default, these fields are initialized with the values set in the Preferences.
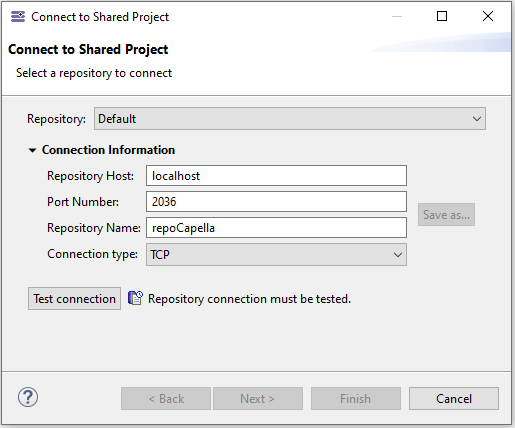
At this stage, the server information has to be verified. To do so, click on "Test connection".
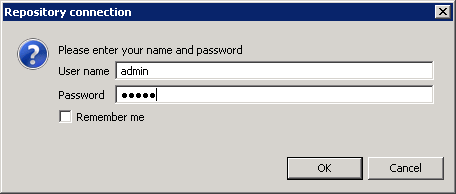
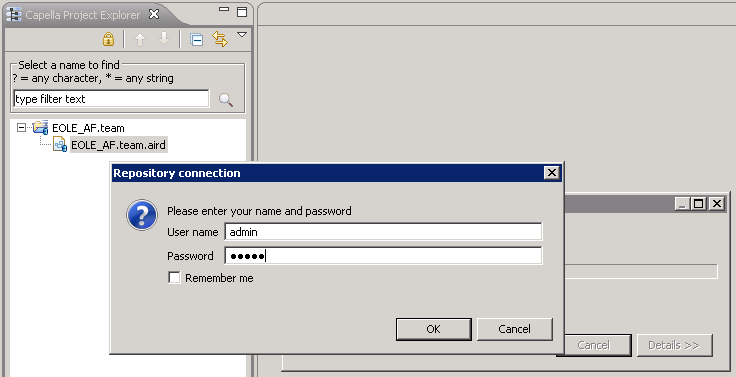
A login dialog pops up. Enter valid login and password (see Server Administration for more information about User management).
|
By checking "Remember me", you can store your username and password in the Eclipse’s Secure Storage. If you do so, your username and password will not be asked for future connections. |
Once the connection is verified, click on "Next". Select one of the model hold in the repository.
The connection will create a new Capella project to hold the local proxy for the remote model. A suffix like ".team" is added by default at the end of the project name, to distinguish local and shared projects at the first glance.
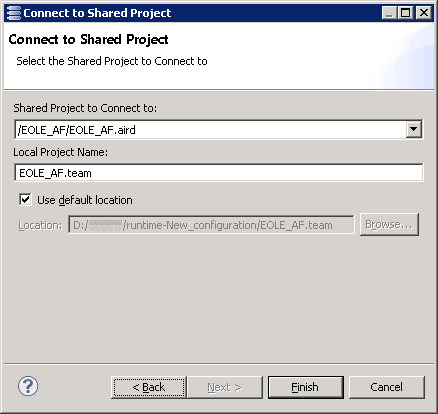
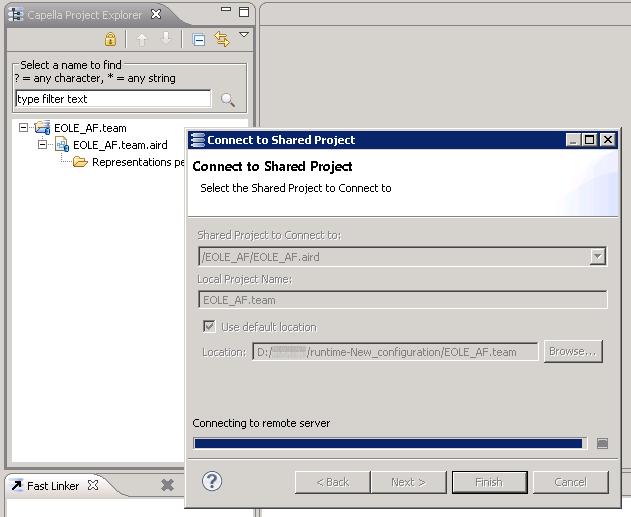
Click on "Finish". According to the size of the model, the duration of the connection may vary.
Warning: it is longer than opening a file-based version of the same model.
The connection can fail, for example, if a Viewpoint used by the remote model is missing on the client side. In this specific case, the following error will be displayed:
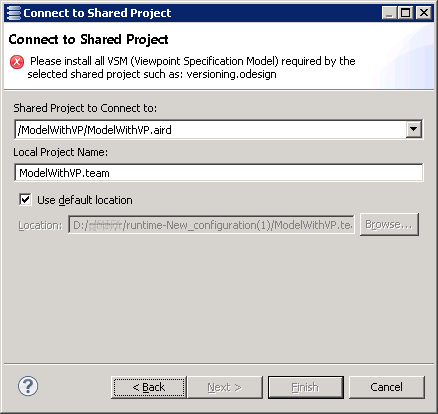
Known issue: if this error occurs, it is advised to restart Capella before trying to reconnect (even if you want to connect to another model for which there are no missing Viewpoints).
If the connection is successful, the model is opened in the Capella Project Explorer. Note there is no semantic file ".capella". The ".aird" file contains both information about the remote model and the local diagrams on this model.
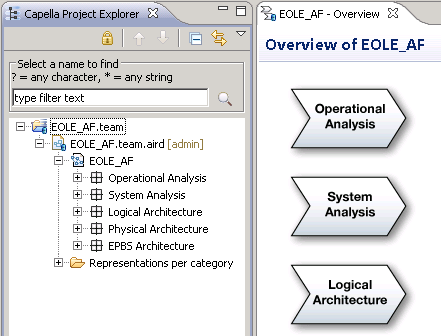
At the end of a working session, the model can be closed exactly like a file-based model.
2. Connection Using an Existing Connection Project
When a connected project already exists, connecting again simply requires a double click on the ".aird" file. If necessary, the login dialog will be displayed.
3. Overriding Sirius refresh preferences for a particular connected project
Both "Automatic Refresh" and "Do refresh at representation opening" can be specified for a given aird. Refer to Sirius documentation: Preference associated to the aird file
For any new local Capella project, the preferences are not overridden for the aird file and the preference values are those displayed in Windows/Preferences/Sirius
For a connected project, to define specific Refresh preferences, a page has been added in the "Capella Connected Project" wizard to allow users to override refresh preferences for the being created connected project local aird. By default, "Enable project specific settings" is checked and both "Automatic Refresh" and "Do refresh at representation opening" preferences are set to false.
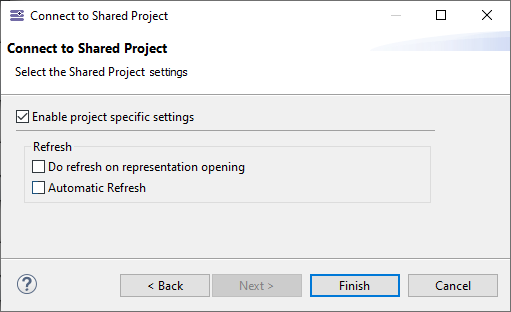
It is nevertheless possible to change the default value using the preference fr.obeo.dsl.viewpoint.collab/PREF_ENABLE_PROJECT_SPECIFIC_SETTINGS_DEFAULT_VALUE. If set to false, then, by default, "Enable project specific settings" is unchecked.
Note: The preference values are not shared between two connected users. The preferences are associated with the local aird of the "Connected project" but not with the shared aird.
4. Tips and Tricks
4.1. Secure Storage (Remember me) and Roaming User Profiles
When "Remember me" is used, the login/password couple is stored in an encrypted file (located here: %USERPROFILE%\.eclipse\org.eclipse.equinox.security\secure_storage).
The key used to encrypt this file is generated and depends on the computer, the current Windows account and the Team for Capella architecture (32 bits or 64 bits).
So by default, this file can only be decrypted and used using the same computer/windows account/Team for Capella architecture (32 bits or 64 bits) than those used to create the file.
Because of this, it is not possible to use the Secure Storage feature with roaming user profiles.
Example: if the file was created using "Computer1"/User Account/Team for Capella 32 bits, it won’t be possible to reuse the Secure Storage with "Computer2" or with another user account or with Team for Capella 64 bits.
In the cases described above, the following error will appear in the "Error Log":

A workaround for this problem is to provide, by configuration, the key to use to encrypt the Secure Storage file. To do that:
-
Create a text file and put a key in it (you are free to choose any key),
-
Add the following parameter in the capella.ini file (before -vmargs):
-eclipse.password <path to your key file> -
Then clients must clear their existing Secure Storage (if any) by using the procedure below and restart Team for Capella.
4.2. How to Clear the Secure Storage
In the following cases, it could be useful to clear the Secure Storage:
-
A login/password couple is stored, and you do not want to use it anymore,
-
An incorrect login/password has been stored in the Secure Storage and you are stuck with it
To clear the Secure Storage:
Note: It is not possible to just reset a stored username and/or password for a single repository. By performing these actions, the entire password store will be deleted, and you will then have to re-enter your username and password for each repository, the first time you wish to use it.
-
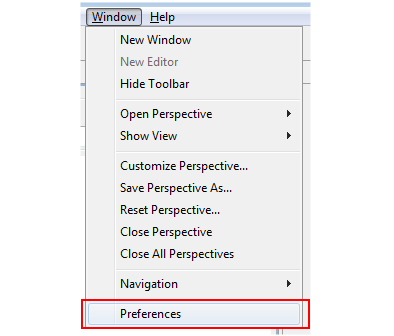
From the "Window" menu, select "Preferences".
-
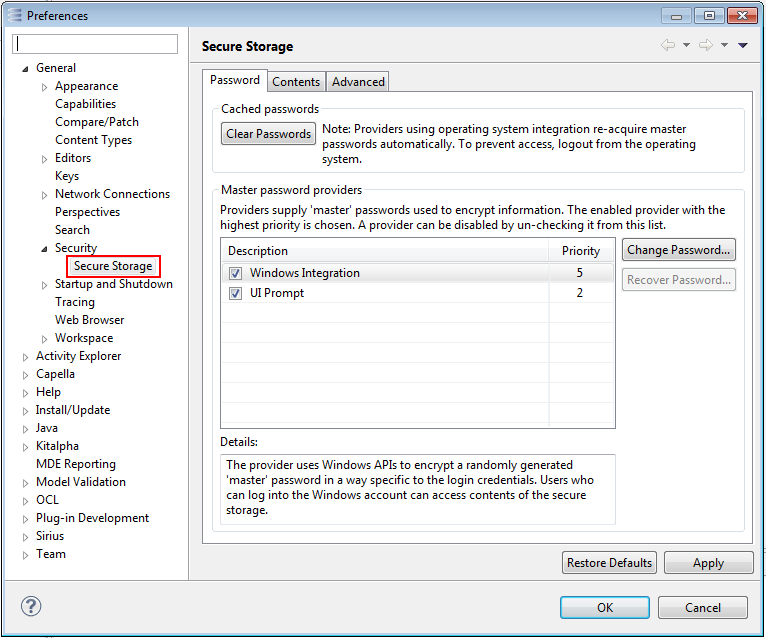
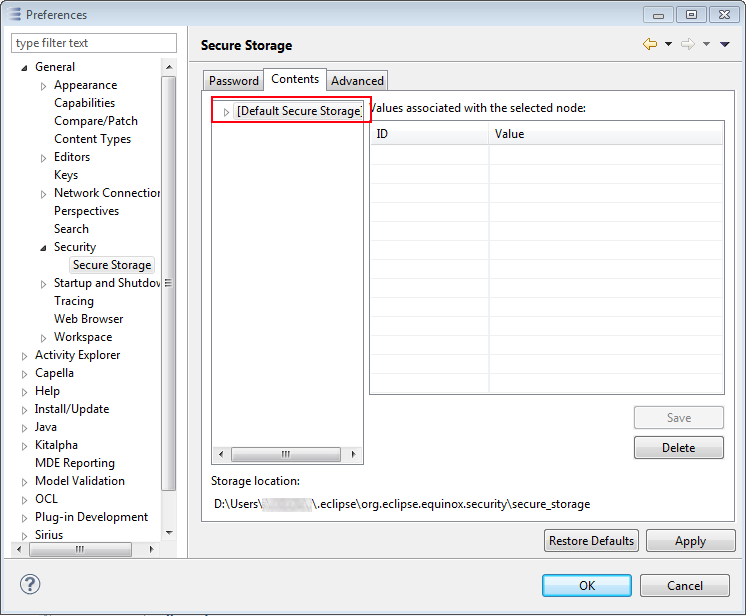
Within the tree structure on the left-hand side of the "Preferences" window, open up the "General" entry and then subsequently the "Security" entry. Select the entry "Secure Storage".
-
In the right-hand panel of the "Preferences" window, select the "Contents" tab and then the entry "[Default Secure Storage]".
-
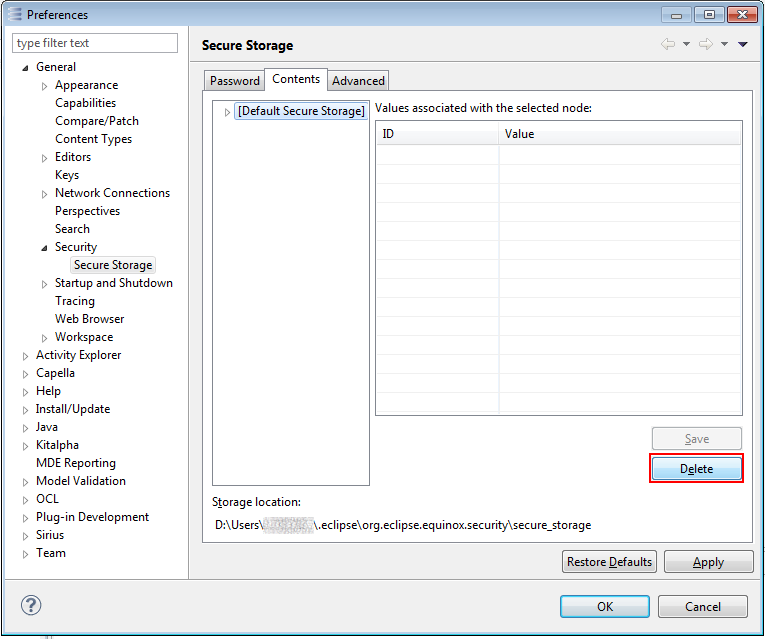
Press the "Delete" button.
-
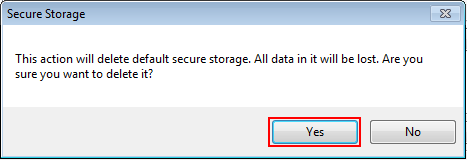
When asked if you wish to delete the password store, select "Yes".
-
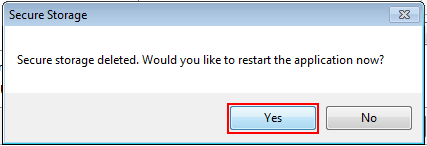
You will then be prompted to restart Team for Capella. Select "Yes" and wait until the application restarts.
