Use Images in Remote Models
Images can be used
-
in diagrams when the node is represented by an image
-
using the Properties view, in rich text description of some elements such as Capella elements or diagram
To use images in remote models, only images that exist on the repository can be used. Images from the workspace or from a local directory must be uploaded to the server in order to be used in a remote model.
1. Manage images on remote repository
1.1. Manage images for an existing remote project
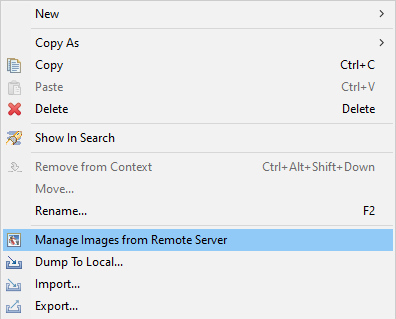
Once the project is exported, it is still possible to manage images on the server with the Manage Images from Remote Server dialog.
This dialog is available from the contextual menu on a shared aird file or an open connected project.
1.1.1. Uploading images from file system
-
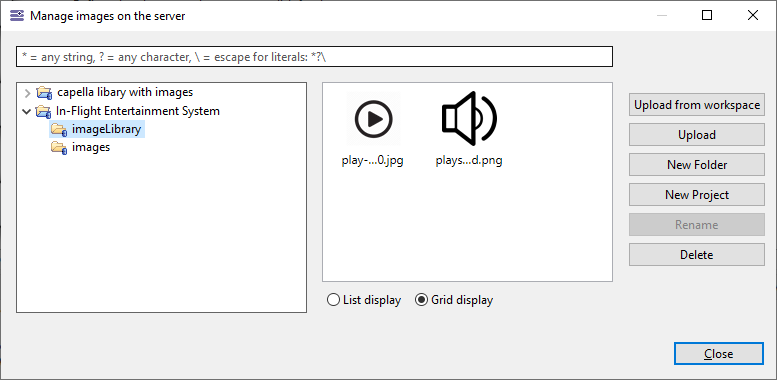
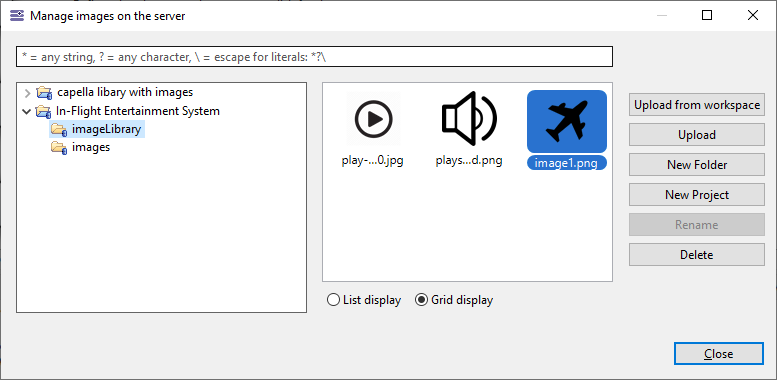
From the dialog, select the project or the folder where you want to upload the image and click on "Upload". You can also create another project or folder with the "New Project" and "New Folder" buttons if you want to add images to another location:

-
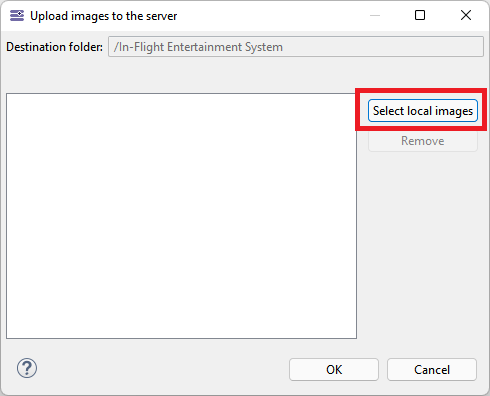
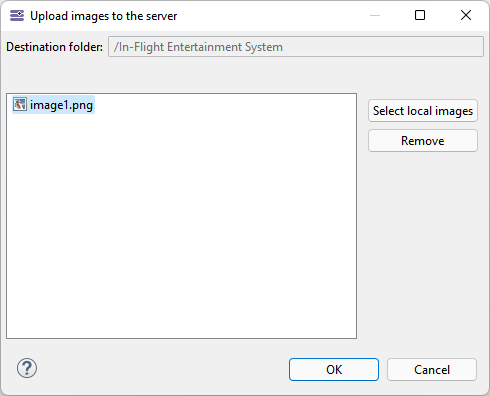
Then click on "Select local images" in the "Upload images to the server" dialog to open a file system dialog explorer to navigate and select images you want to upload. Supported images format are JPEG, JPG, PNG, SVG. The maximum size of uploaded images is 10 MB per image. If greater, images are not displayed in the selection UI and cannot be exported to the server. This value can be changed by overriding the preference PREF_MAX_KILOBYTES_IMAGE_SIZE.
-
Click OK and your image is uploaded on the server. Select the project or folder where your image is located and select it in the image gallery:
1.1.2. Uploading images from the workspace
It is also possible to upload whole sets of images by selecting a project, folders or single images from the workspace
-
From the dialog, click on "Upload from workspace"

-
Then use the button to add an image, a folder or a project
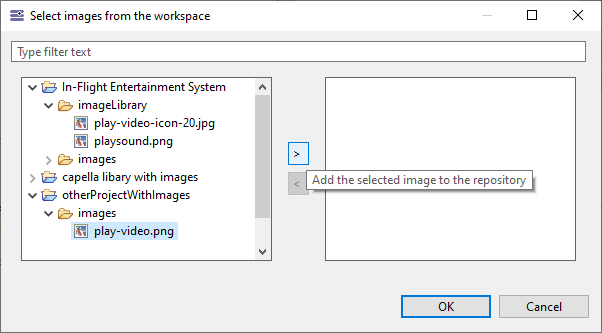
The image hierarchy of uploaded images(project and folders) is identical to the selection in the workspace.
1.1.3. How to Change an Image Already on the Server
An existing image can be overridden on the server. All the diagram elements, in the shared diagram, using the replaced image, will be automatically updated.
1.2. Export images to the server when exporting the project
1.2.1. Export images wizard page
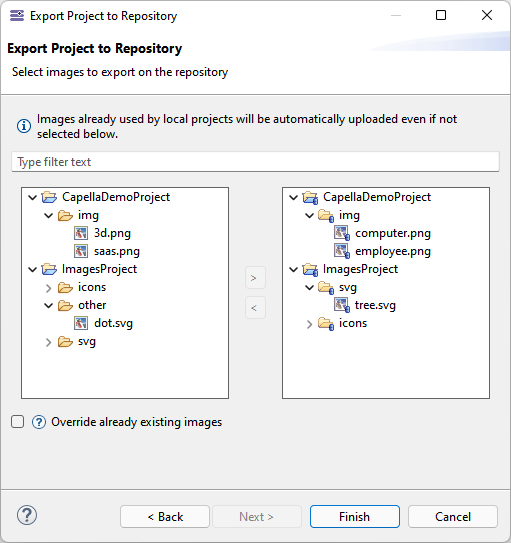
On the Export project wizard, you will be able to choose the images you want to export to the repository in this new wizard page.
|
The images used by the exported projects will be automatically exported to the repository to keep the consistency of the shared representations. This means that if you explicitly use an image in one of your projects to export, this image will be exported even if you didn’t select it. |
The left panel shows the existing images in the open workspace projects, and the right panel shows the images you have chosen to export from the left panel. The "Override already existing images" checkbox allows you to override existing images on repository that have the same path as those added to the right panel.
Images in JPEG, JPG, PNG and SVG format are supported. The maximum size of uploaded images through the export wizard is 10 MB per image. If greater, images are not displayed in the selection UI and cannot be exported to the server. This value can be changed by overriding the preference PREF_MAX_KILOBYTES_IMAGE_SIZE.
|
If the referenced images do not exist when exporting the project to the server, an error appears in the "Error Log" listing all missing images. 
Open the error details to see all affected images: 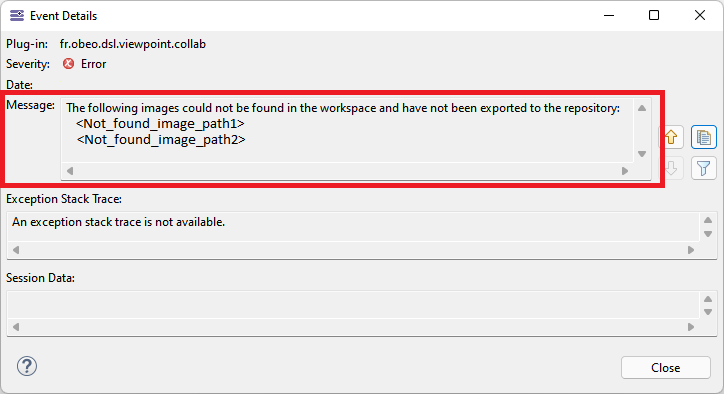
|
|
If an image that has been exported to the server is afterward not used anymore in a remote diagram, then this image will not be imported when importing the project if you choose the Import only used images option in the import wizard. |
1.2.2. Images used before exporting the project to the server
When a model is exported to the Team for Capella Server, referenced images which are available in the workspace will be exported along with the model. In the local project, it is important to select images in the right project because it will drive the way the image is recreated when importing the project locally (after it has been exported to the server).
-
If the image has been selected in the current local project about to be exported, then once imported, the image will be located in the imported project.
-
If the image has been selected in another local project, then once imported, the image will be located in the same other local project.
Local project where images, image1 and imageLib1, have been used as workspaceImage before exporting: |
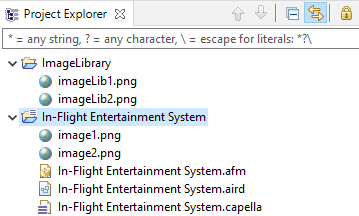
|
Projects after exporting then importing the remote project: Note that only used images have been exported then imported |
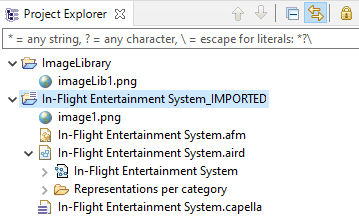
|
1.3. Import images from the server when importing the project
Importing images is done when importing a remote project in the workspace using the Team for Capella import wizard.
When importing the remote project locally, the imported images will be created in local projects that correspond to their location on the server.
The import wizard allows you to choose from three different options for importing images:
-
Import all images: import all images existing in the repository.
-
Import only used images: import only images used by the project and its dependencies.
-
Do not import images: Do not import any image.
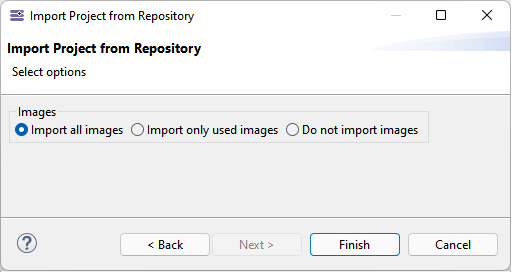
|
Images that already exist on the workspace will be overridden automatically. |
1.3.1. Import images options
Starting from a local project, all images in the workspace have been exported to the server with the project.
Suppose that /ImageLibrary/imageLib1.png is referenced by the project, and /In-Flight Entertainment System/image1.png has been exported because explicitly chosen in the export wizard page.
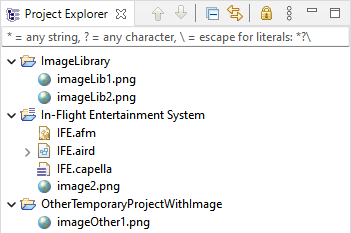
Let’s consider that the local workspace is then completely cleaned up to import the remote projects.
The result of the import will be different, according to the selected option:
Import all images |
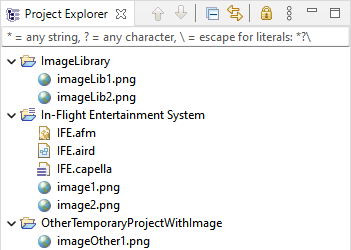
|
Import only used images |
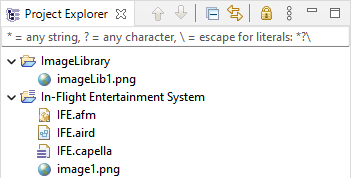
|
Do not import images |
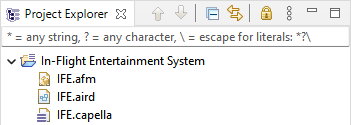
|
|
1.4. Images on the Team for Capella Server: What to retain in few words
|
What to retain in a few words:
|
2. Images used in diagrams
To use images in remote models, only images that exist in the repository can be used. Images from the workspace or from a local directory must be uploaded to the server in order to be used in a remote model.
In a diagram it is possible to associate an image to a node using "Set style to workspace image"
-
Open a diagram in a remote model and select the element on which you want to put the image:
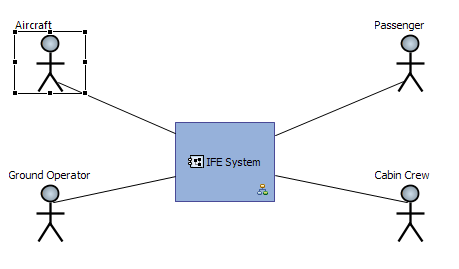
-
Then click on the "Set style to workspace image" button from the diagram toolbar which will open the "Select an image from the server" dialog. Select the project or folder where your image is located and select it in the image gallery:
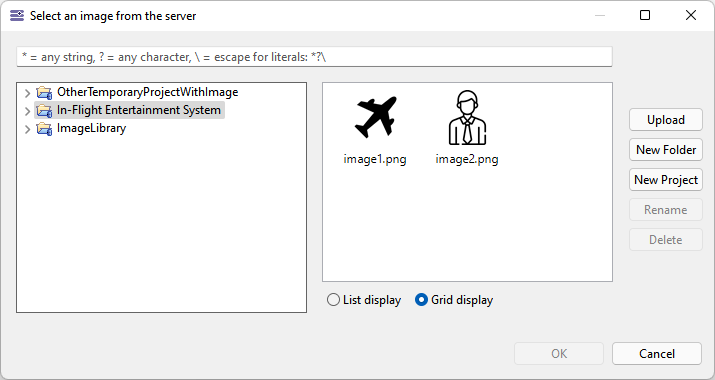
-
Click OK and the image is then updated in the diagram:
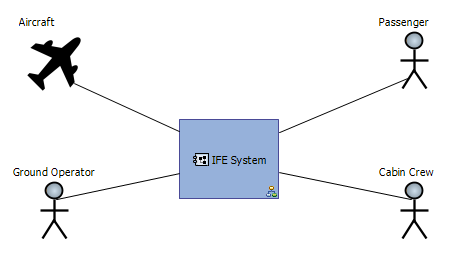
From this dialog it is also possible to manage remote images. Refer to Manage images on remote repository documentation
3. Images used in Capella description editor
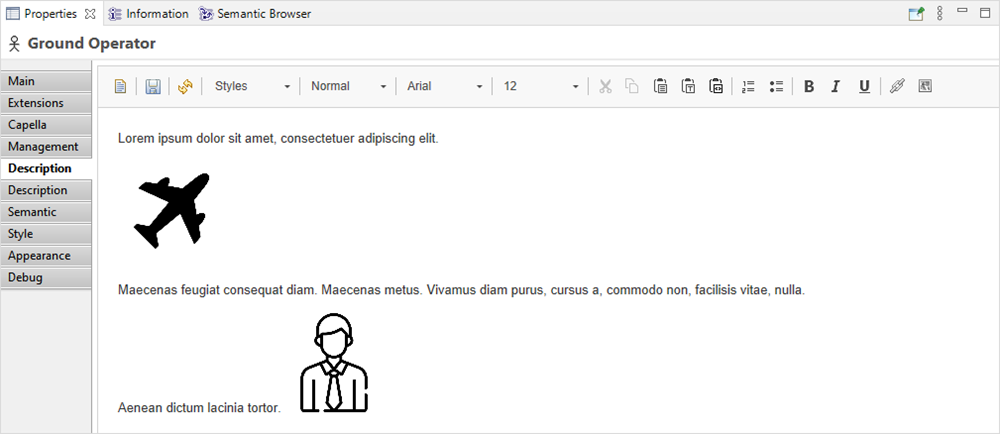
It is possible to add a description with images, for any element of a Capella project, using the description tab in the Properties view.
Like in remote models, only images that exist on the repository can be used. There are two ways to add an image in the description:
-
Add an image using the "Select an image from the server" dialog
-
Copy and paste an image that will be automatically exported to the server in the <connected project name>/images folder. This image will be available for selection as any other images on the remote repository.
To add an image with the selection dialog, click on Add image button  and choose the image.

Images are then added to the description:
