Project management
1. Create a blank project
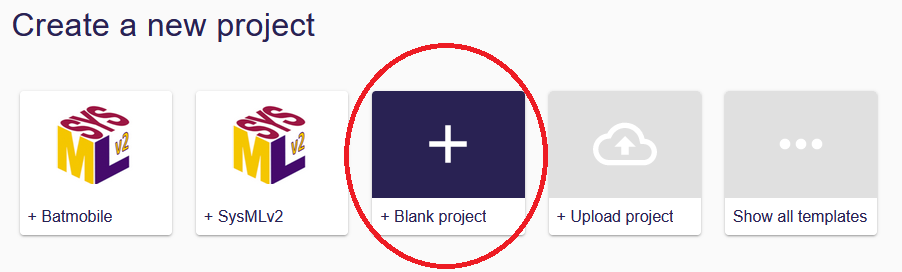
To create a new Blank project, user has to click on Blank project card at the top of the homepage.
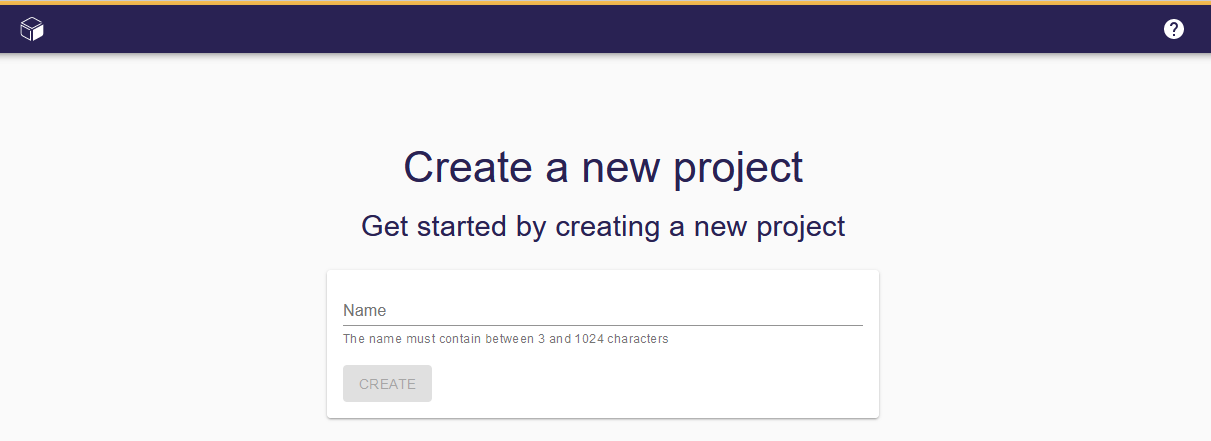
Then a pop-up appears to set the name of the new project.
User is redirected to the newly created project, which is initially empty.
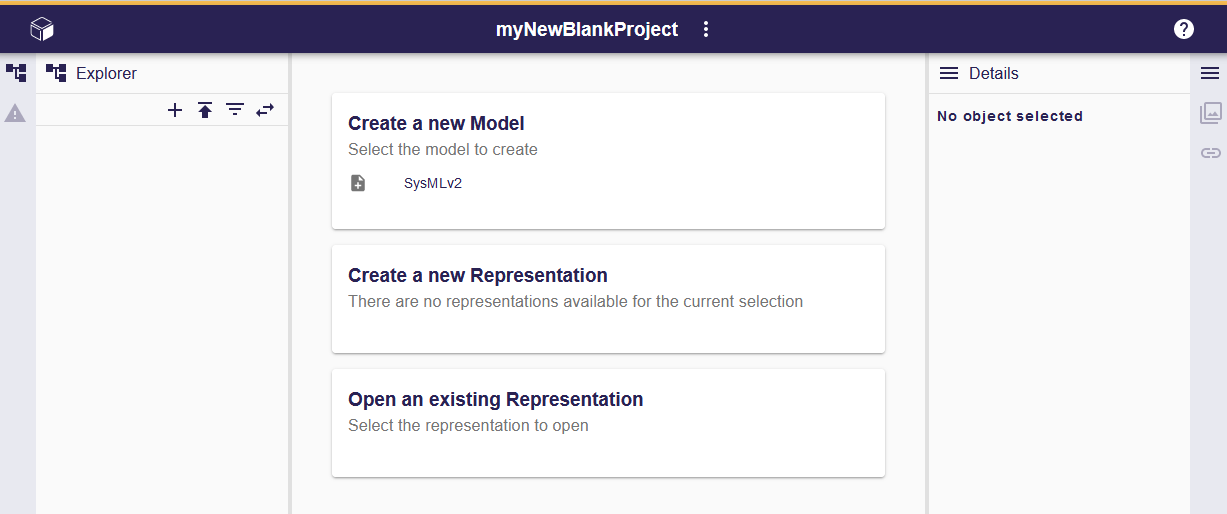
Refer to the Workbench page to understand how to use it for creating your own models and representations.
2. Create a project based on a template
To create a new project from a Template:
-
Click in the corresponding template card at the top of the Project Browser.
The first three templates are directly visible in the Project Browser top region. If more templates are available, you can click the
Show all templatescard to open a dialog displaying all the available templates, possibly on multiple pages.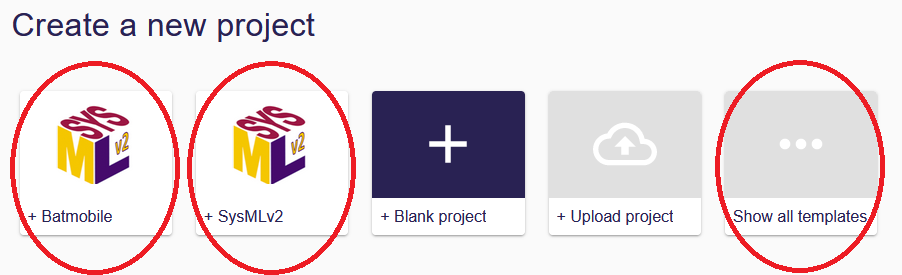
-
The new project is automatically created and opened.
Depending on the template, an initial representation (for example a diagram) might also be automatically opened.
The following example shows the result project Batmobile create from Batmobile template:
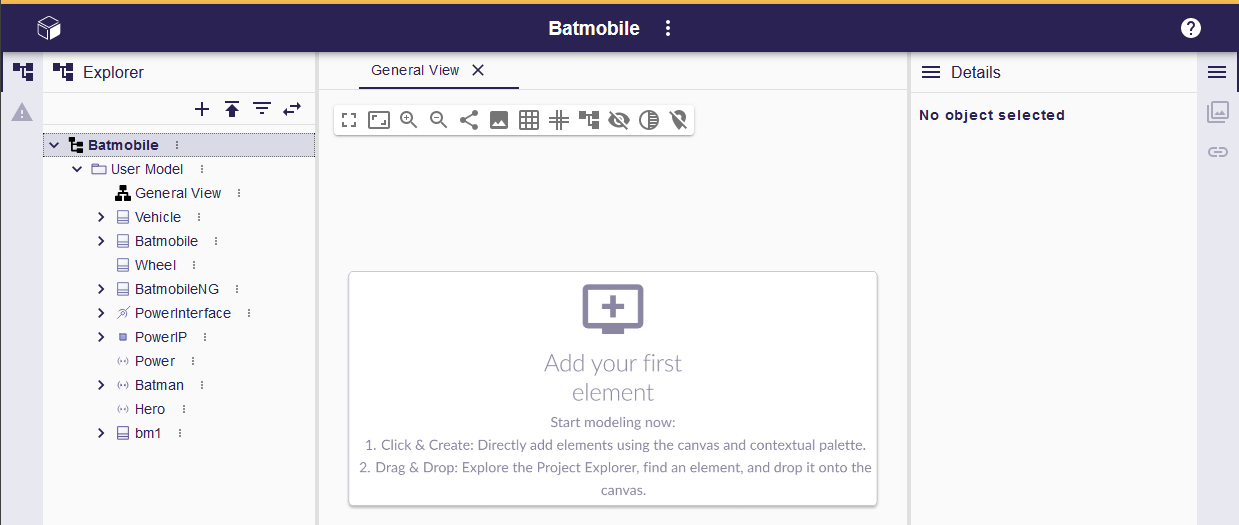
The newly created project will have the same name as the template, so it’s a good practice to rename it to avoid confusion.
Refer to the Workbench page to understand how to use it for creating your own models and representations.
3. Upload a Project
|
Projects exported in the specific JSON format recognized by Sirius Web can be re-uploaded by using the upload action. Ensure that your projects are exported using the Download Project action to enable successful re-uploading to Sirius Web. |
To upload a project from an archive exported, follow these steps:
-
Go to the Project Browser.
-
Click the Upload Project card.
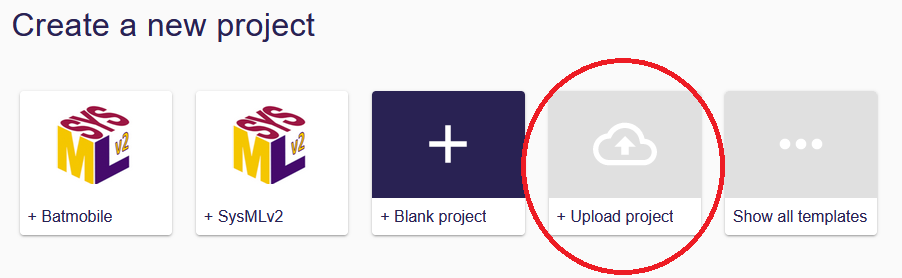
-
It opens the Upload Project page.
-
Select a ZIP from your file system.
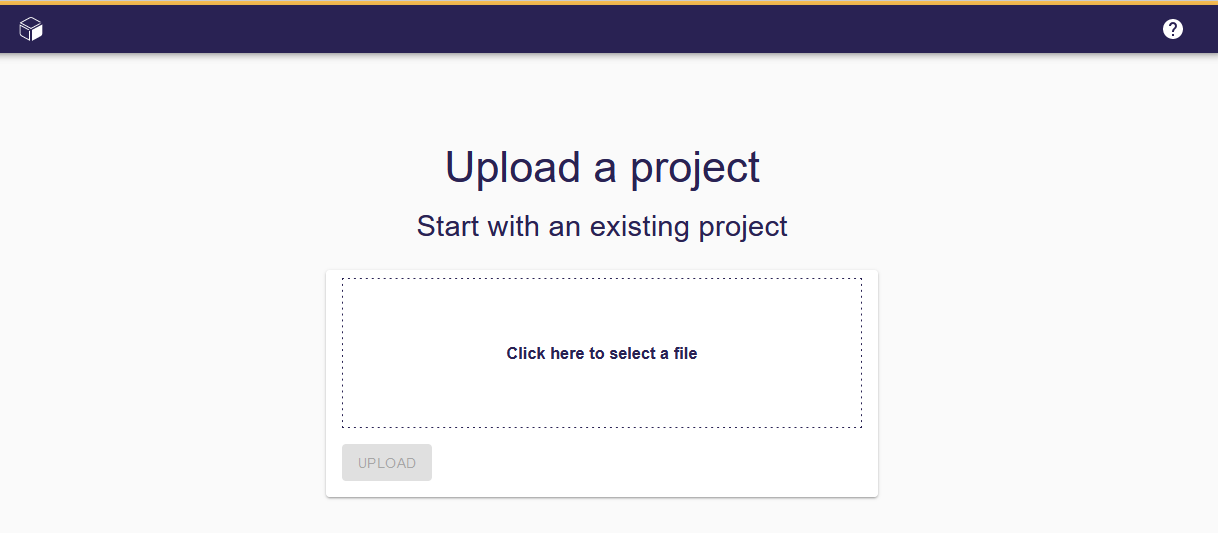
-
The uploaded project is automatically created and opened.
Refer to the Project Workbench page to understand how to use it for creating your own models and representations.
4. Delete a project
It’s possible to delete a project either from the Project Browser or the Project Workbench.
|
When you delete a project, you loose all the data. Deleting a project and its content is a significant action, and it’s important to note that the entire project, along with its contents, will be permanently removed. This includes all associated models, representations, and any other data within the project. Exercise caution when performing this operation, as it can’t be reversed. |
4.1. From the Project Browser
You can delete a project from the Project Browser:
-
Click the Project Options Menu next to the project in the Projects List.
-
Select the
Deleteoption.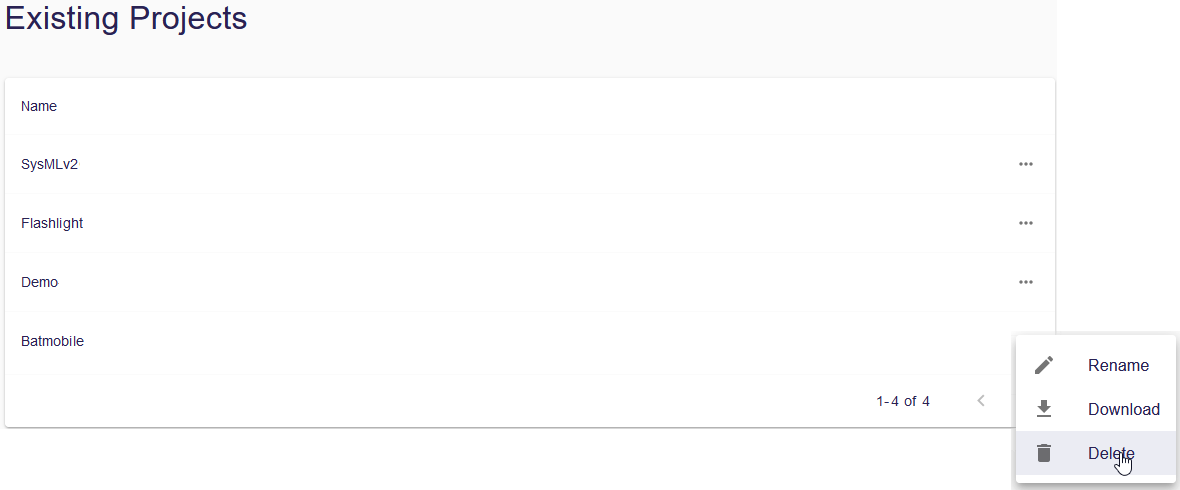
-
Confirm the deletion by clicking on the
Deletebutton in the modal.
4.2. From the Project Workbench
You can delete a project from the Project Workbench:
-
Click the Project Options Menu next to the project name in the project toolbar.
-
Select the
Deleteoption.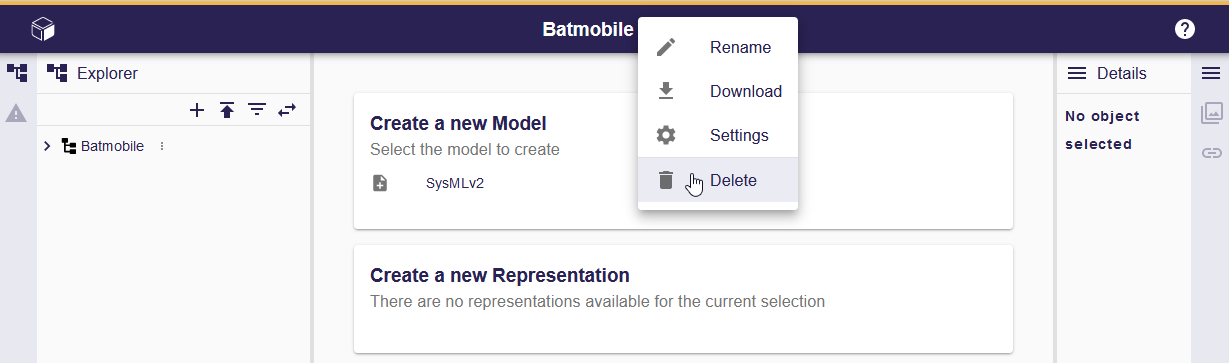
-
Confirm the deletion by clicking on the
Deletebutton in the modal.
5. Rename a project
It’s possible to rename a project either from the Project Browser or the Project Workbench.
|
Project names don’t need to be unique, although unique names do ease finding the correct project. |
|
The name must contain between 3 and 1024 characters. |
5.1. From the Project Browser
You can update the project name from the Project Browser:
-
Click the Project Options Menu next to the project in the Projects List.
-
Select the
Renameoption.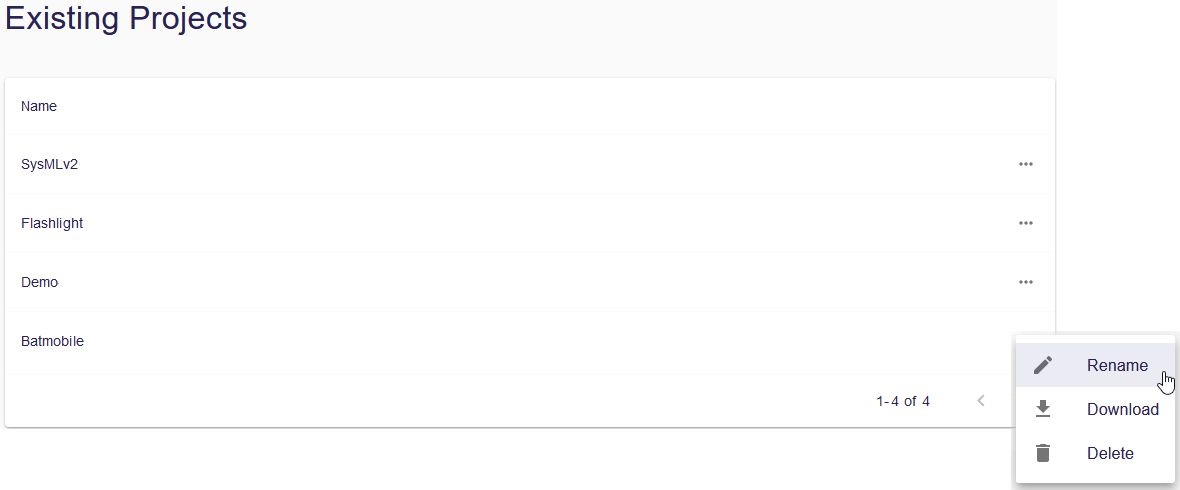
-
Update the name in the editable field.
-
Click
Rename.
5.2. From the Project Workbench
You can update the project name from the Project Workbench:
-
Click the Project Options Menu next to the project name in the toolbar.
-
Select the
Renameoption.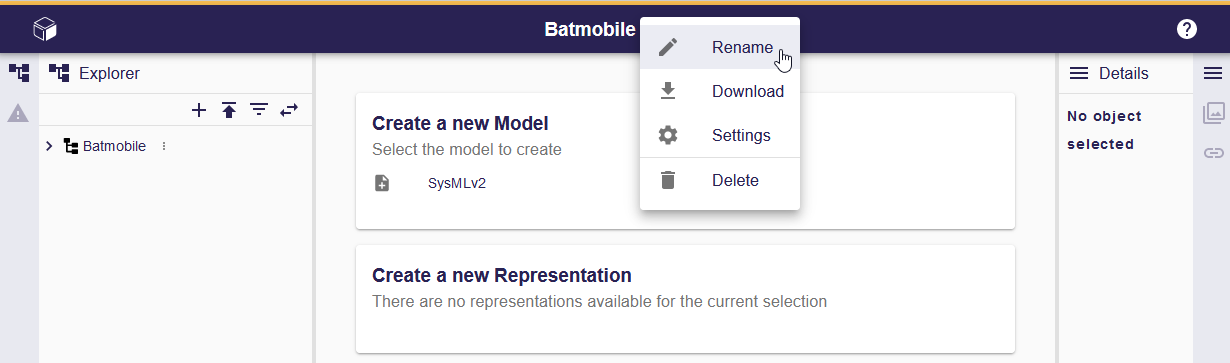
-
Update the name in the editable field.
-
Click
Rename.
6. Download a project
It’s possible to download a project either from the Project Browser or the Project Workbench.
|
The project is downloaded as an archive containing models and representations in JSON format. The JSON format used by Sirius Web is specific to the tool. |
6.1. From the Project Browser
You can download a project from the Project Browser:
-
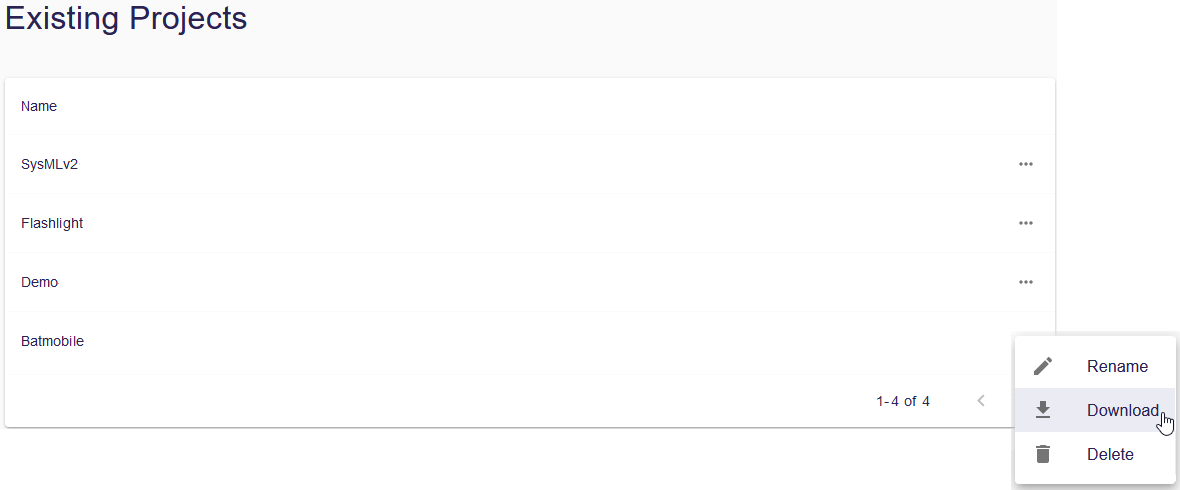
Click the Project Options Menu next to the project in the Projects List.
-
Select the
Downloadoption.
6.2. From the Project Workbench
You can download a project from the Project Workbench:
-
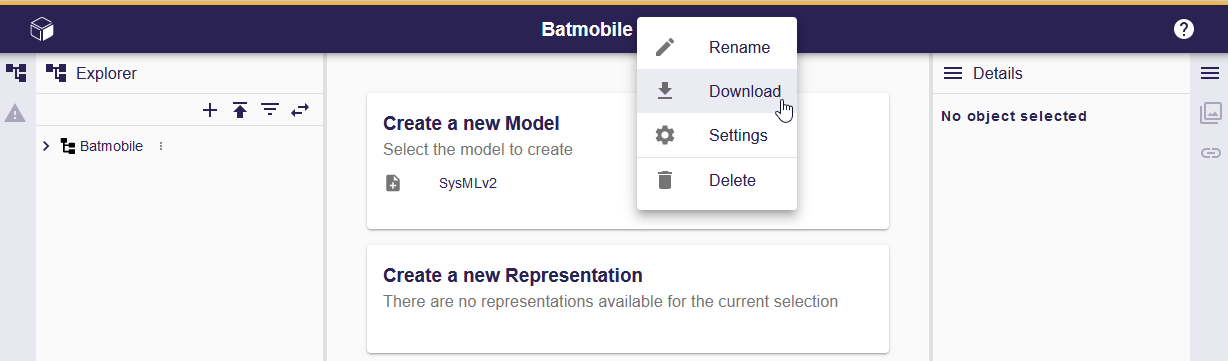
Click the Project Options Menu next to the project name in the project toolbar.
-
Select the
Downloadoption.
7. Share a project
Sharing a project is as straightforward as providing the project URL to someone because everything within Sirius Web is public. Once the project URL is shared, the recipient can access and view the project directly. This simplicity in sharing allows for seamless collaboration and communication of project details without the need for complex sharing processes.
8. Manage project settings
The purpose of this page is to present the various settings manageable by the administrator of a project. Currently, capabilities are limited to functions such as uploading images, but additional features for project management will be introduced in future updates. This page will be revisited in future updates, bringing new features and enhanced capabilities for project management. Stay tuned for the next version to explore more functionalities and improvements.